How to Import an XML or AAF and Video in DaVinci Resolve
AAFs and XMLs are types of files that translate an editing timeline from one application to another.
When paired with the original camera files (OCFs), it creates a very flexible workflow between picture editorial and color: The colorist gets a complete duplicate of the picture editor's timeline with all of the same media handles.
Project Settings
Before importing any assets, create a new project and ensure the settings are correct:
- Launch DaVinci Resolve and create a new project. Make sure to name your project.
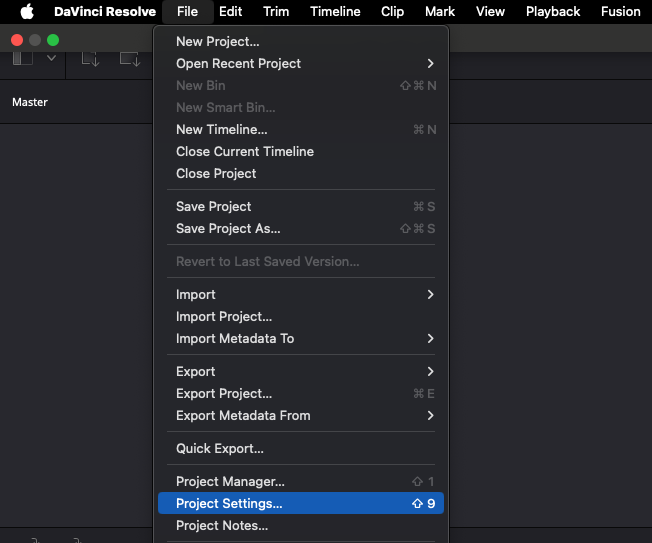
- Open the File menu from the top menu bar and select Project Settings from the drop-down.
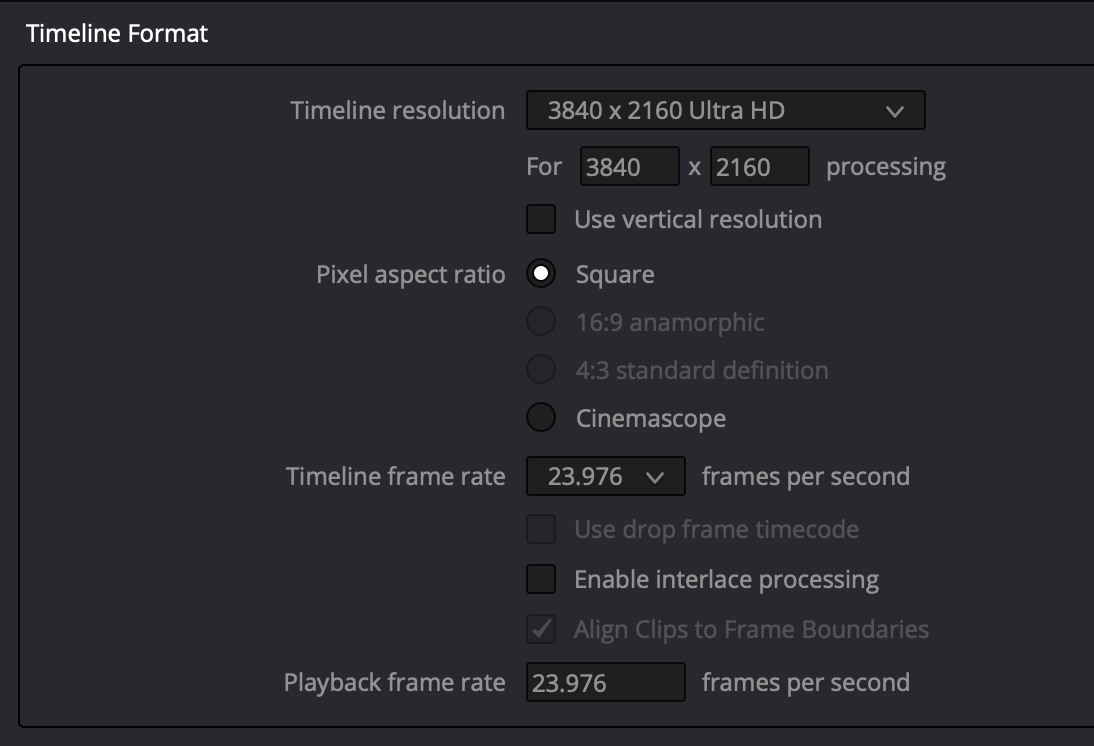
- In the Master Settings tab, ensure the timeline resolution and frame rate match the media you'll be working with.
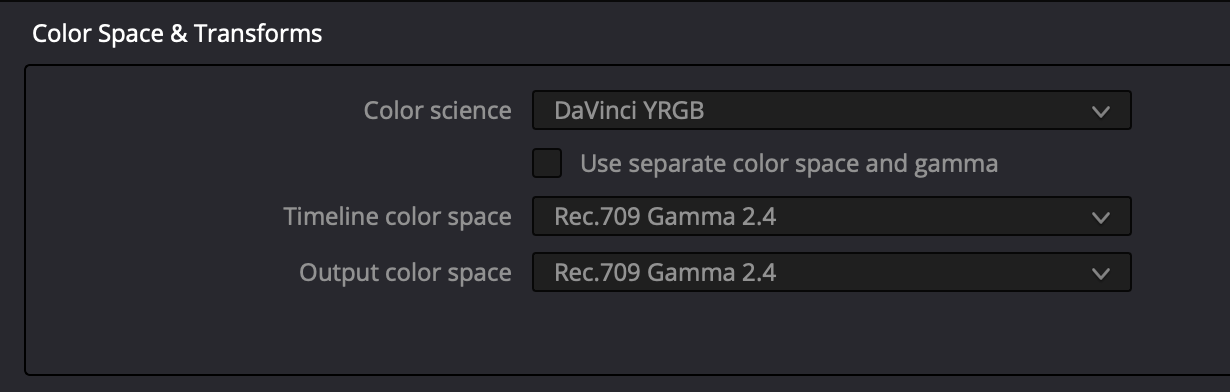
- Navigate to the Color Management tab and ensure the Timeline color space and Output color space match your media and workflow. Additionally, if you wish to use a more advanced color management process, you may choose that here.
- Click the Save button.


Importing the Media
Importing media before importing the XML or AAF timeline file is optional. You can skip this step if the picture editor relinked their sequence to the original camera files (OCFs) before exporting the timeline file.
If not, you'll need to import the OCFs before importing the timeline file to ensure you're able to grade the correct media:
- From the bottom menu, open the Media workspace.

- Browse to the OCFs in the Media Storage and import them into the Media Pool.

Importing the Timeline
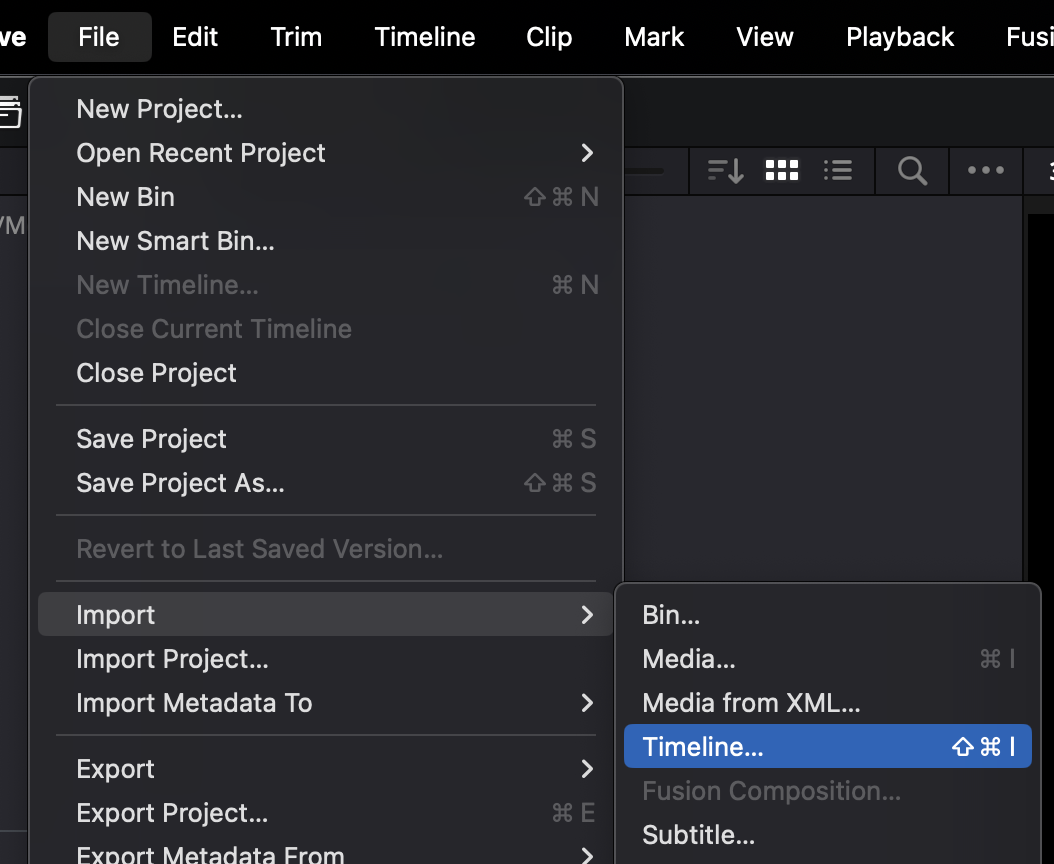
- Click the File button in the top left menu and select Import, Timeline... from the drop-down menu.
- Browse to the timeline file, select it, and click the Open button.
- In the timeline Import window, choose the following and click the Ok button:
- Automatically set project settings: Unchecked
- Automatically import source clips into media pool: Unchecked if you skipped importing the OCFs, otherwise checked

You should now have a duplicate of the picture editor's timeline populated with high quality media. If not, you'll need to manually conform the timeline to the appropriate media files.
