How to Import EDL and Video in DaVinci Resolve
An Edit Decision List (EDL) is a type of file that lists the timecode of each edit point in a sequence.
When paired with a high-quality export (e.g. ProRes 422 HQ or DNxHR HQ) of a picture-locked project, it creates a very simple workflow between picture editorial and color: The colorist imports a single video file and uses the EDL to create edit points for each shot. There's no other conforming or relinking needed.
Project Settings
Before importing any assets, create a new project and ensure the settings are correct:
- Launch DaVinci Resolve and create a new project. Make sure to name your project.
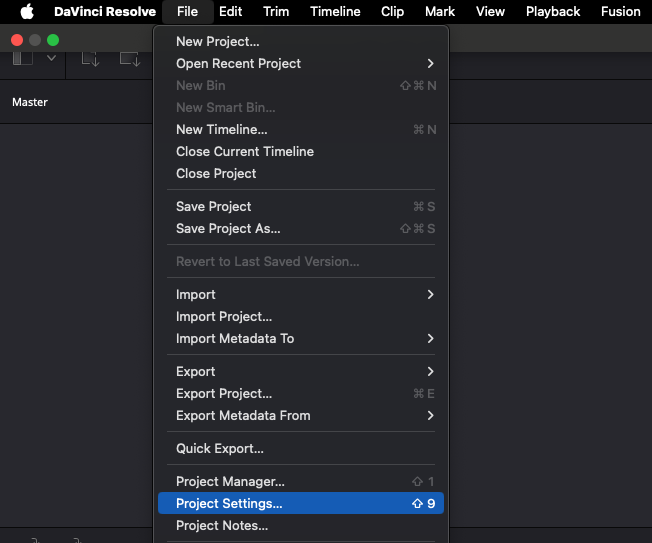
- Open the File menu from the top menu bar and select Project Settings from the drop-down.
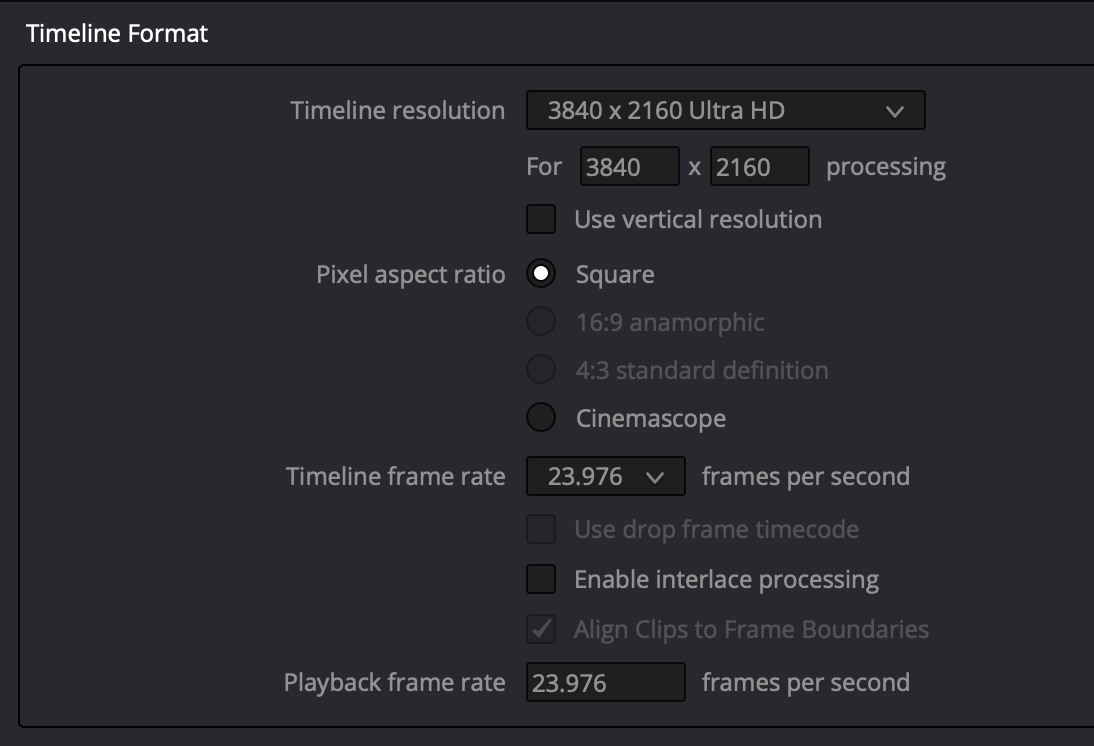
- In the Master Settings tab, ensure the timeline resolution and frame rate match the media you'll be working with.
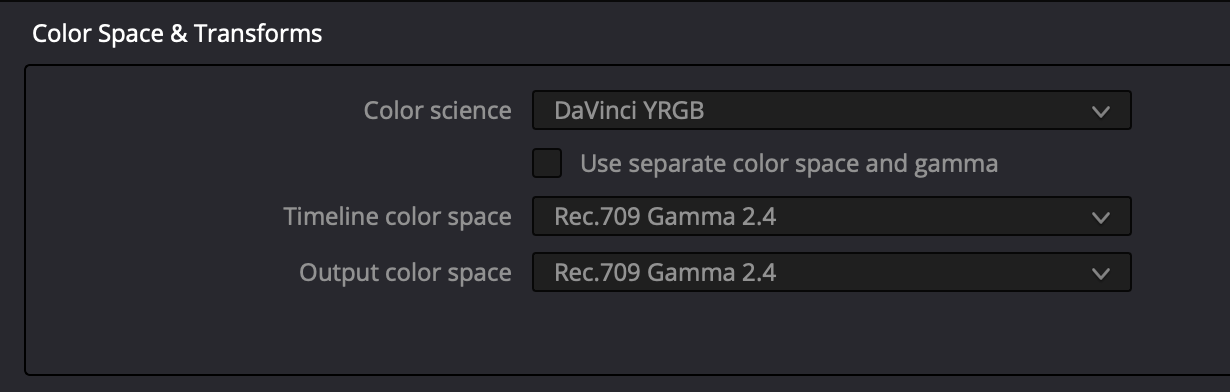
- Navigate to the Color Management tab and ensure the Timeline color space and Output color space match your media and workflow. Additionally, if you wish to use a more advanced color management process, you may choose that here.
- Click the Save button.


Importing the Media and the EDL
To import the EDL and use it to create edit points in the media:
- From the bottom menu, open the Media workspace.
- Browse to the high quality export in the Media Storage and import it into the Media Pool.
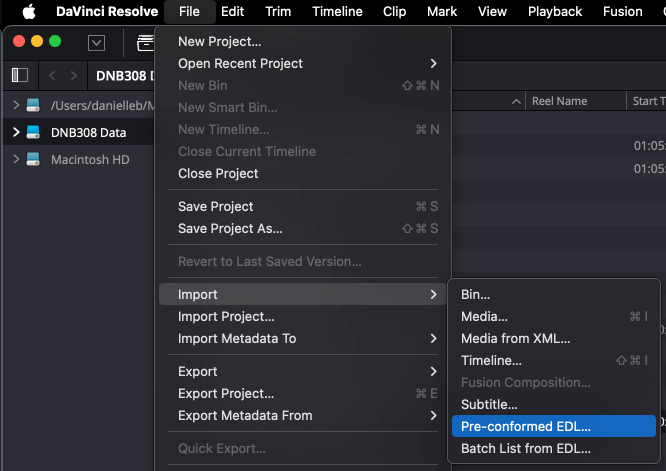
- Click the File button in the top left menu and select Import, Pre-conformed EDL... from the drop-down menu.
- Browse to the EDL, select it, and click the Open button.
- In the Parse preconform options window, enter a Timeline Name and click the OK button.


You should now have a timeline populated with the high quality media; the video should have edit points that align with each shot from the picture editor's timeline.
Note: If you received multiple exports and multiple EDLs (one for each video track in the picture editor's timeline), you'll need to repeat these steps for each export and EDL.
