This guide will walk you through practicing on-set data wrangling using Davinci Resolve in the Intermediate-level Hands-On Rig Practice tech seminar.
Data Wrangling with DaVinci Resolve
To practice securely and reliably cloning your media to your external drives:
-
Locate the two Samsung solid state drives (SSDs) on the left side of the cart.
-
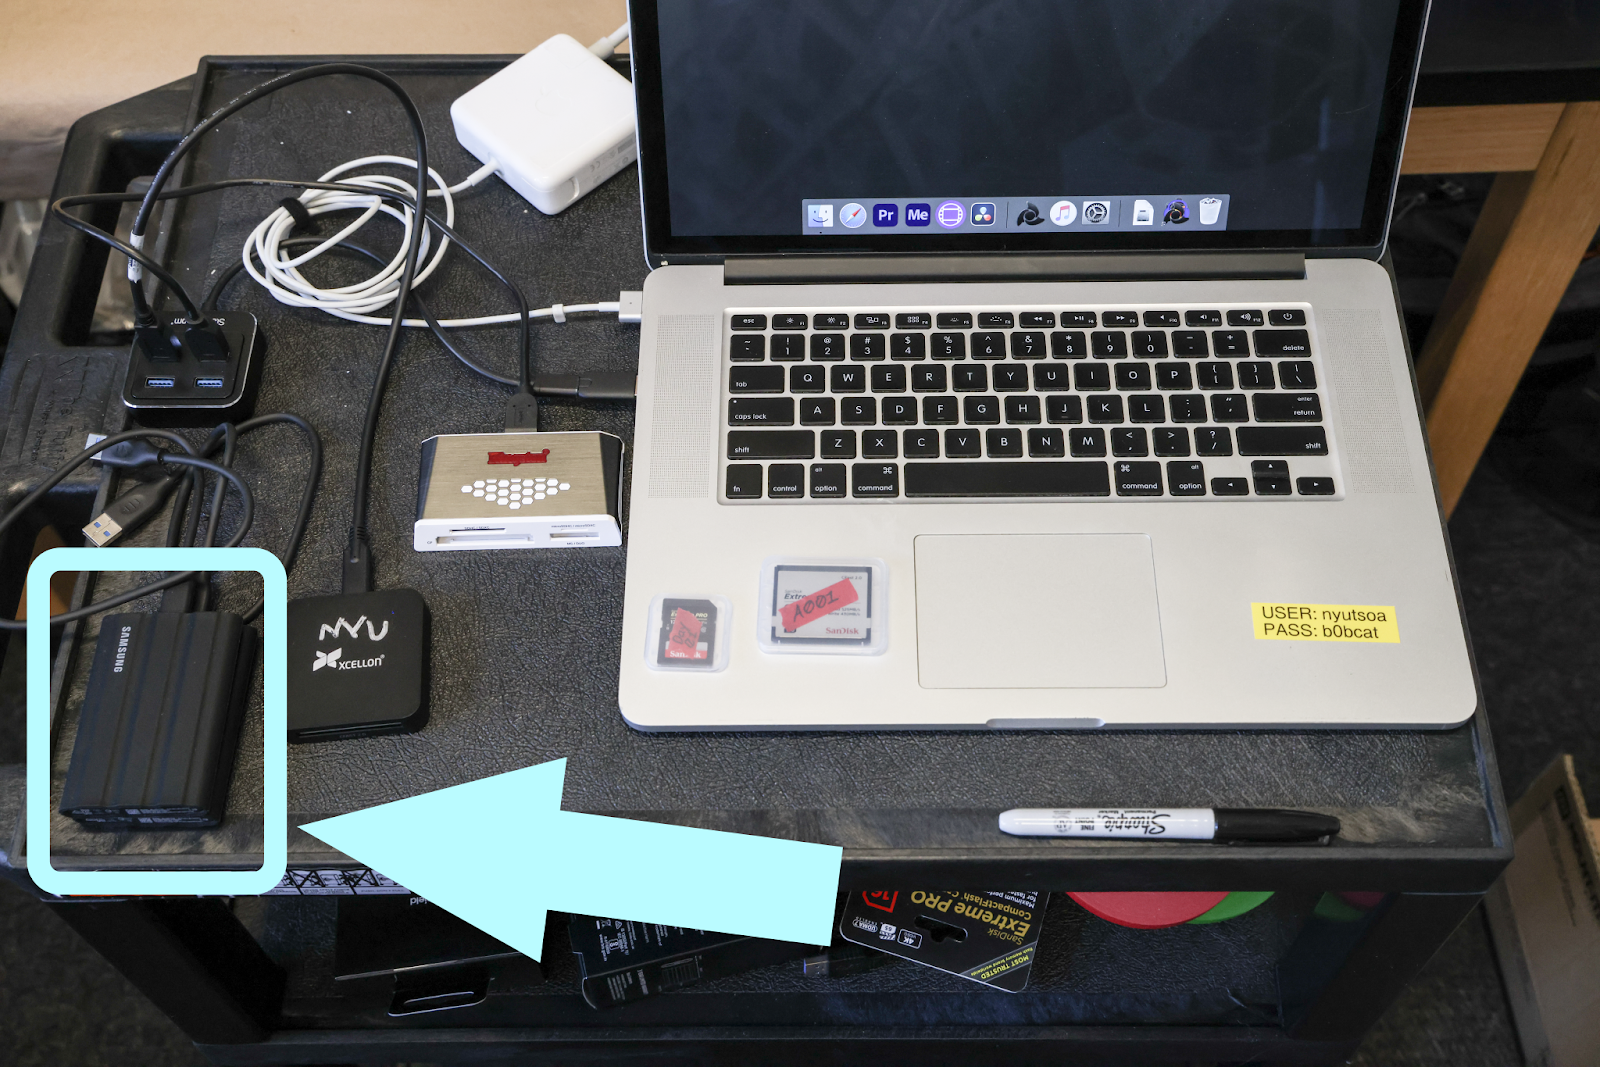 Plug both SSDs into the USB hub on the left side of the cart.
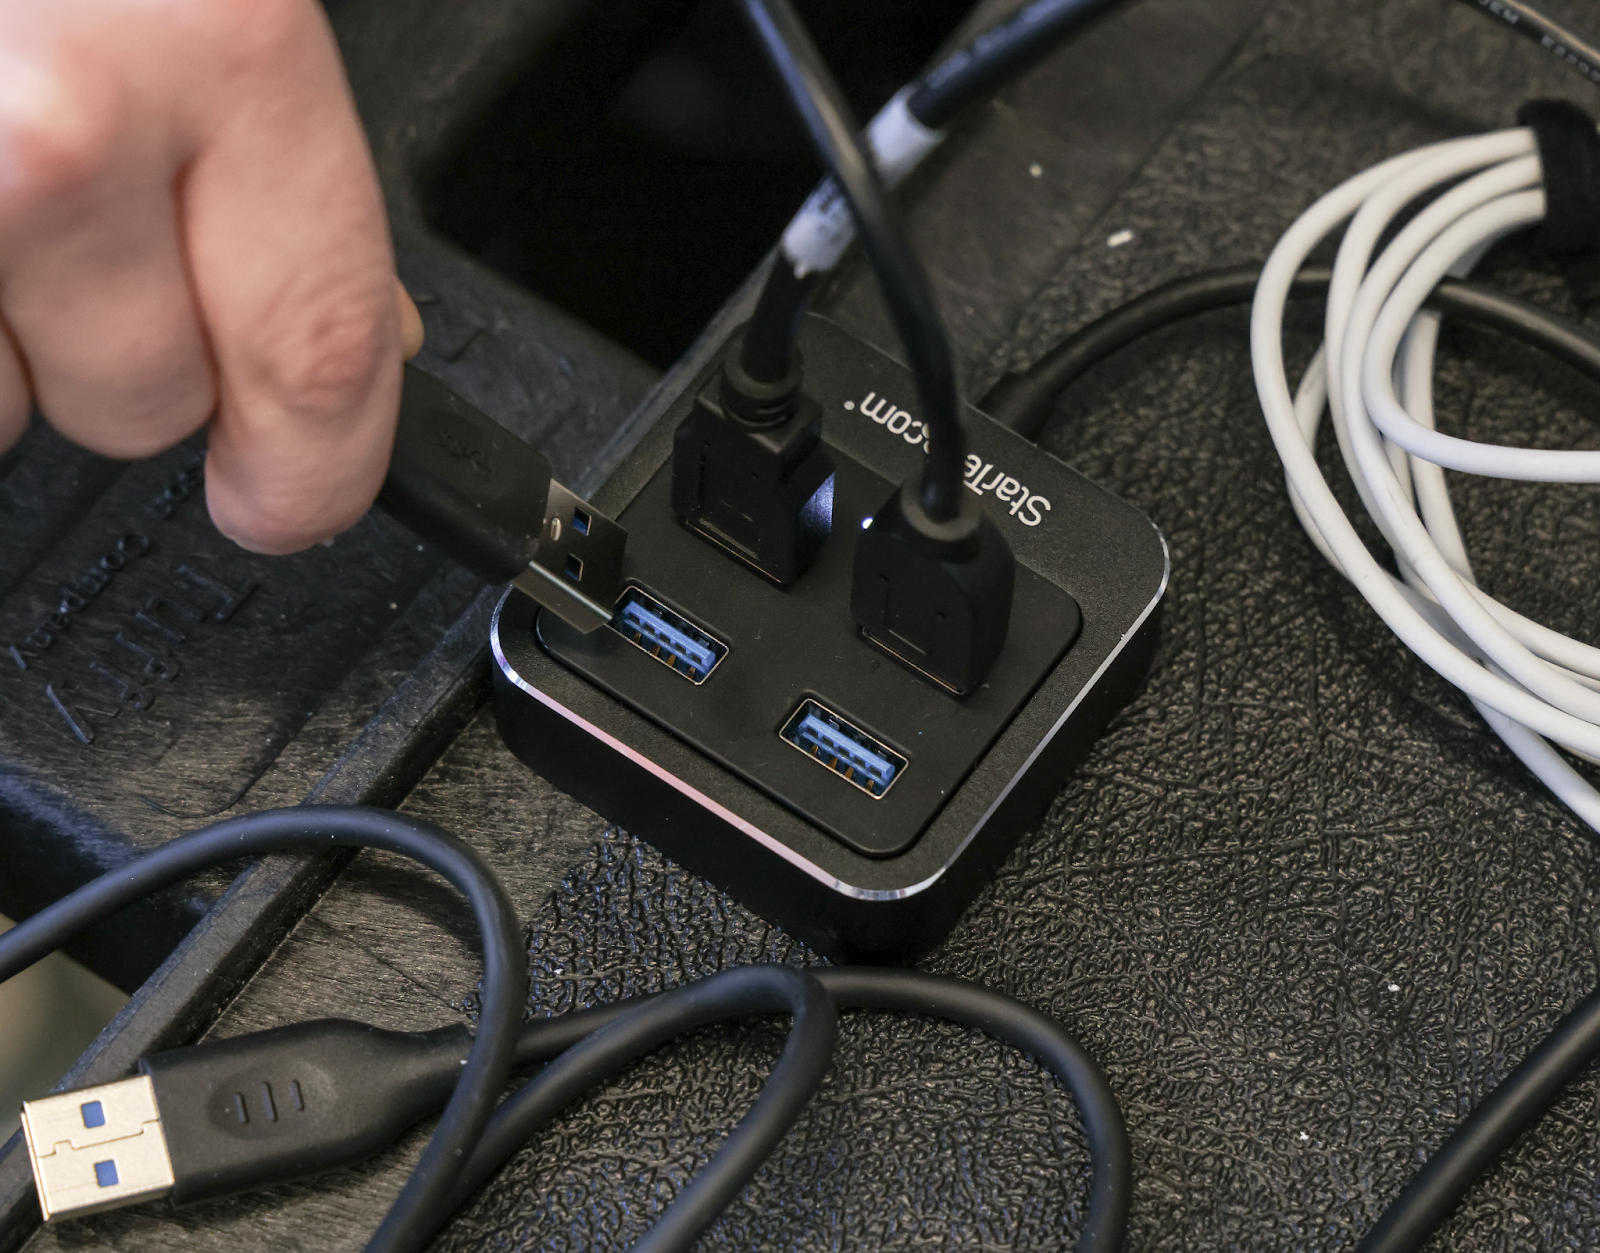
-
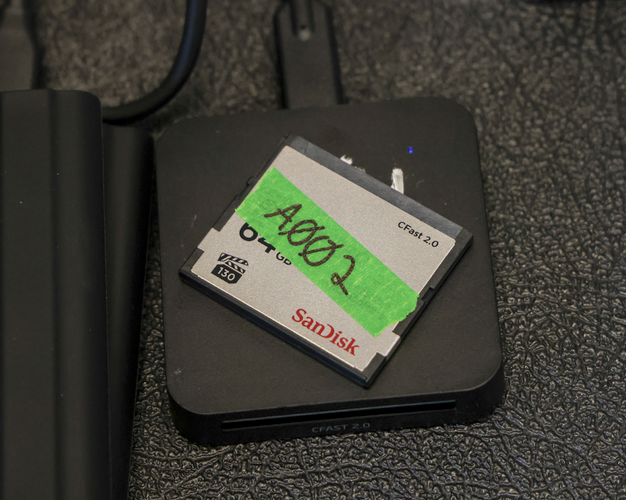
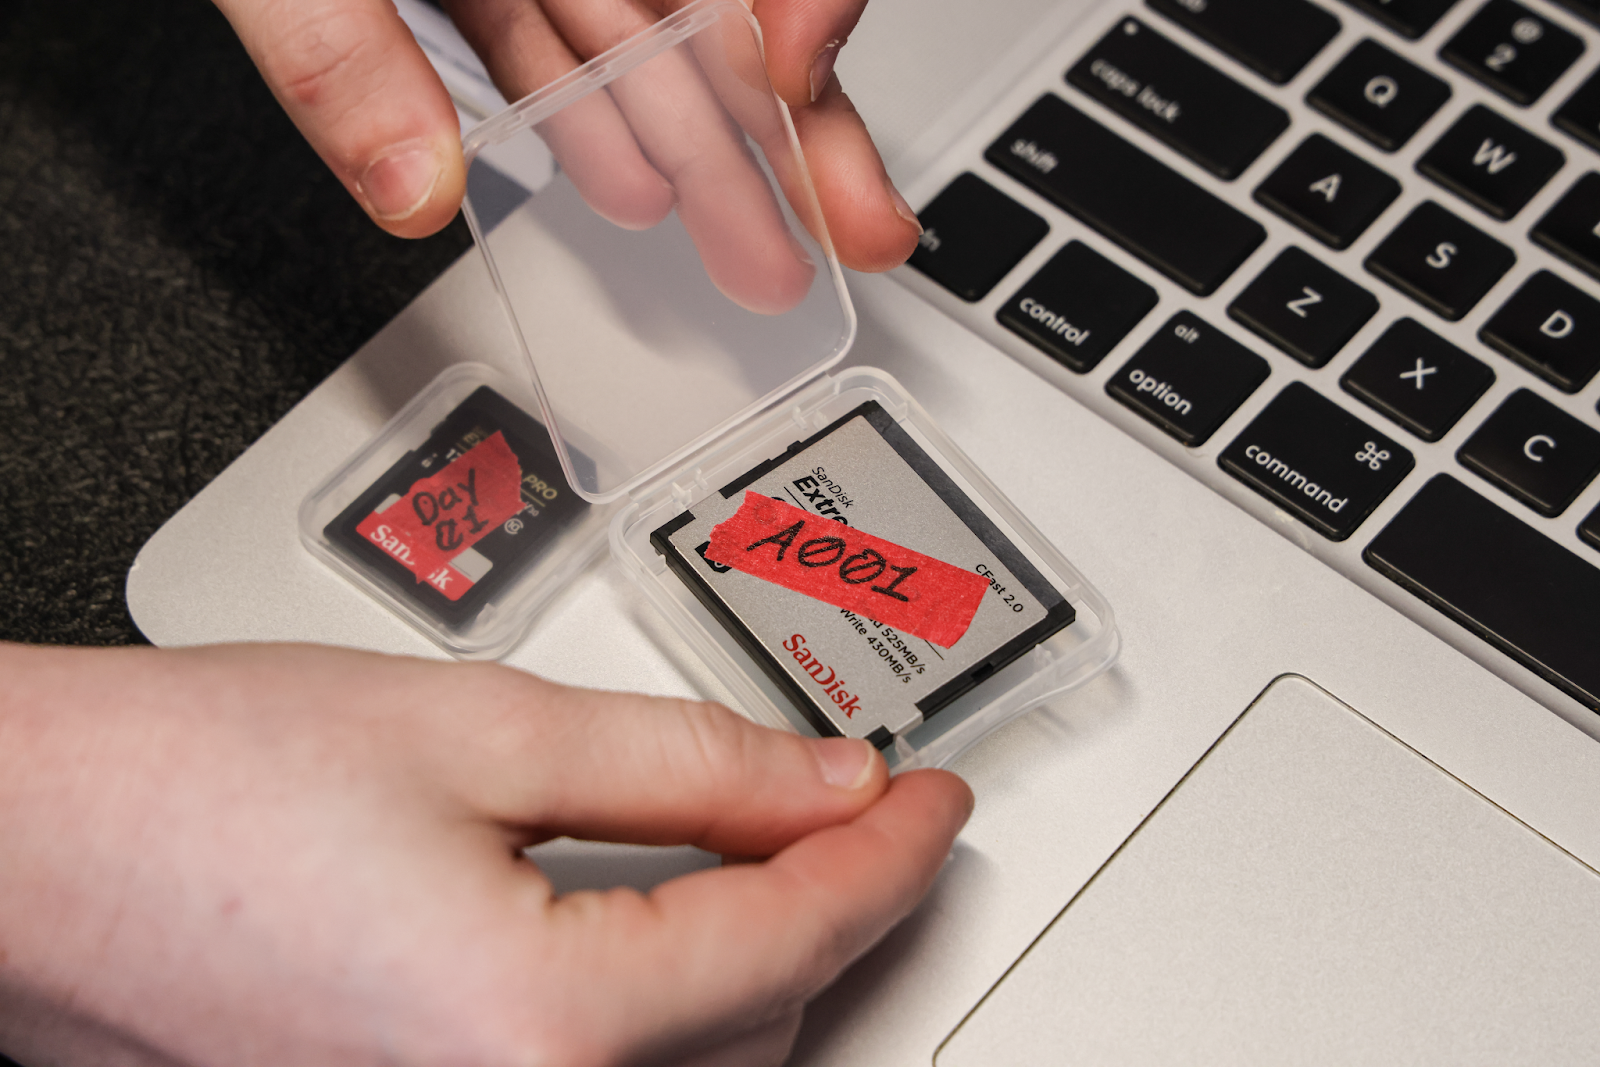
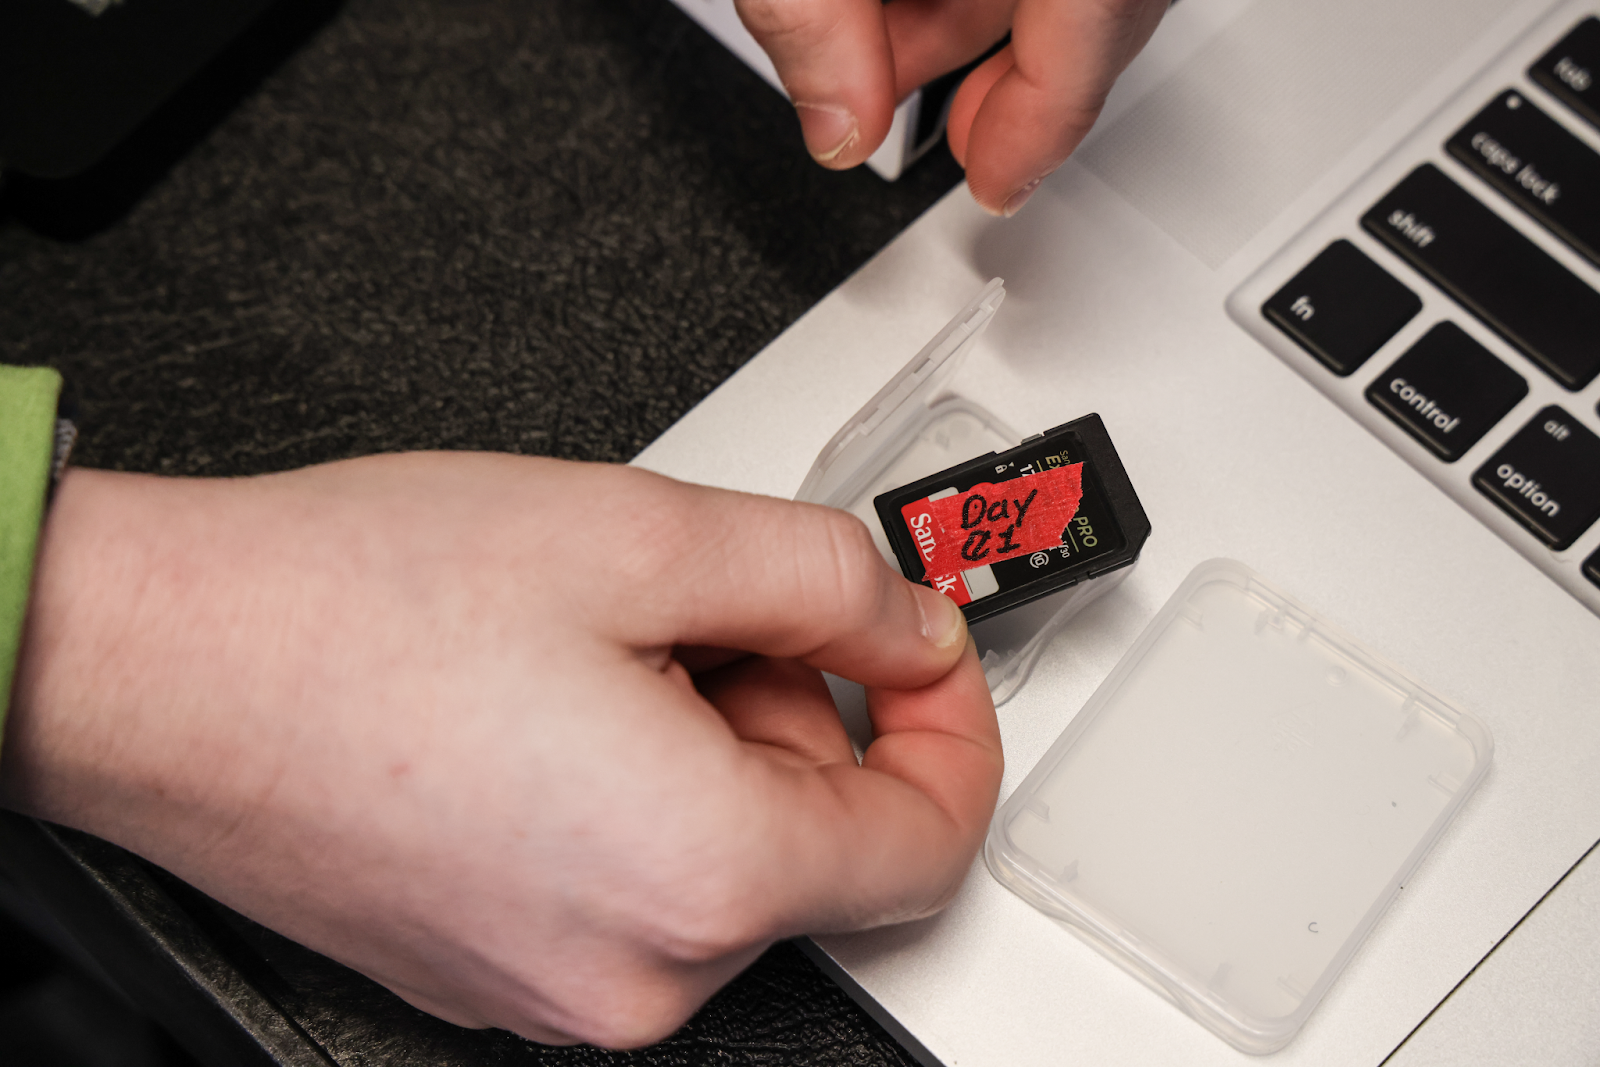
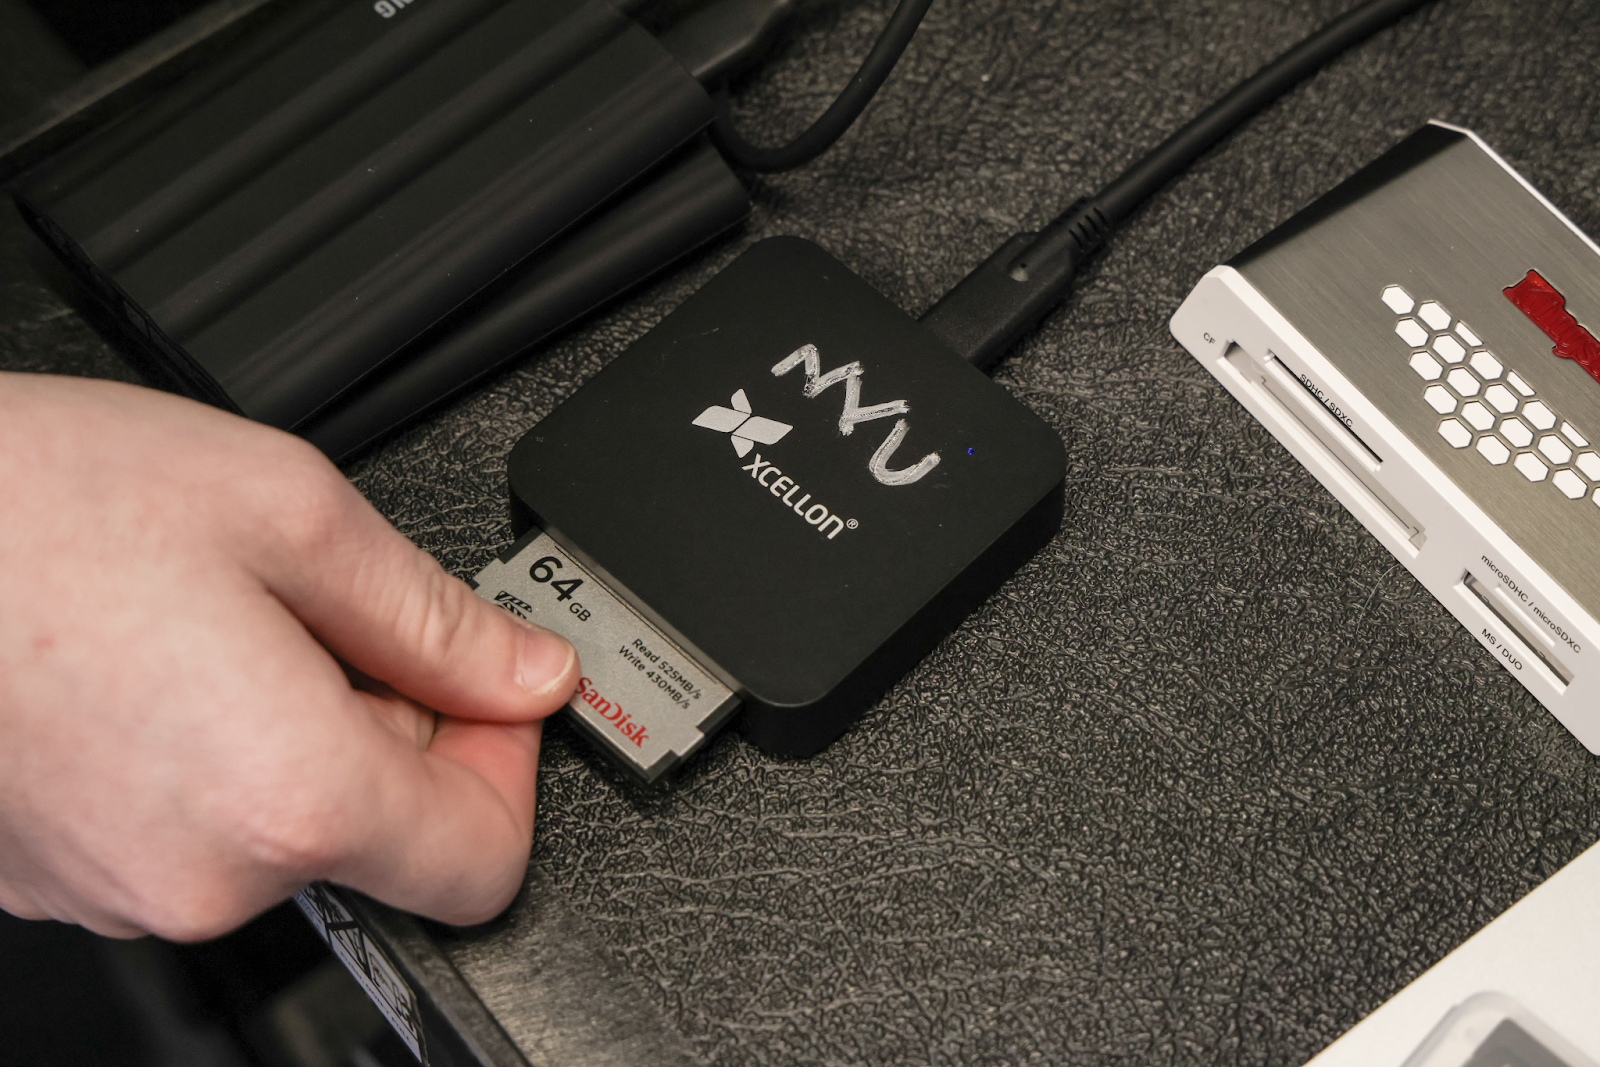
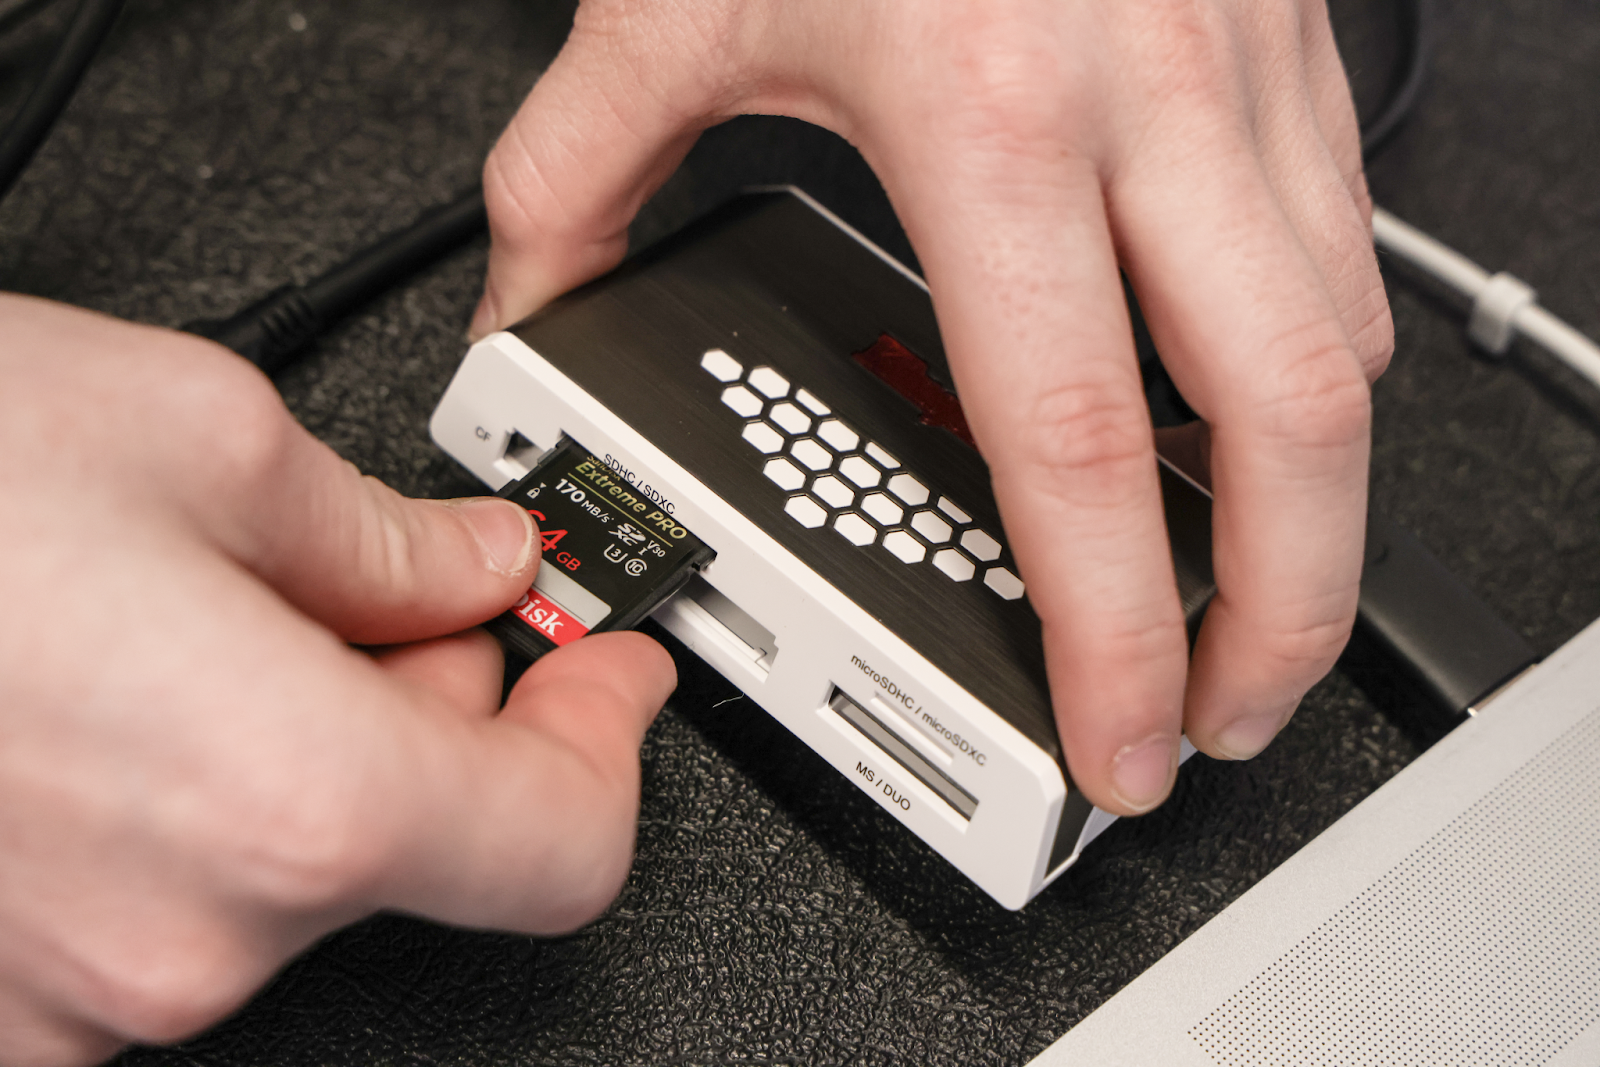
Locate the memory cards with the red tape. There will be one CFast2.0 card and one SD card.
-
Remove the red tape from both cards and insert them into their card readers.
-
Note: The SD card goes in the gray and white Kingston multi card reader. The CFast 2.0 card goes in the black Xcellon single card reader.
-
-
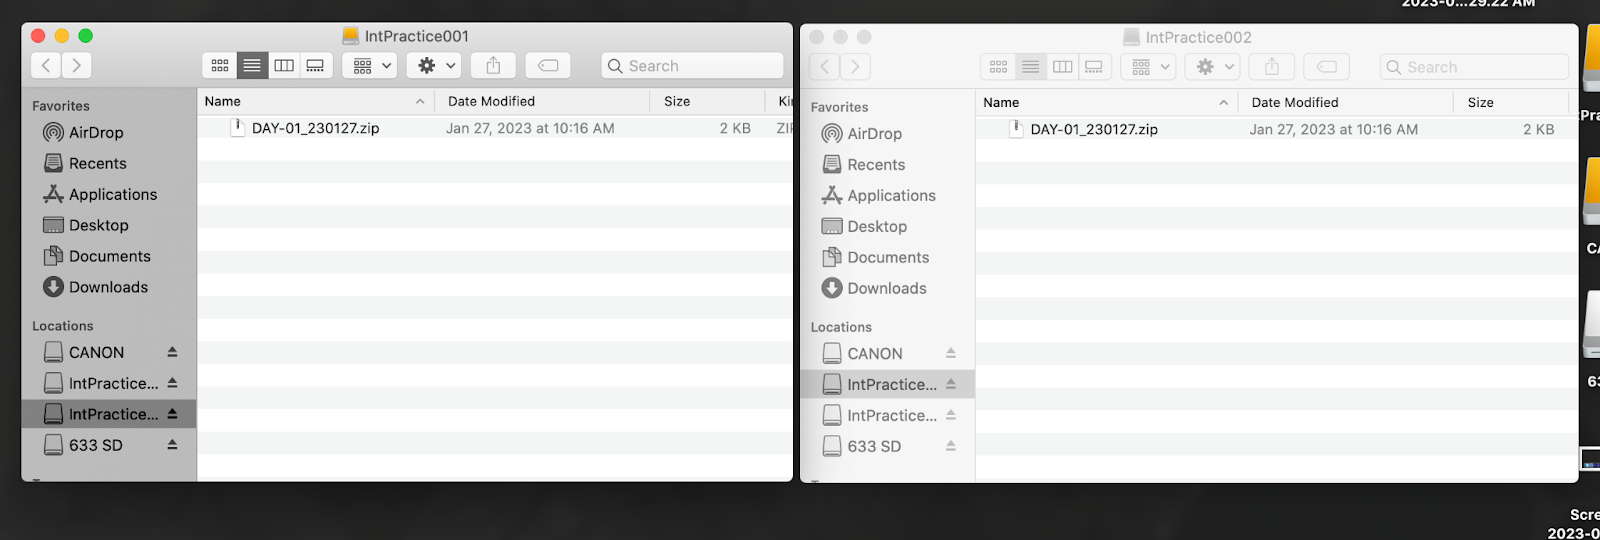
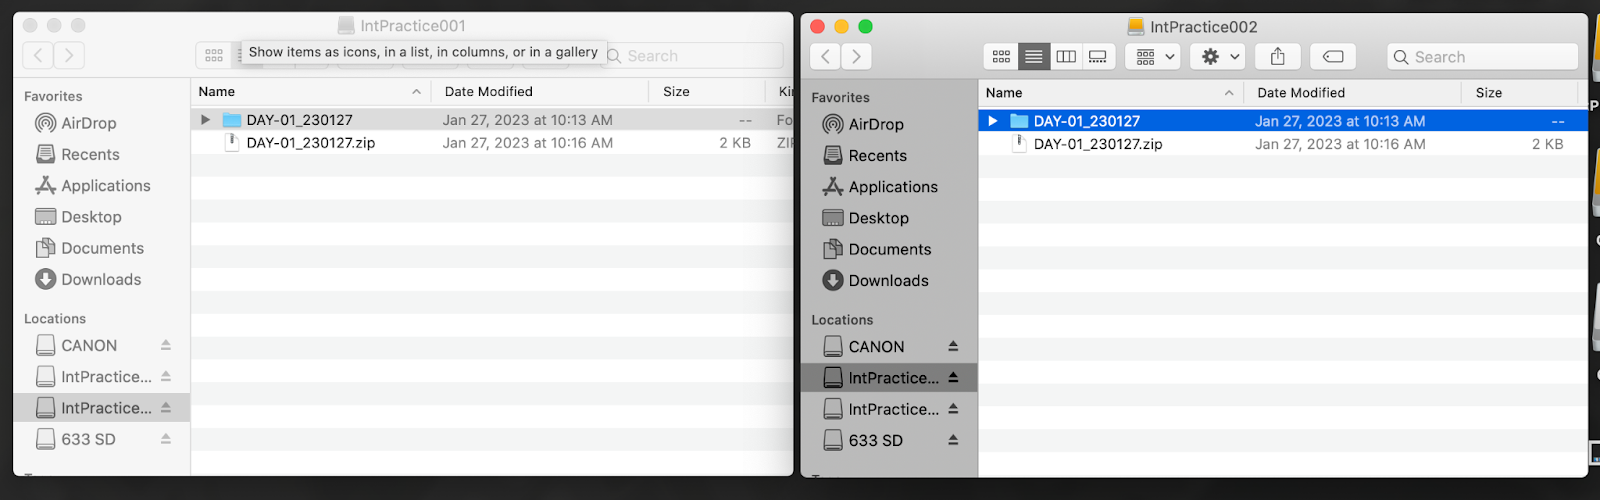
On the computer, open each drive in a Finder window.
-
For both drives, double-click on the DAY-01_230127.zip template to extract a clean copy of the folder structure template.
-
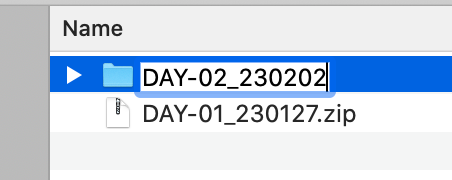
Rename the new folder with a new day number (e.g. DAY-02) and today's date (format: year-month-day).
-
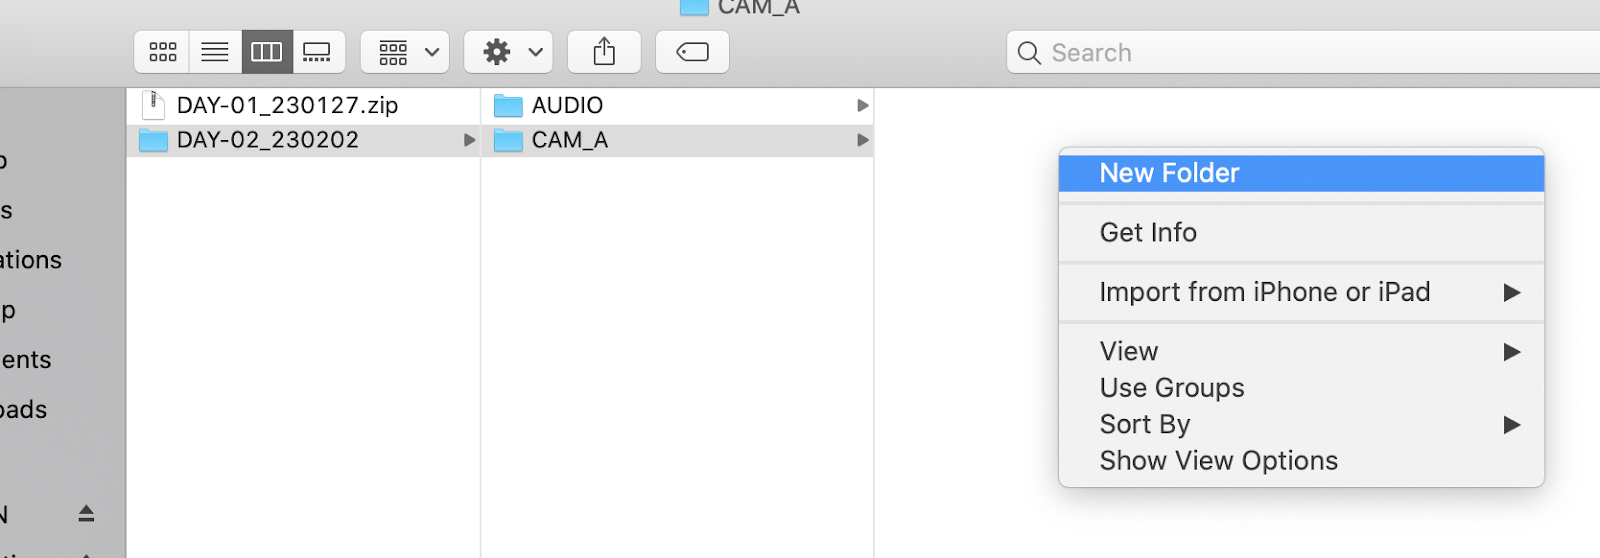
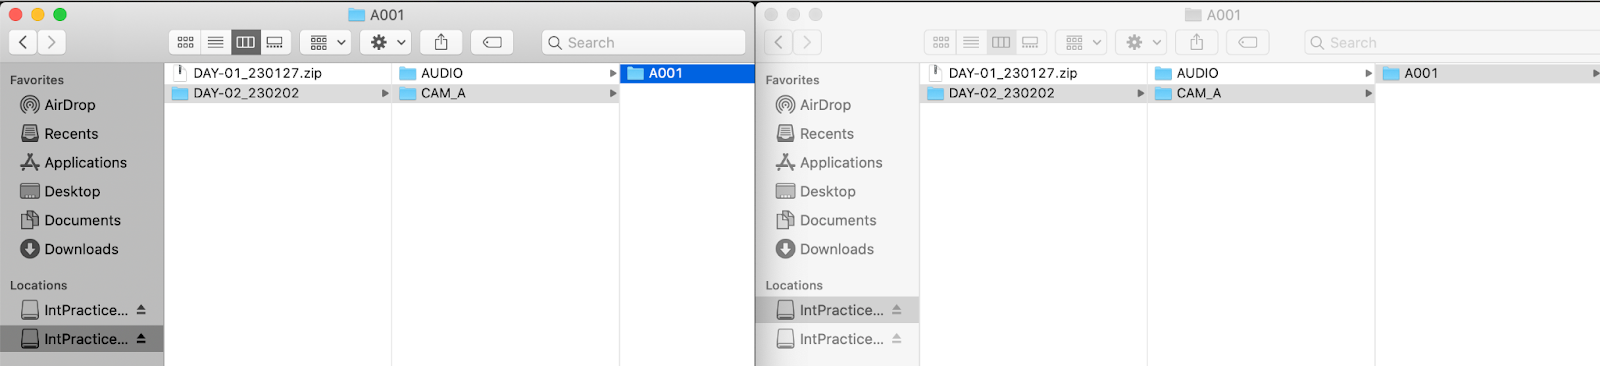
Inside the renamed folder on one of the SSDs, open the CAM_A folder. Right click inside it and choose New Folder.
-
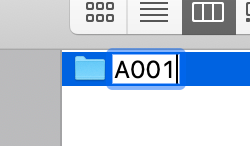
Name the new folder A001.
-
Repeat for the other drive so that both drives have an A001 folder.
-
Launch DaVinci Resolve from the Dock.

-
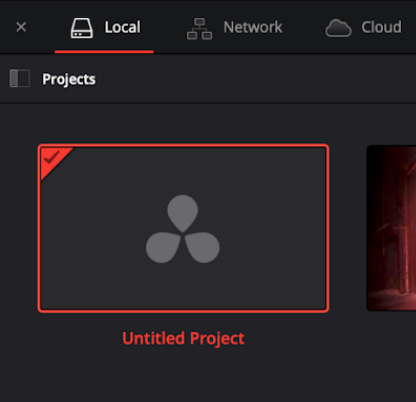
In the Project window, double-click on Untitled Project.
-
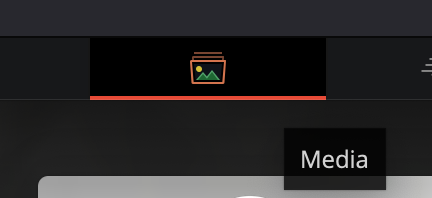
At the bottom of the window, navigate to the Media workspace.
-
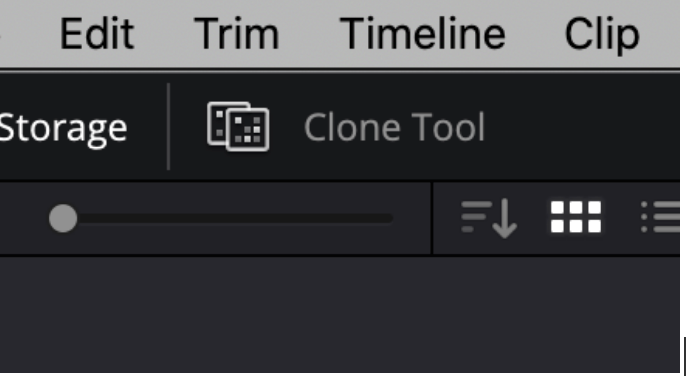
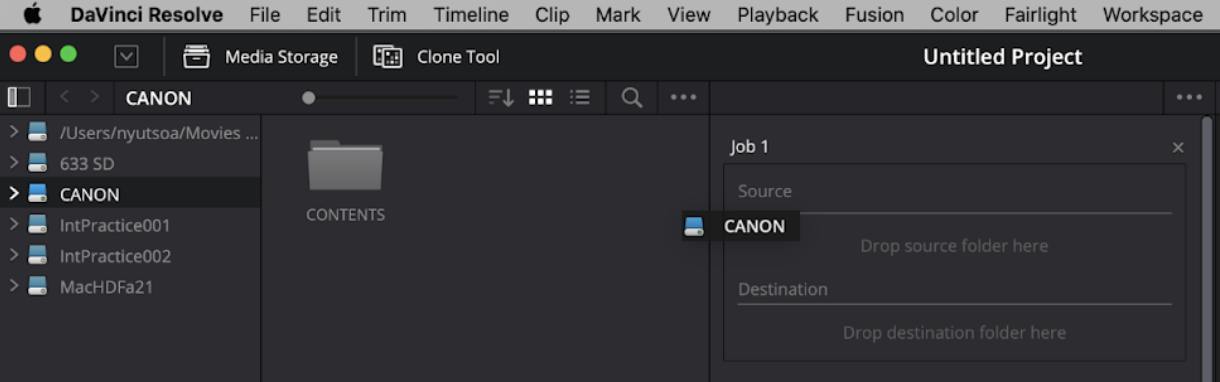
In the Media workspace, click on the Clone Tool button in the top left corner to open the Clone Tool.
-
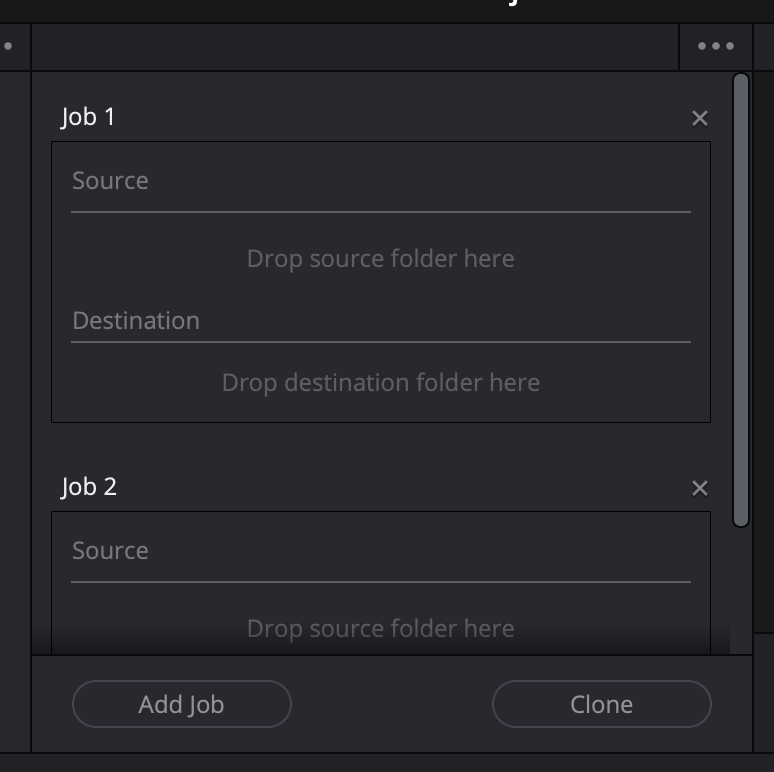
In the Clone Tool, click the Add Job button twice to create two new clone jobs.
-
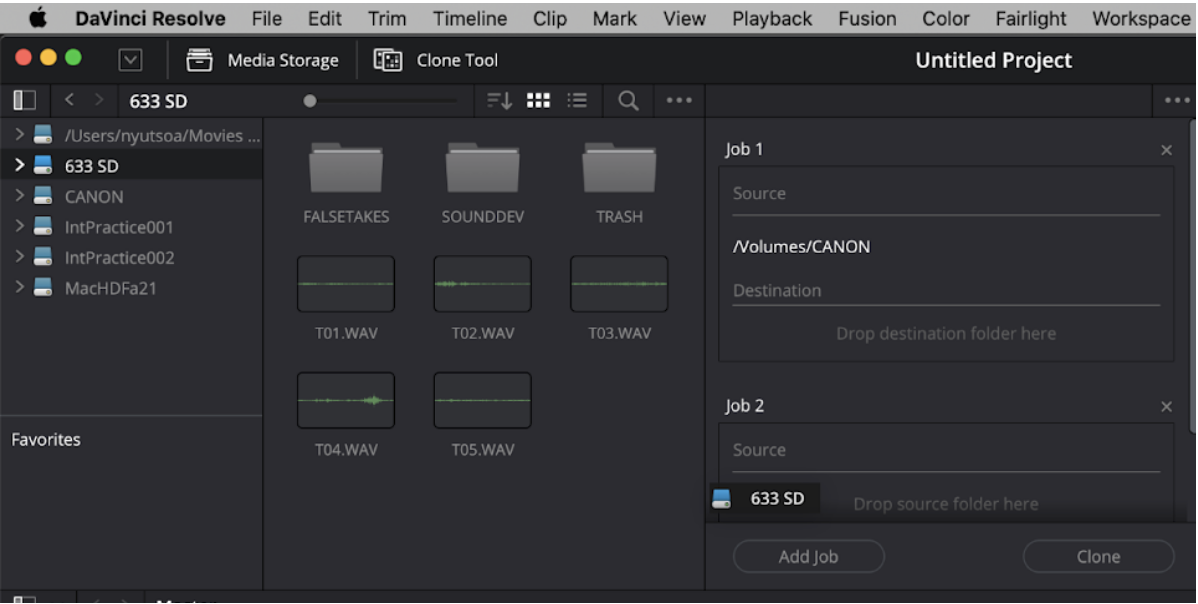
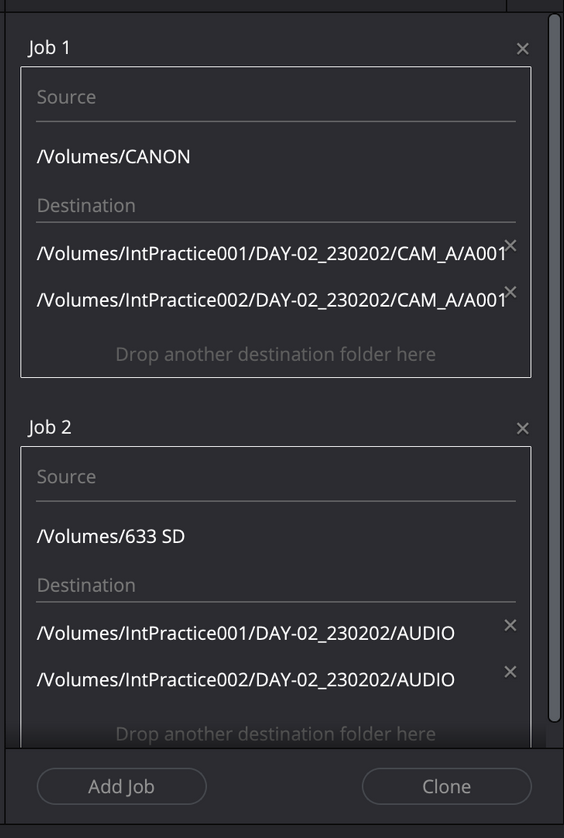
Drag the CANON volume from the Media Storage section on the left side of the interface into the Source section of Clone Job 1.
-
Repeat with the 633 SD volume, dragging it to the Source section of Clone Job 2.
-
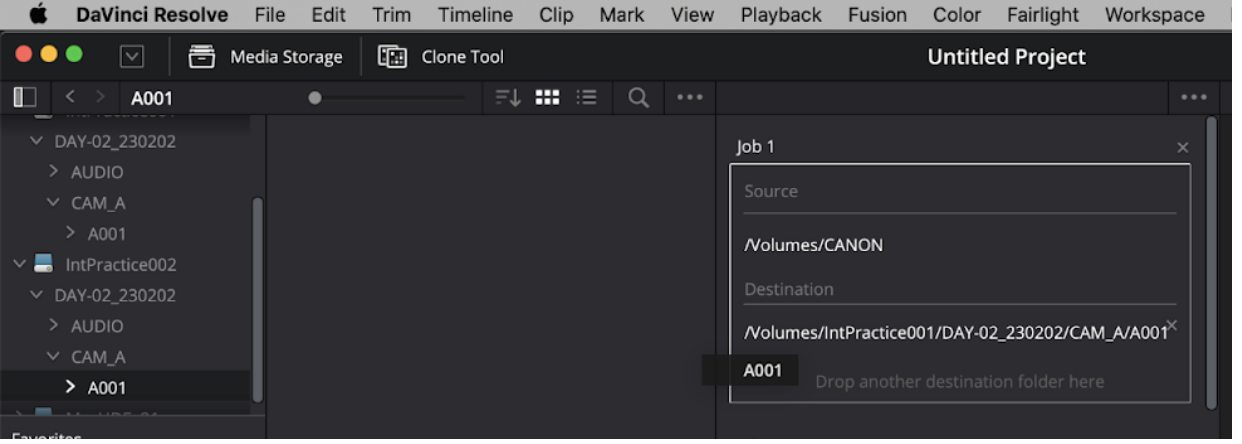
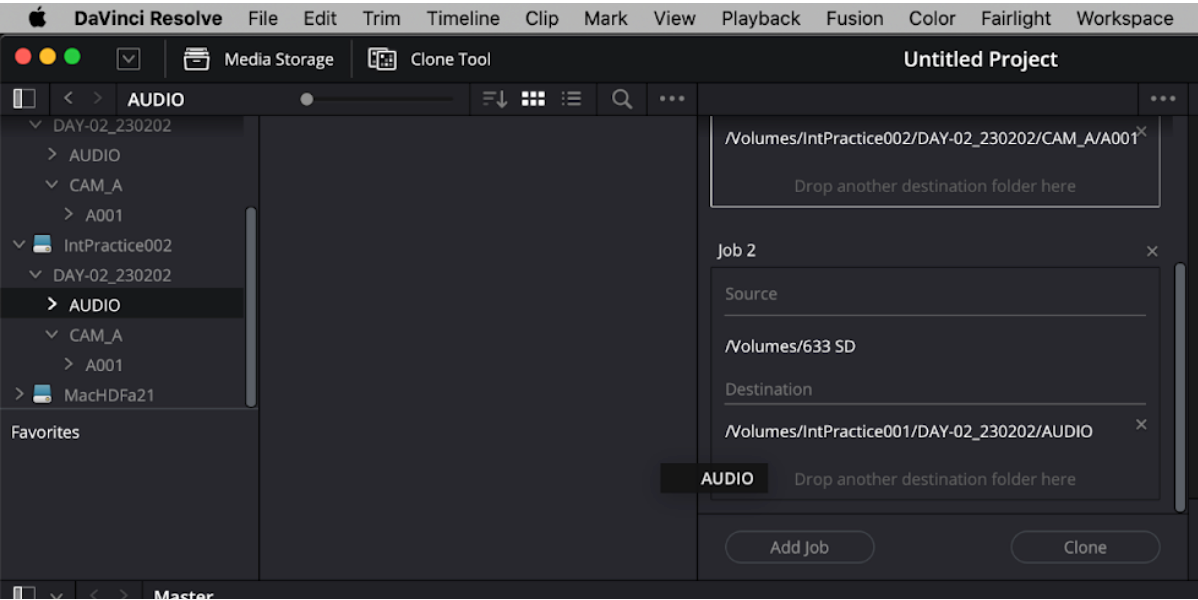
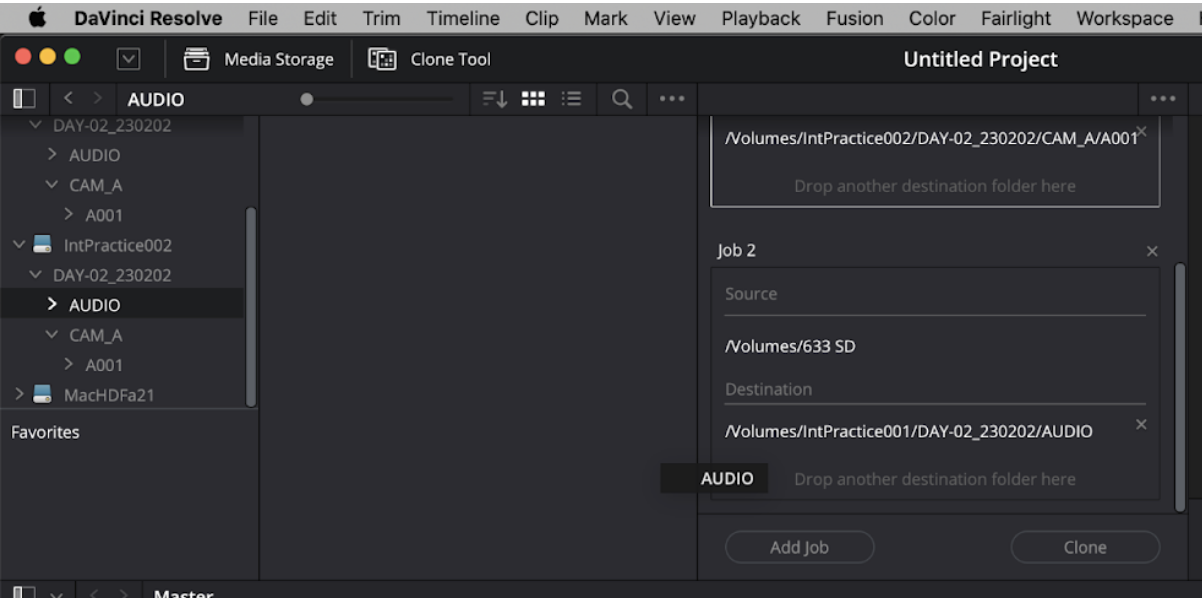
Drag the A001 folder from one of the SSDs into the Destination section of Job 1. Repeat with the A001 folder on the other SSD.

-
Drag the AUDIO folder from one of the SSDs into the Destination section of Job 2. Repeat with the AUDIO folder on the other SSD.
-
Click on Job 1 to select it (the job will be outlined in white when selected). Shift-click on Job 2 to also select it. Both jobs will now be outlined white.
-
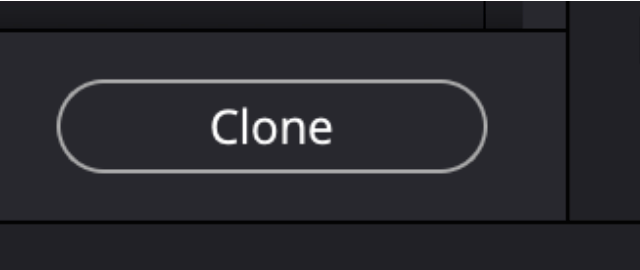
Click the Clone button to begin cloning.
-
When complete, clear the clone queue by selecting the X in the top right corner of the Clone Tool.

-
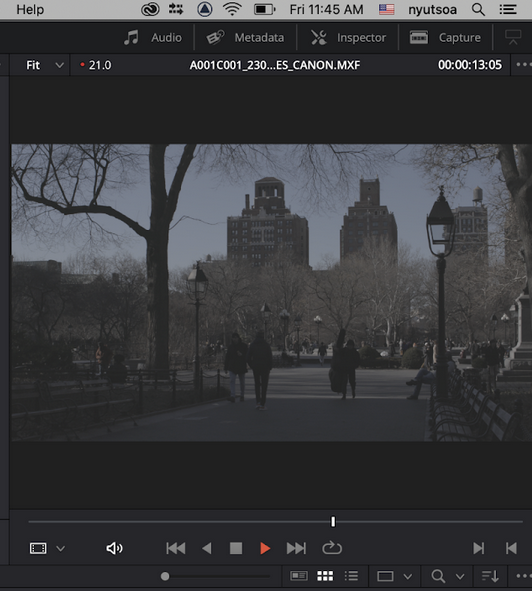
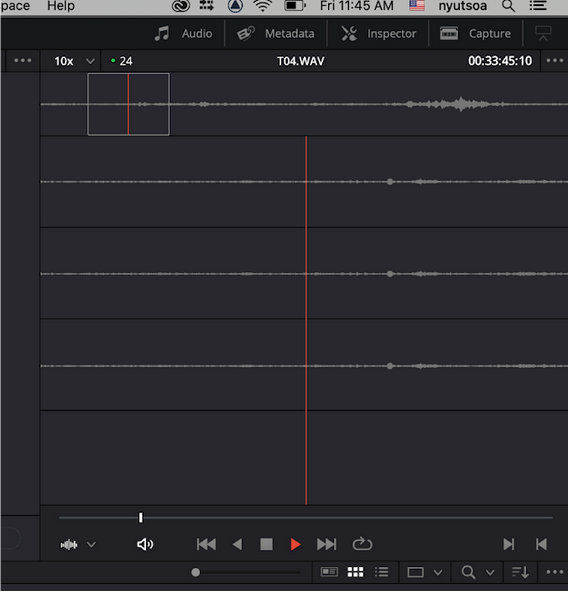
Play back a couple of the clips from the SSDs (not the memory cards) in DaVinci to spot check for quality.
-
If everything looks good, eject both memory cards and place a green piece of tape on them.