Overview of Sound Devices 633
The Sound Devices 633 is a multitrack field recorder that can record sound from multiple sources.
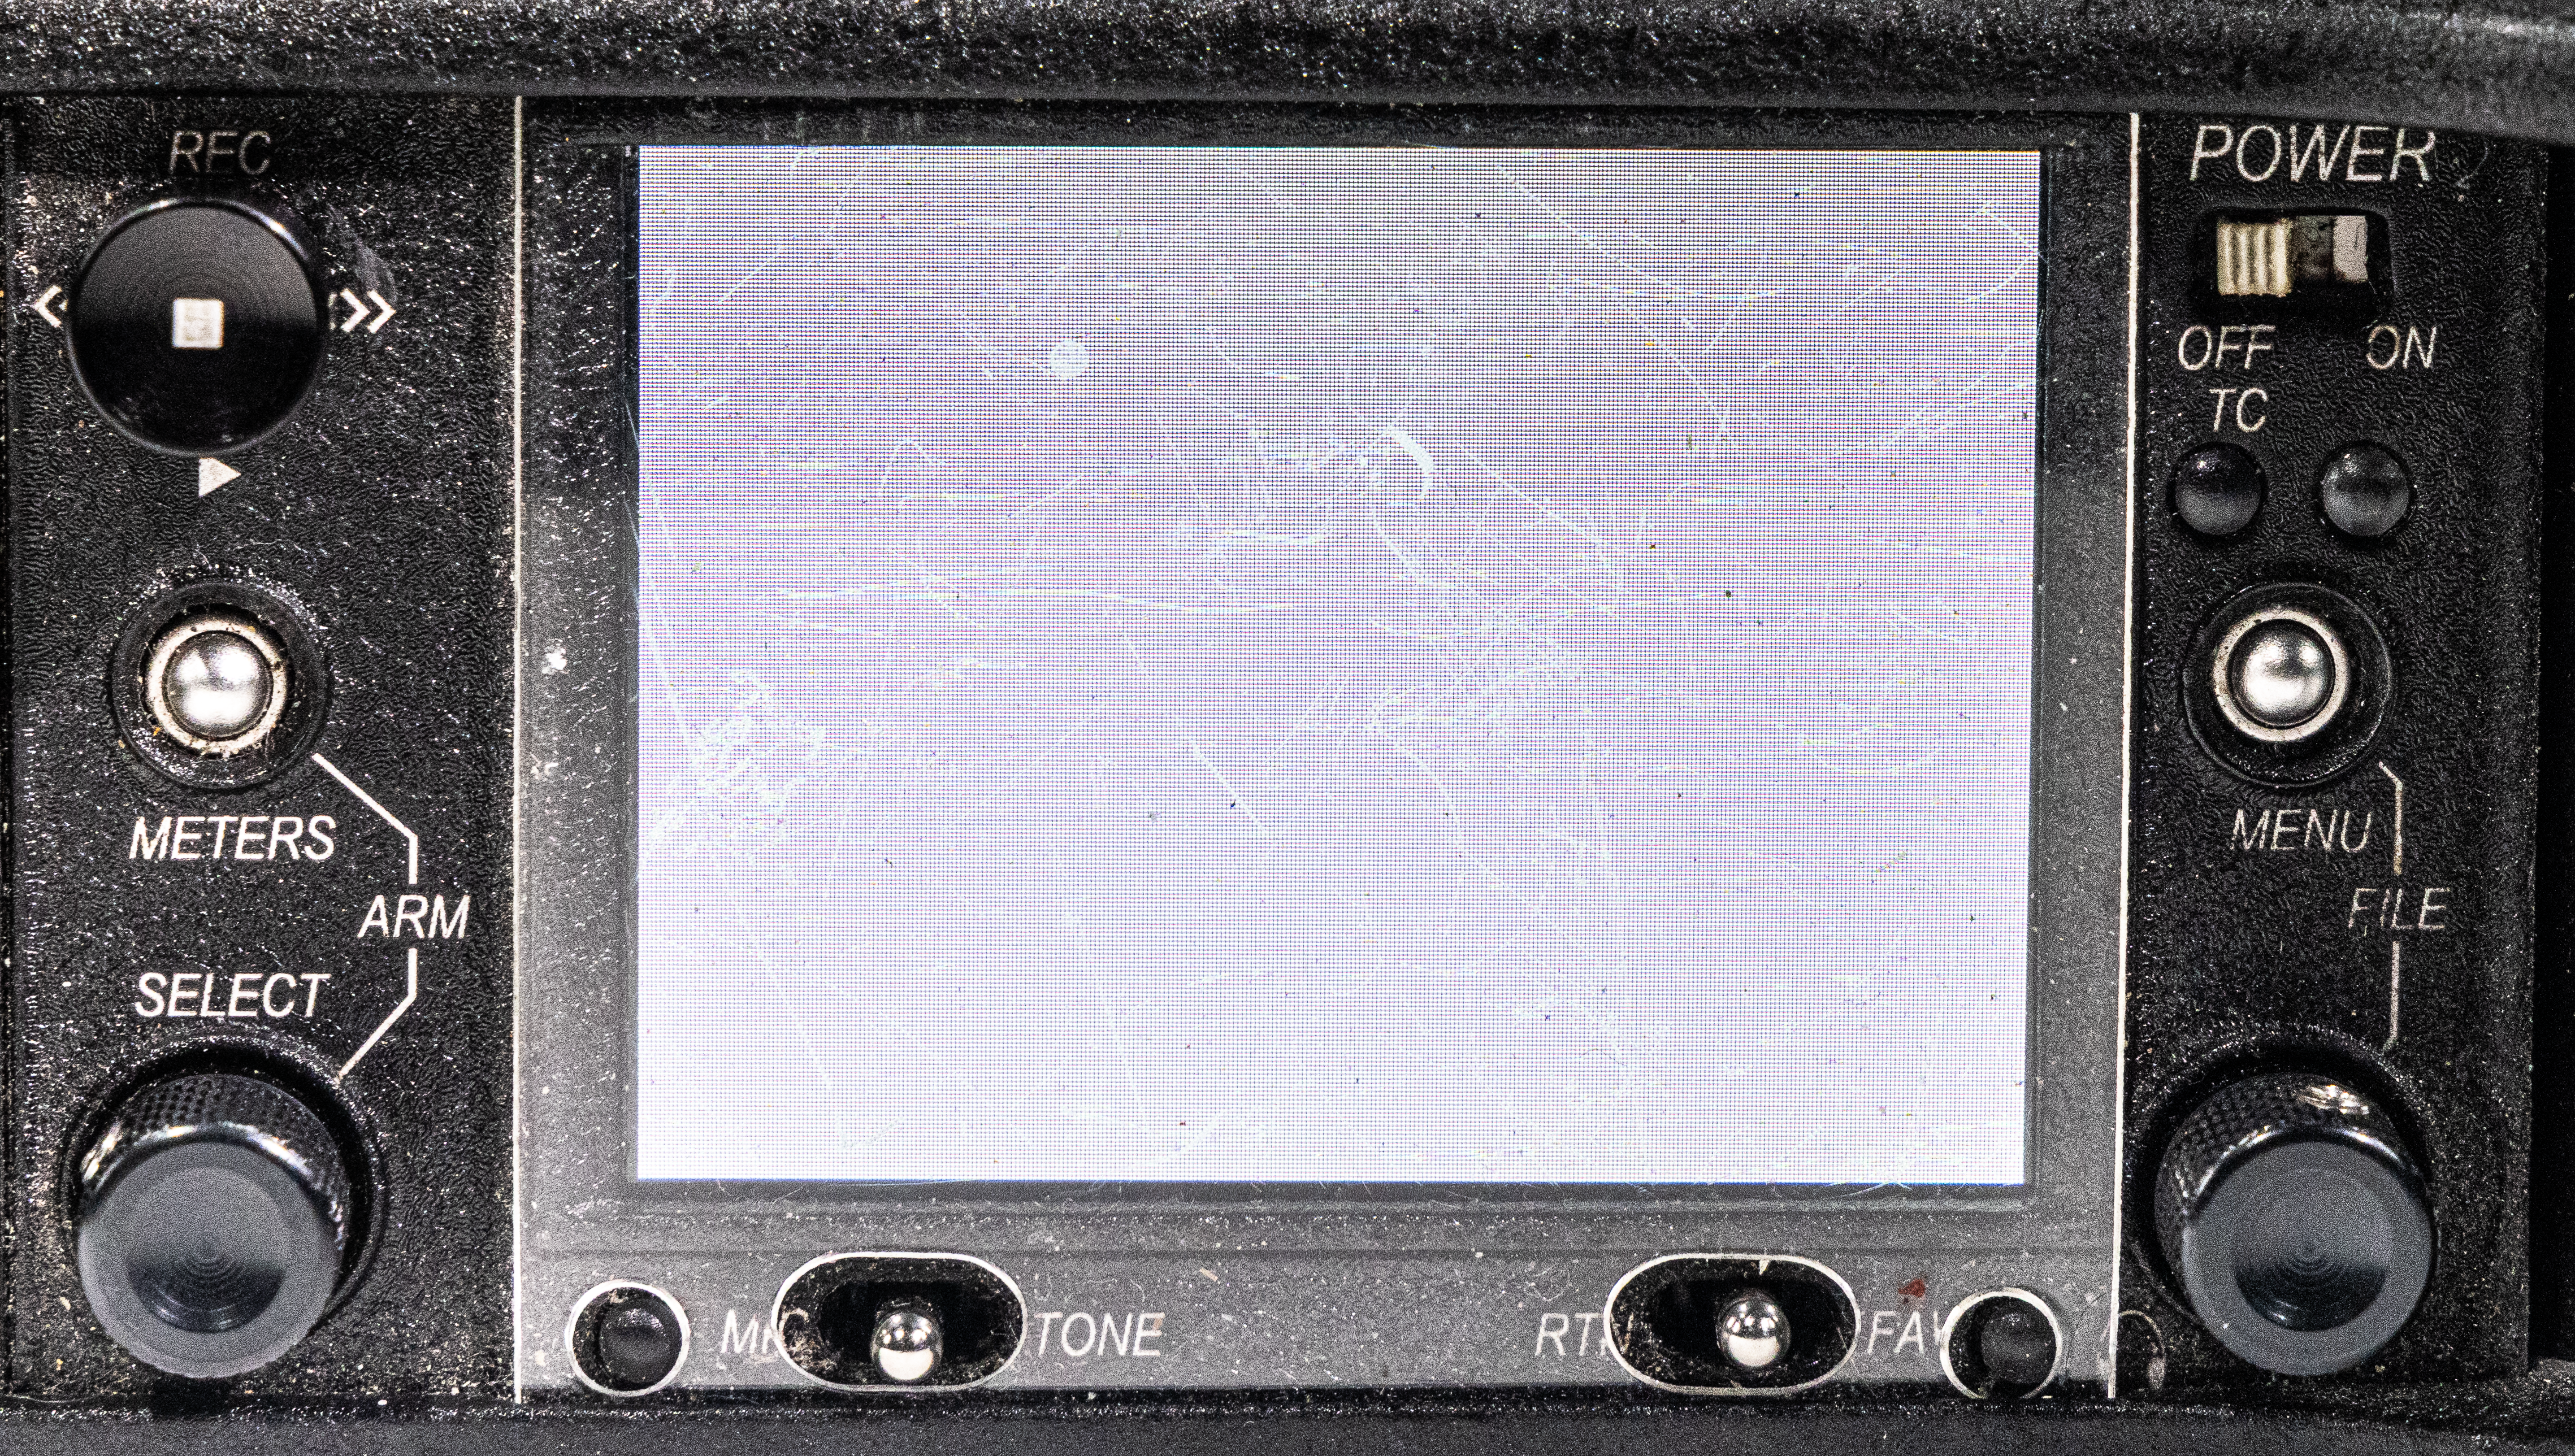
- The Front Panel has the LCD screen, plus controls for:
- Power
- Menu access and settings
- Recording and playback
- Headphone volume levels
- Channel trim, fader, pan, and pre-fade listen
 The front panel of the Sound Devices 633.
- Left Side
- XLR and TA3 inputs
- X3/X4 aux output
 The left panel of the Sound Devices 633.
- Right Side
- Memory card slots
- Timecode in/out
- Headphone output
- Main outputs (left & right)
 The right panel of the Sound Devices 633.
- Back
- Battery mounts (Sony L-series batteries)
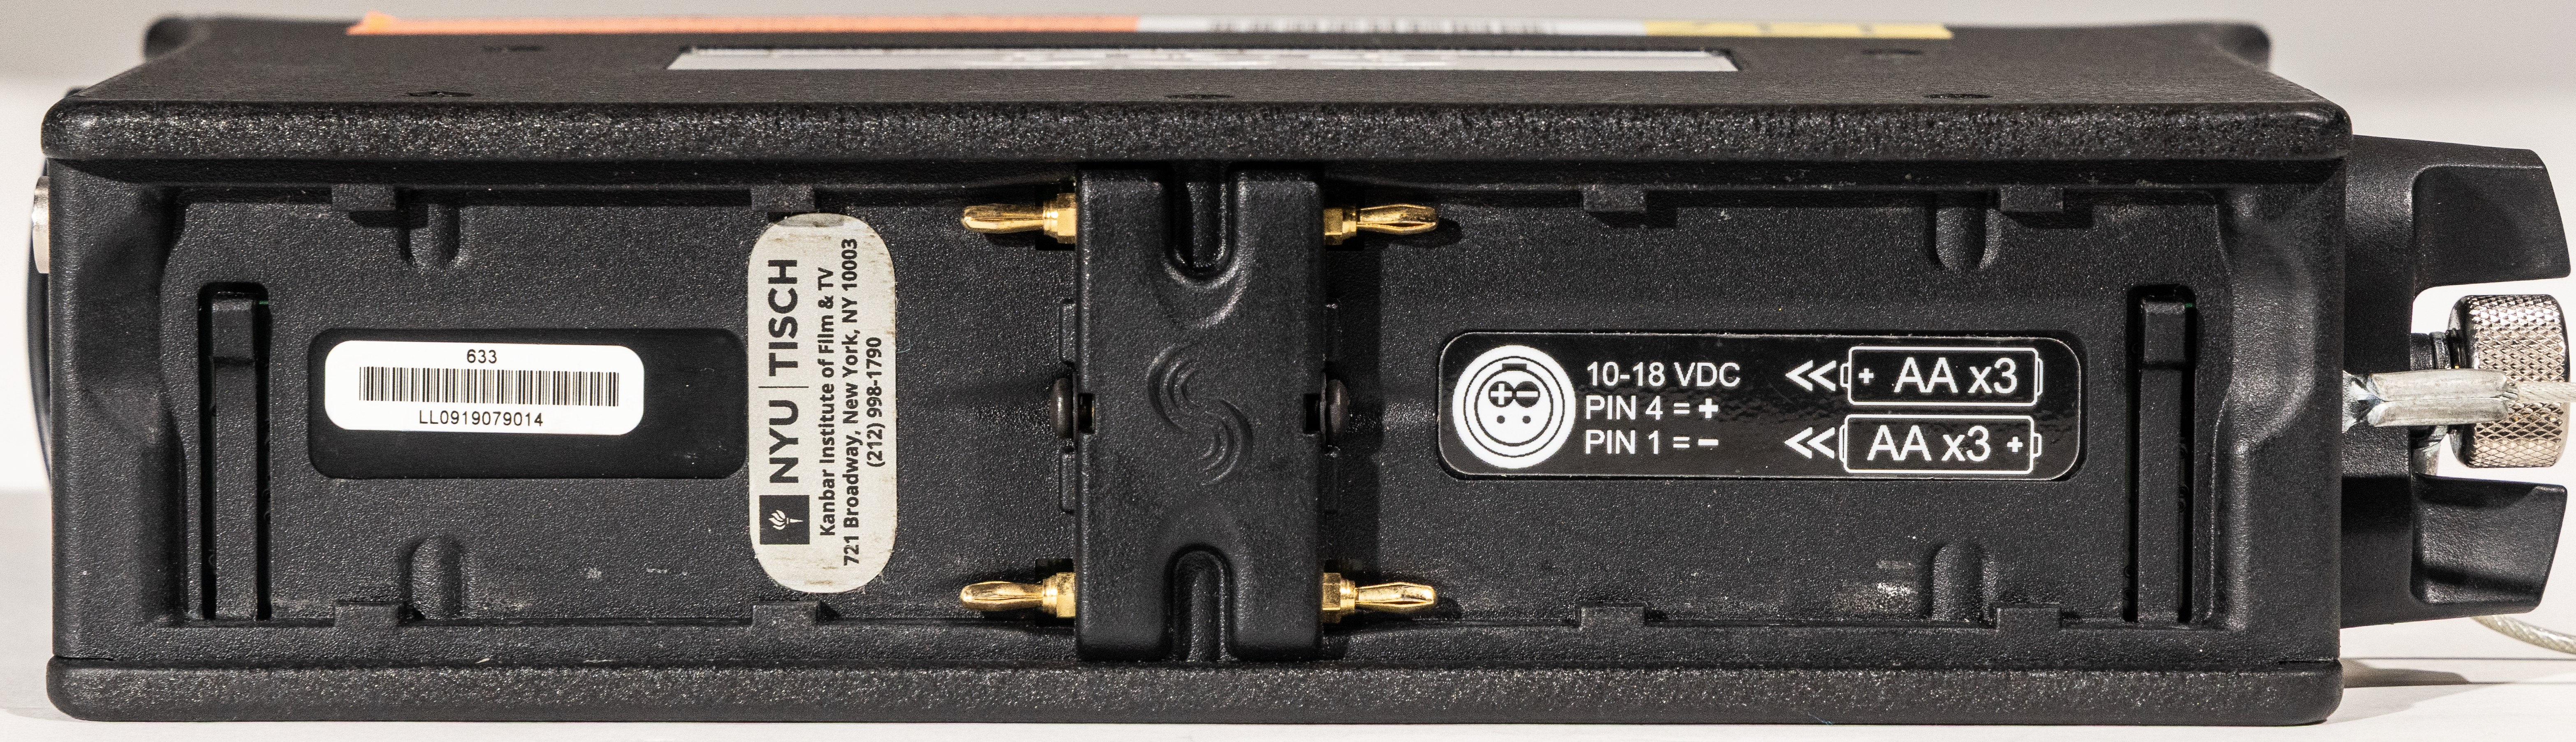 The back panel of the Sound Devices 633.
Batteries, Powering On and Off
The Sound Devices 633 is powered by two L-Series batteries. To attach them:
- Place the 633 on a stable surface.
- Position the battery so the two terminals on the battery line up with the tips of the two pins on the rear panel of the 633.
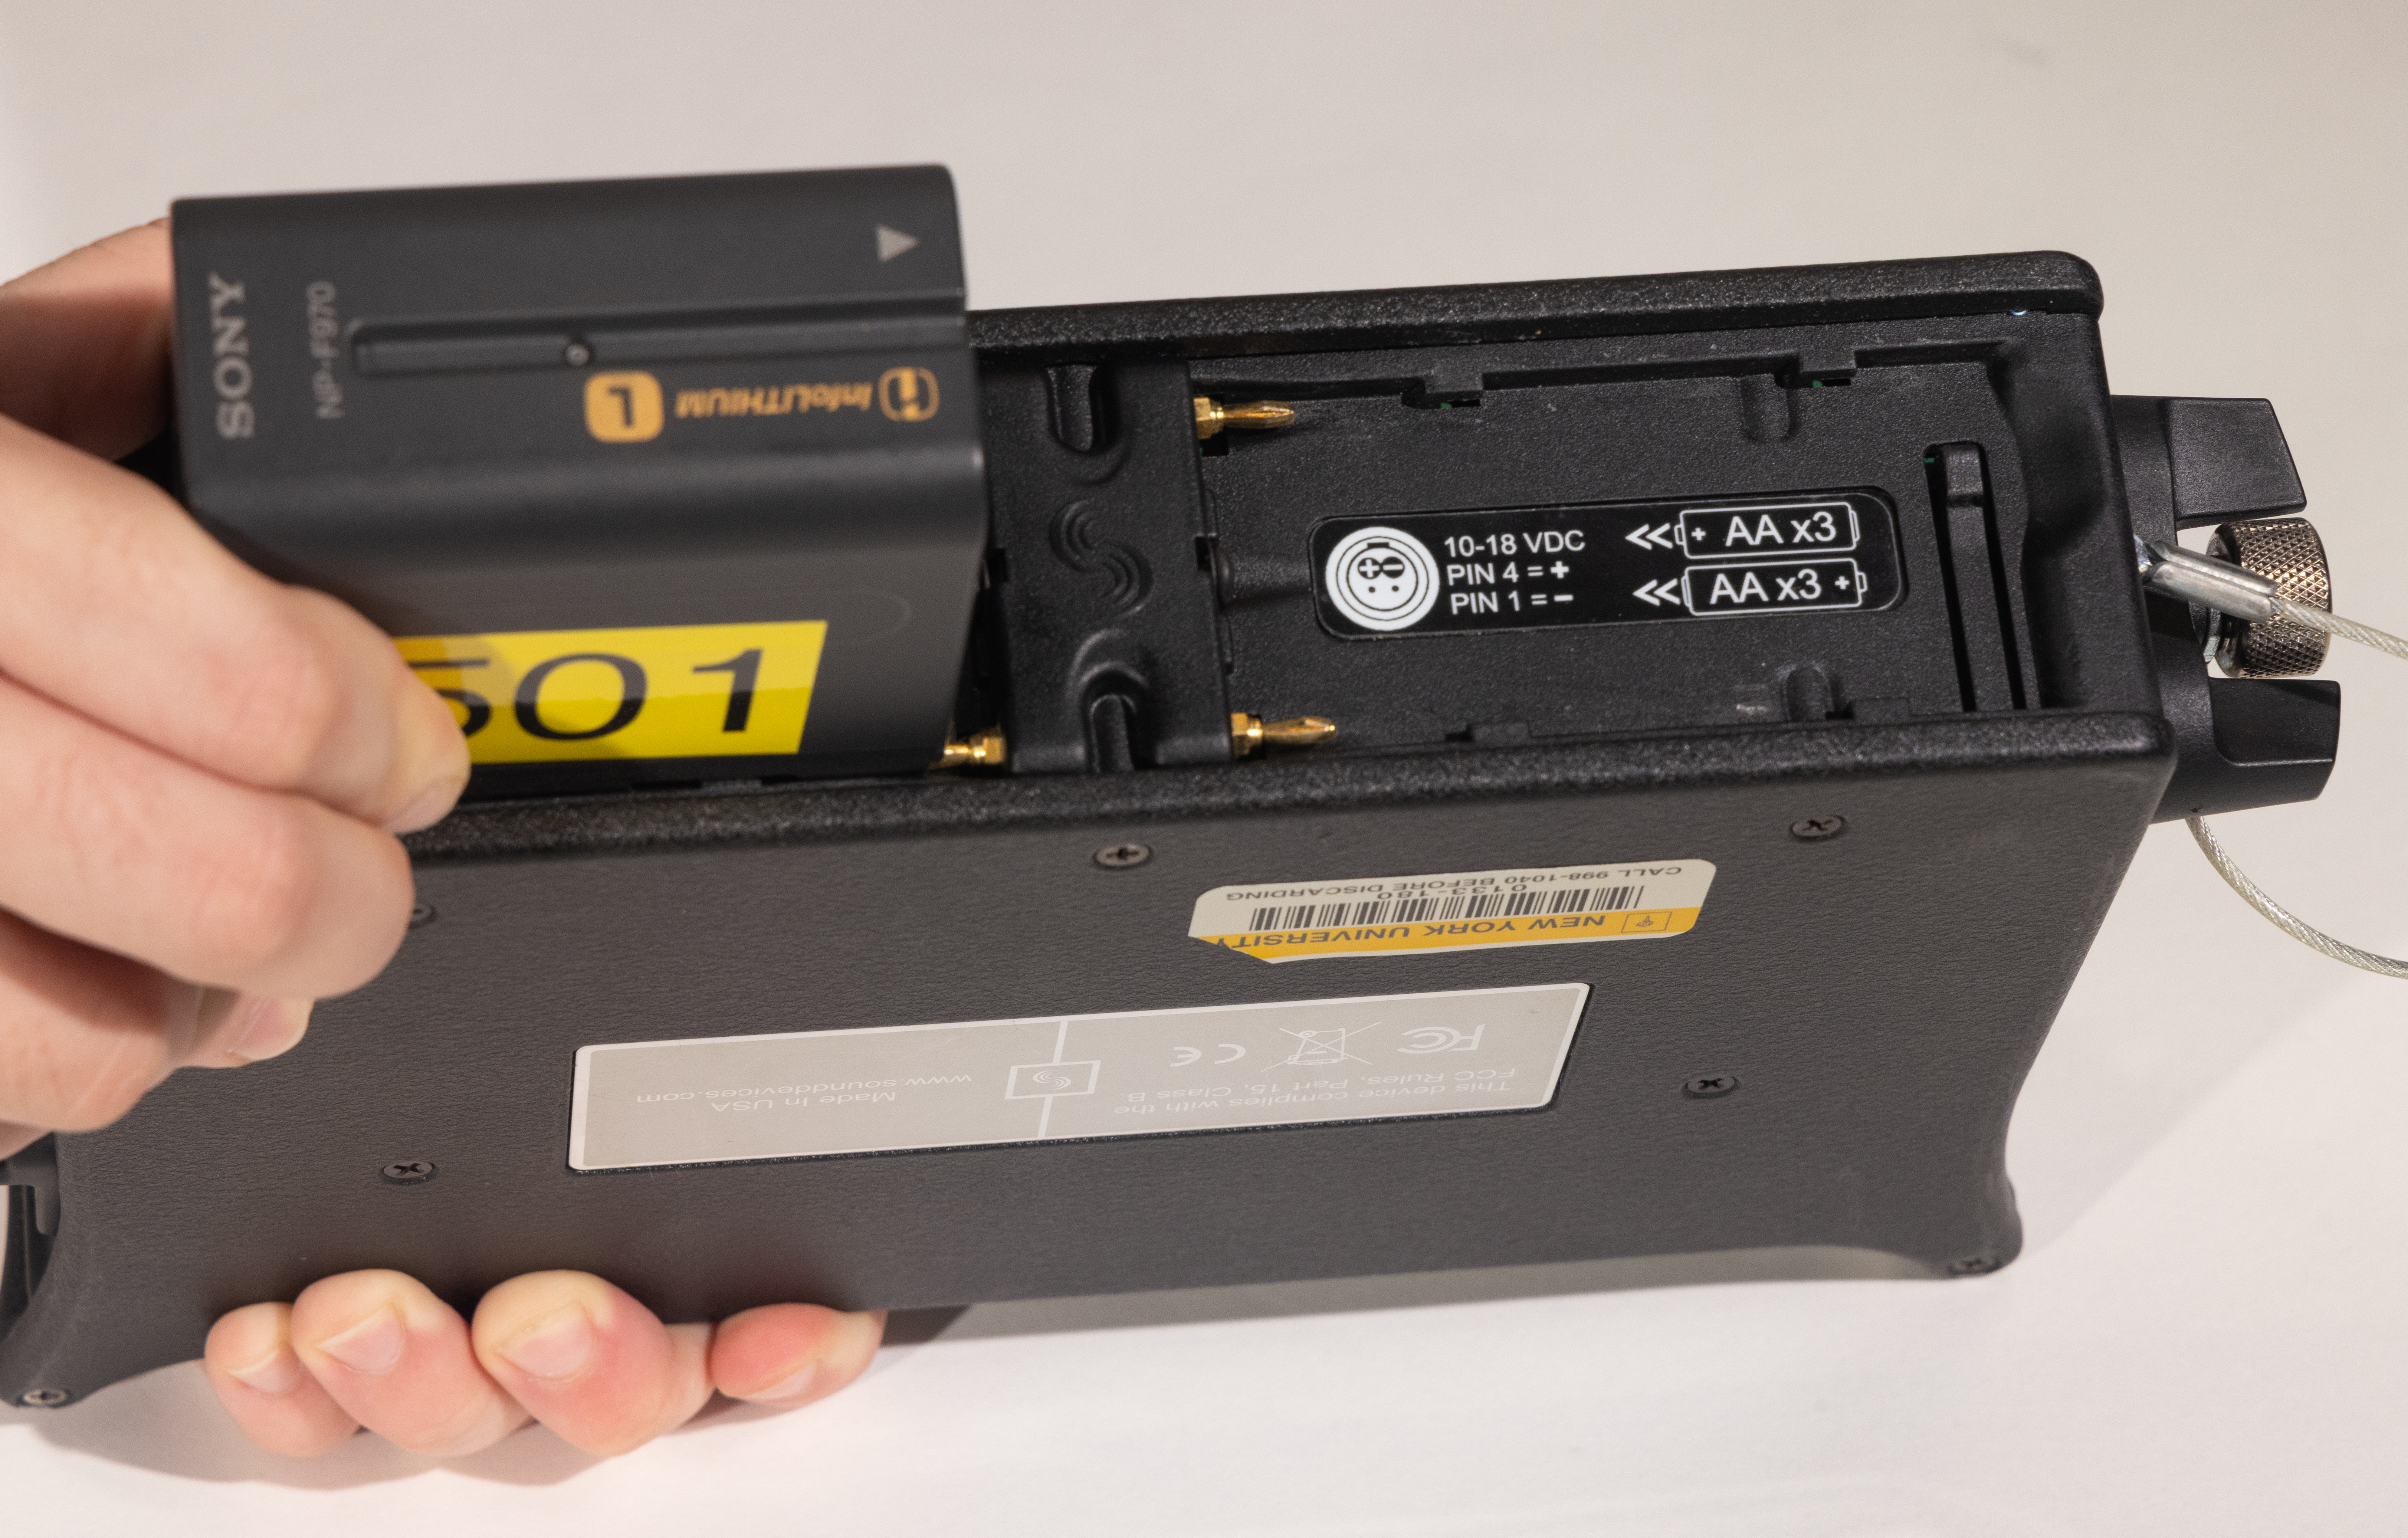
- Press the battery against the unit and slide the battery onto the pins. The battery retainer clip will click to let you know the battery is secure.
- Repeat for the second battery.

To power on the 633:
- Locate the power switch on the front panel.
- Switch it to the On position (to the right). Check to make sure the power LED has lit up.
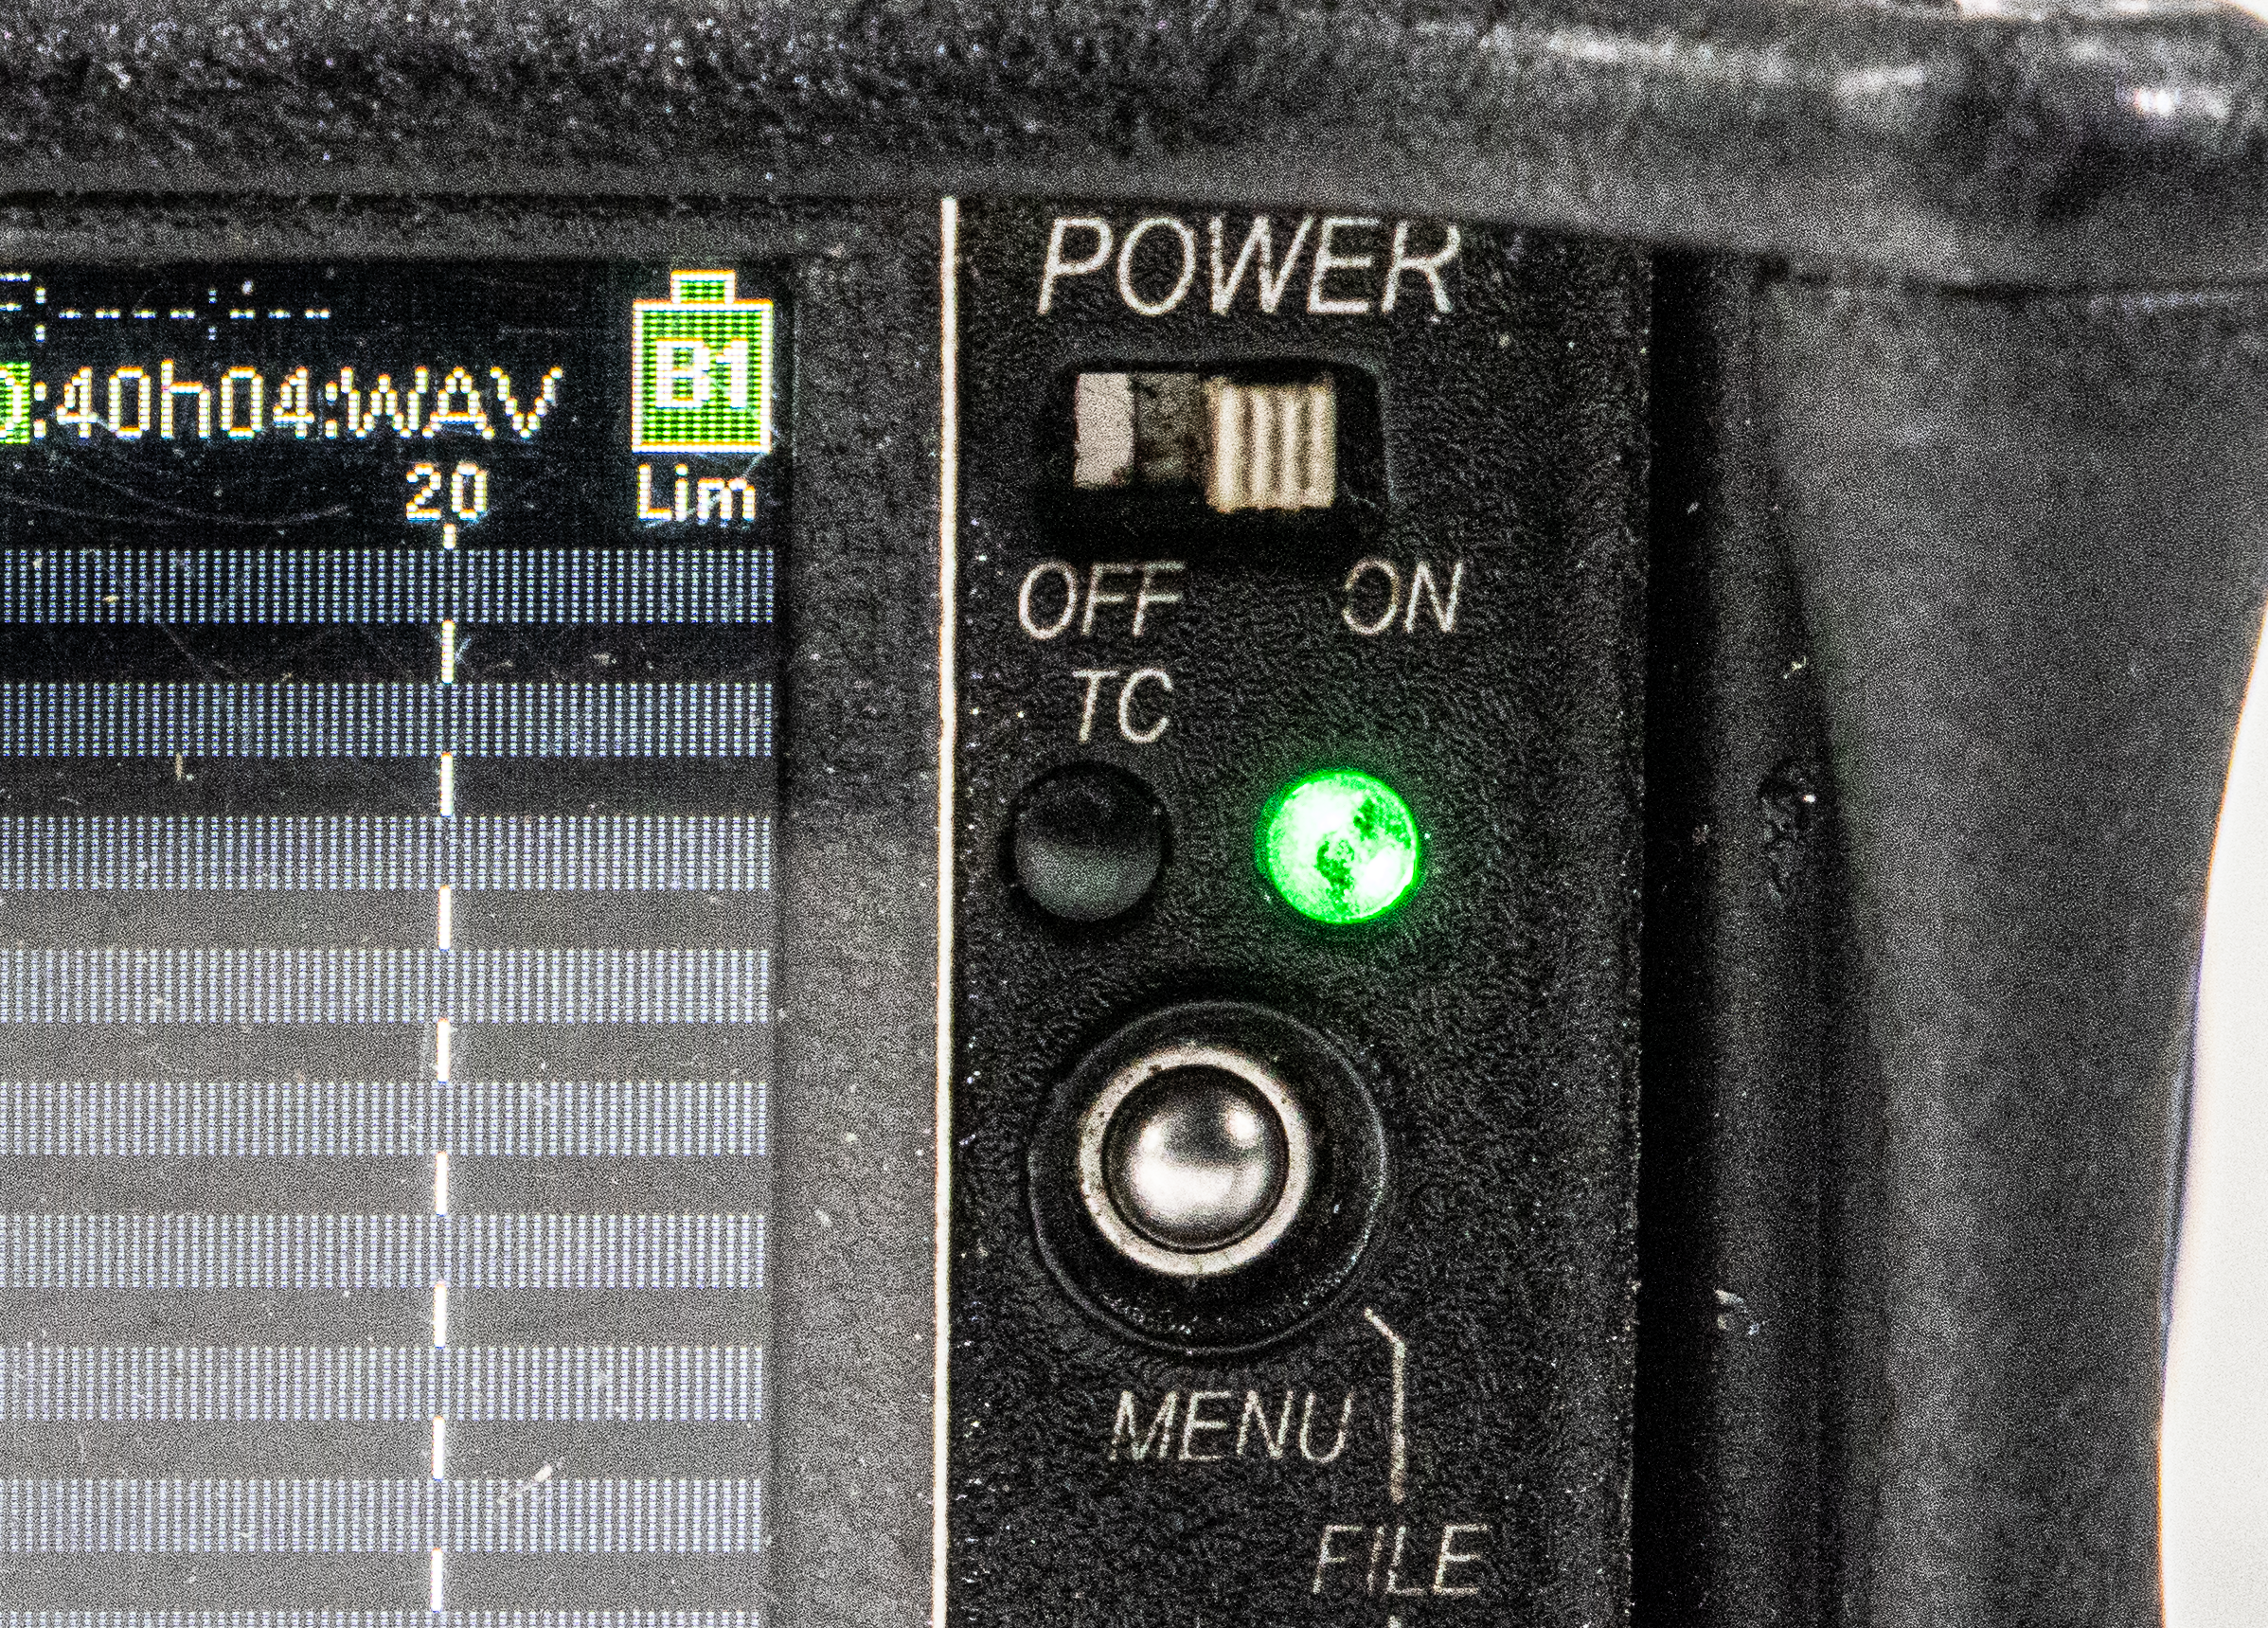

To power off the unit:
- Slide the power switch to the Off position (to the left).
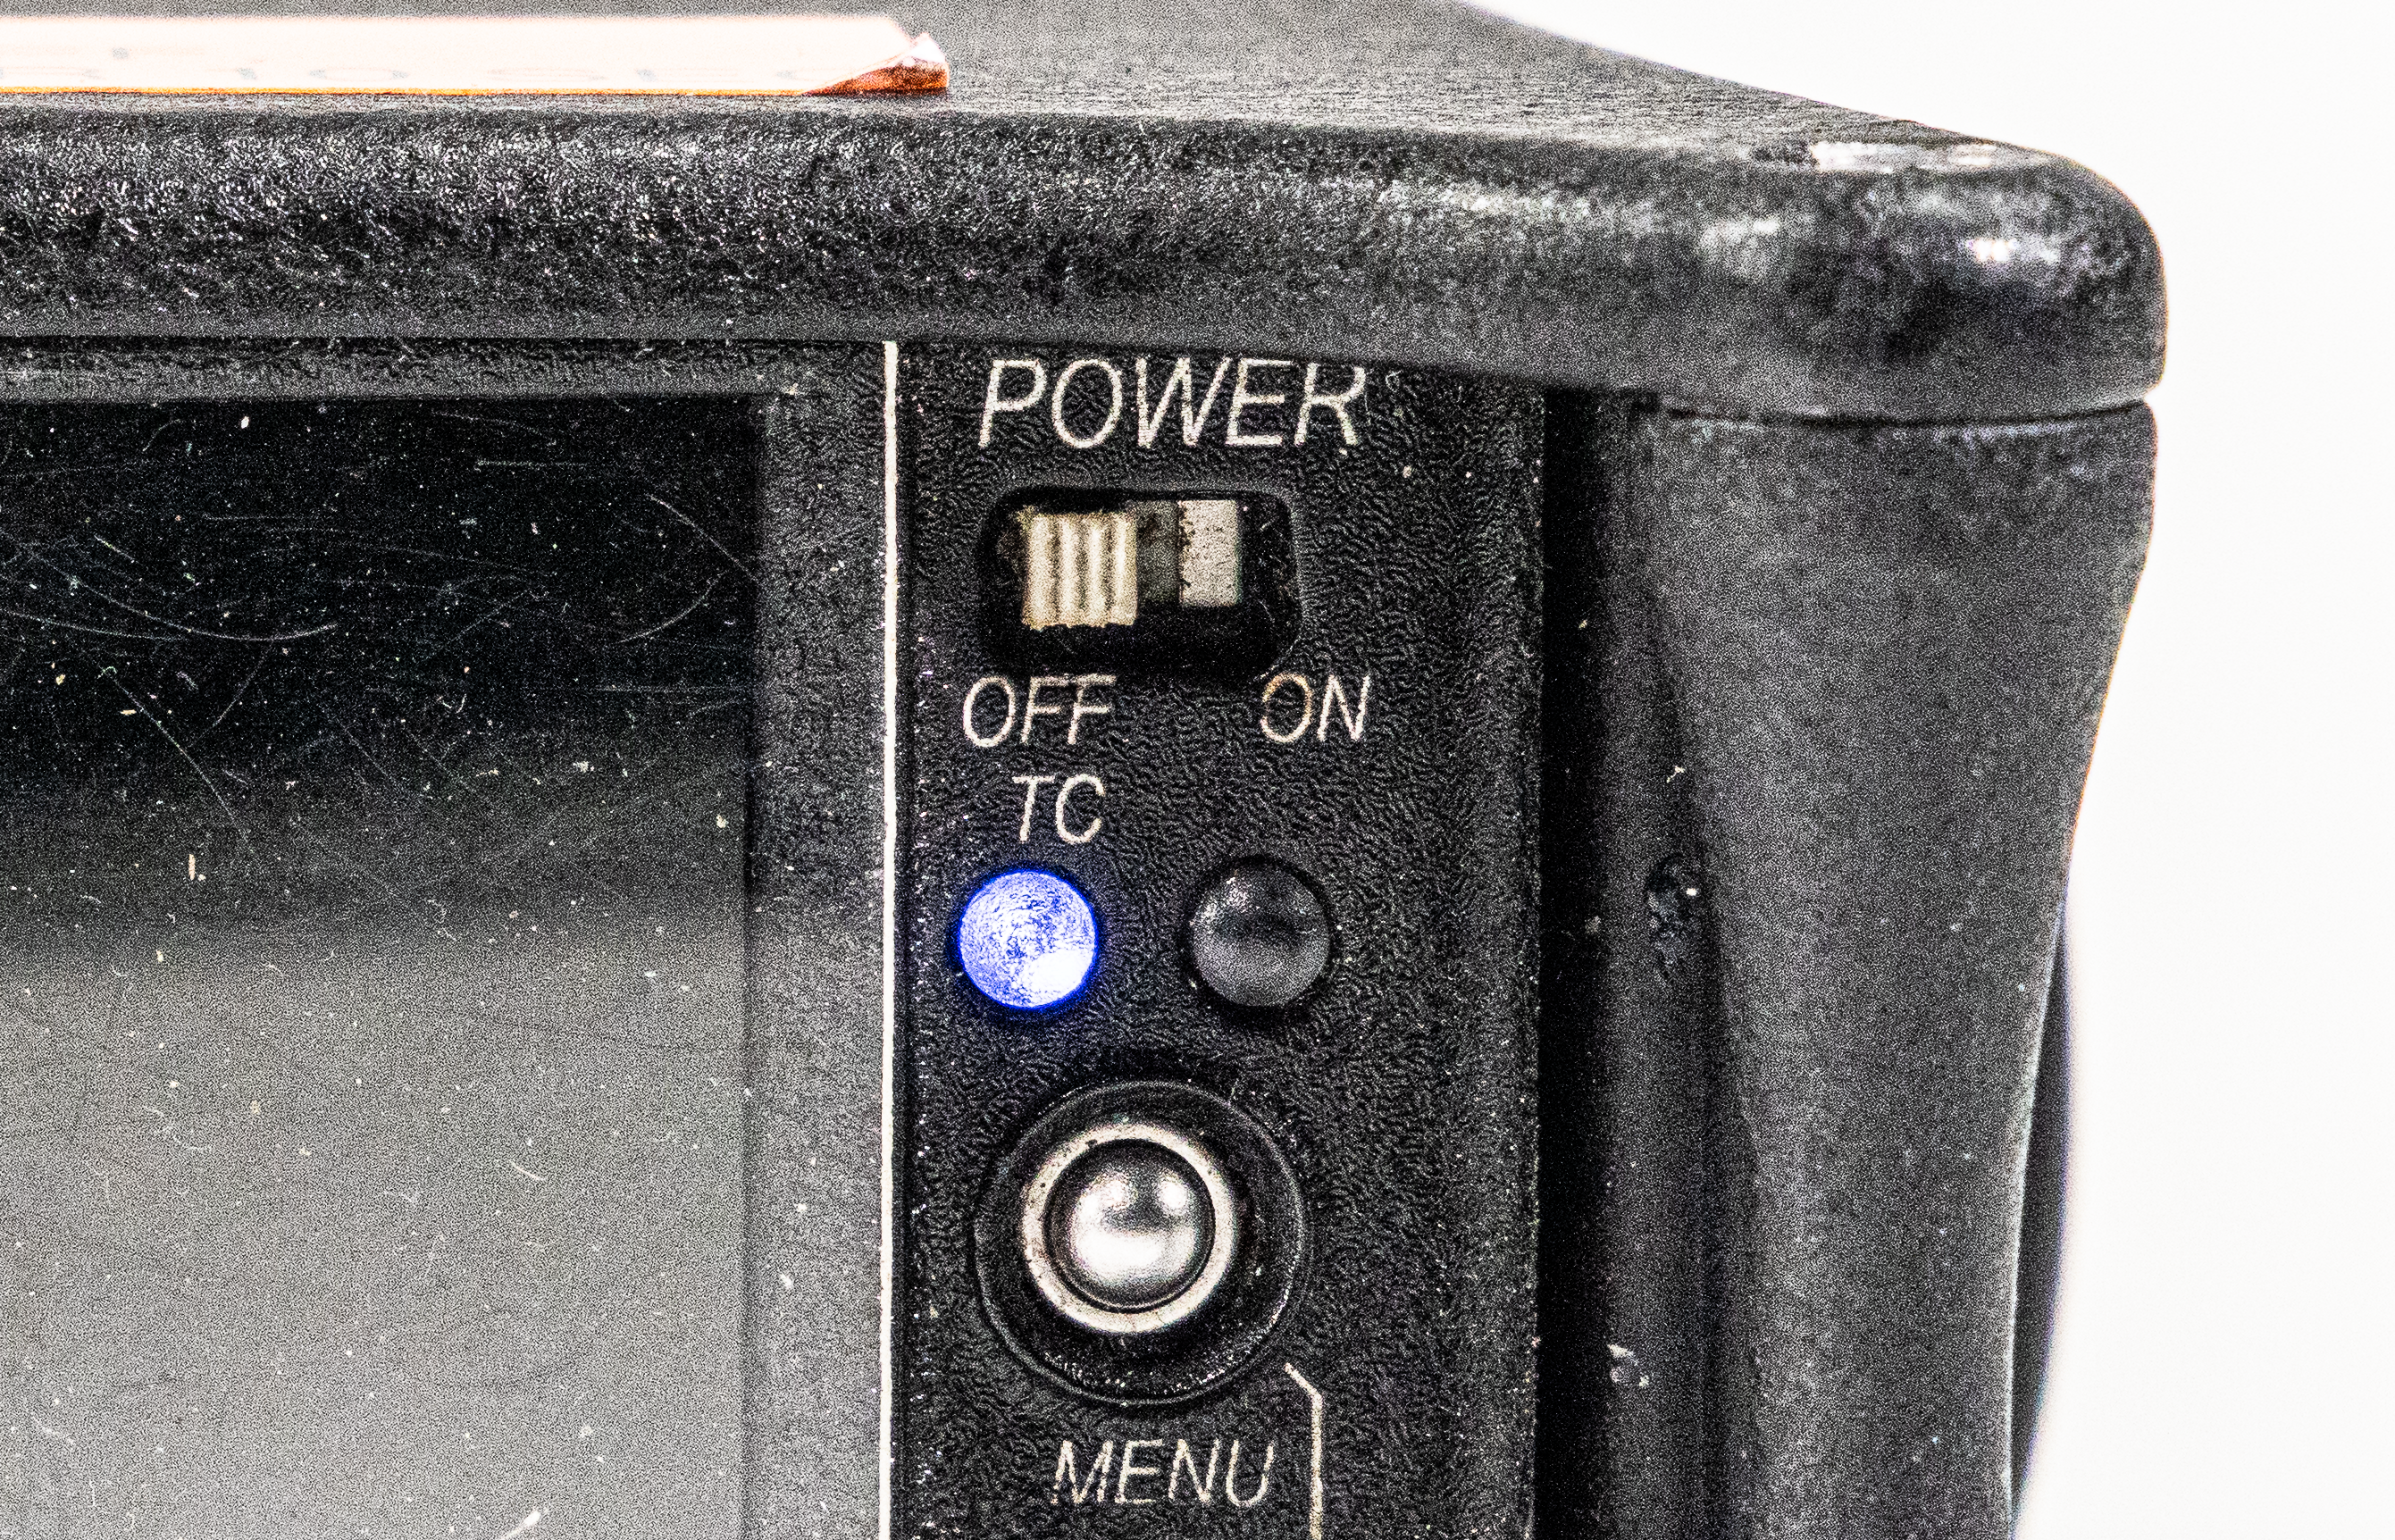
- Press and hold the Menu button until the screen flashes white.


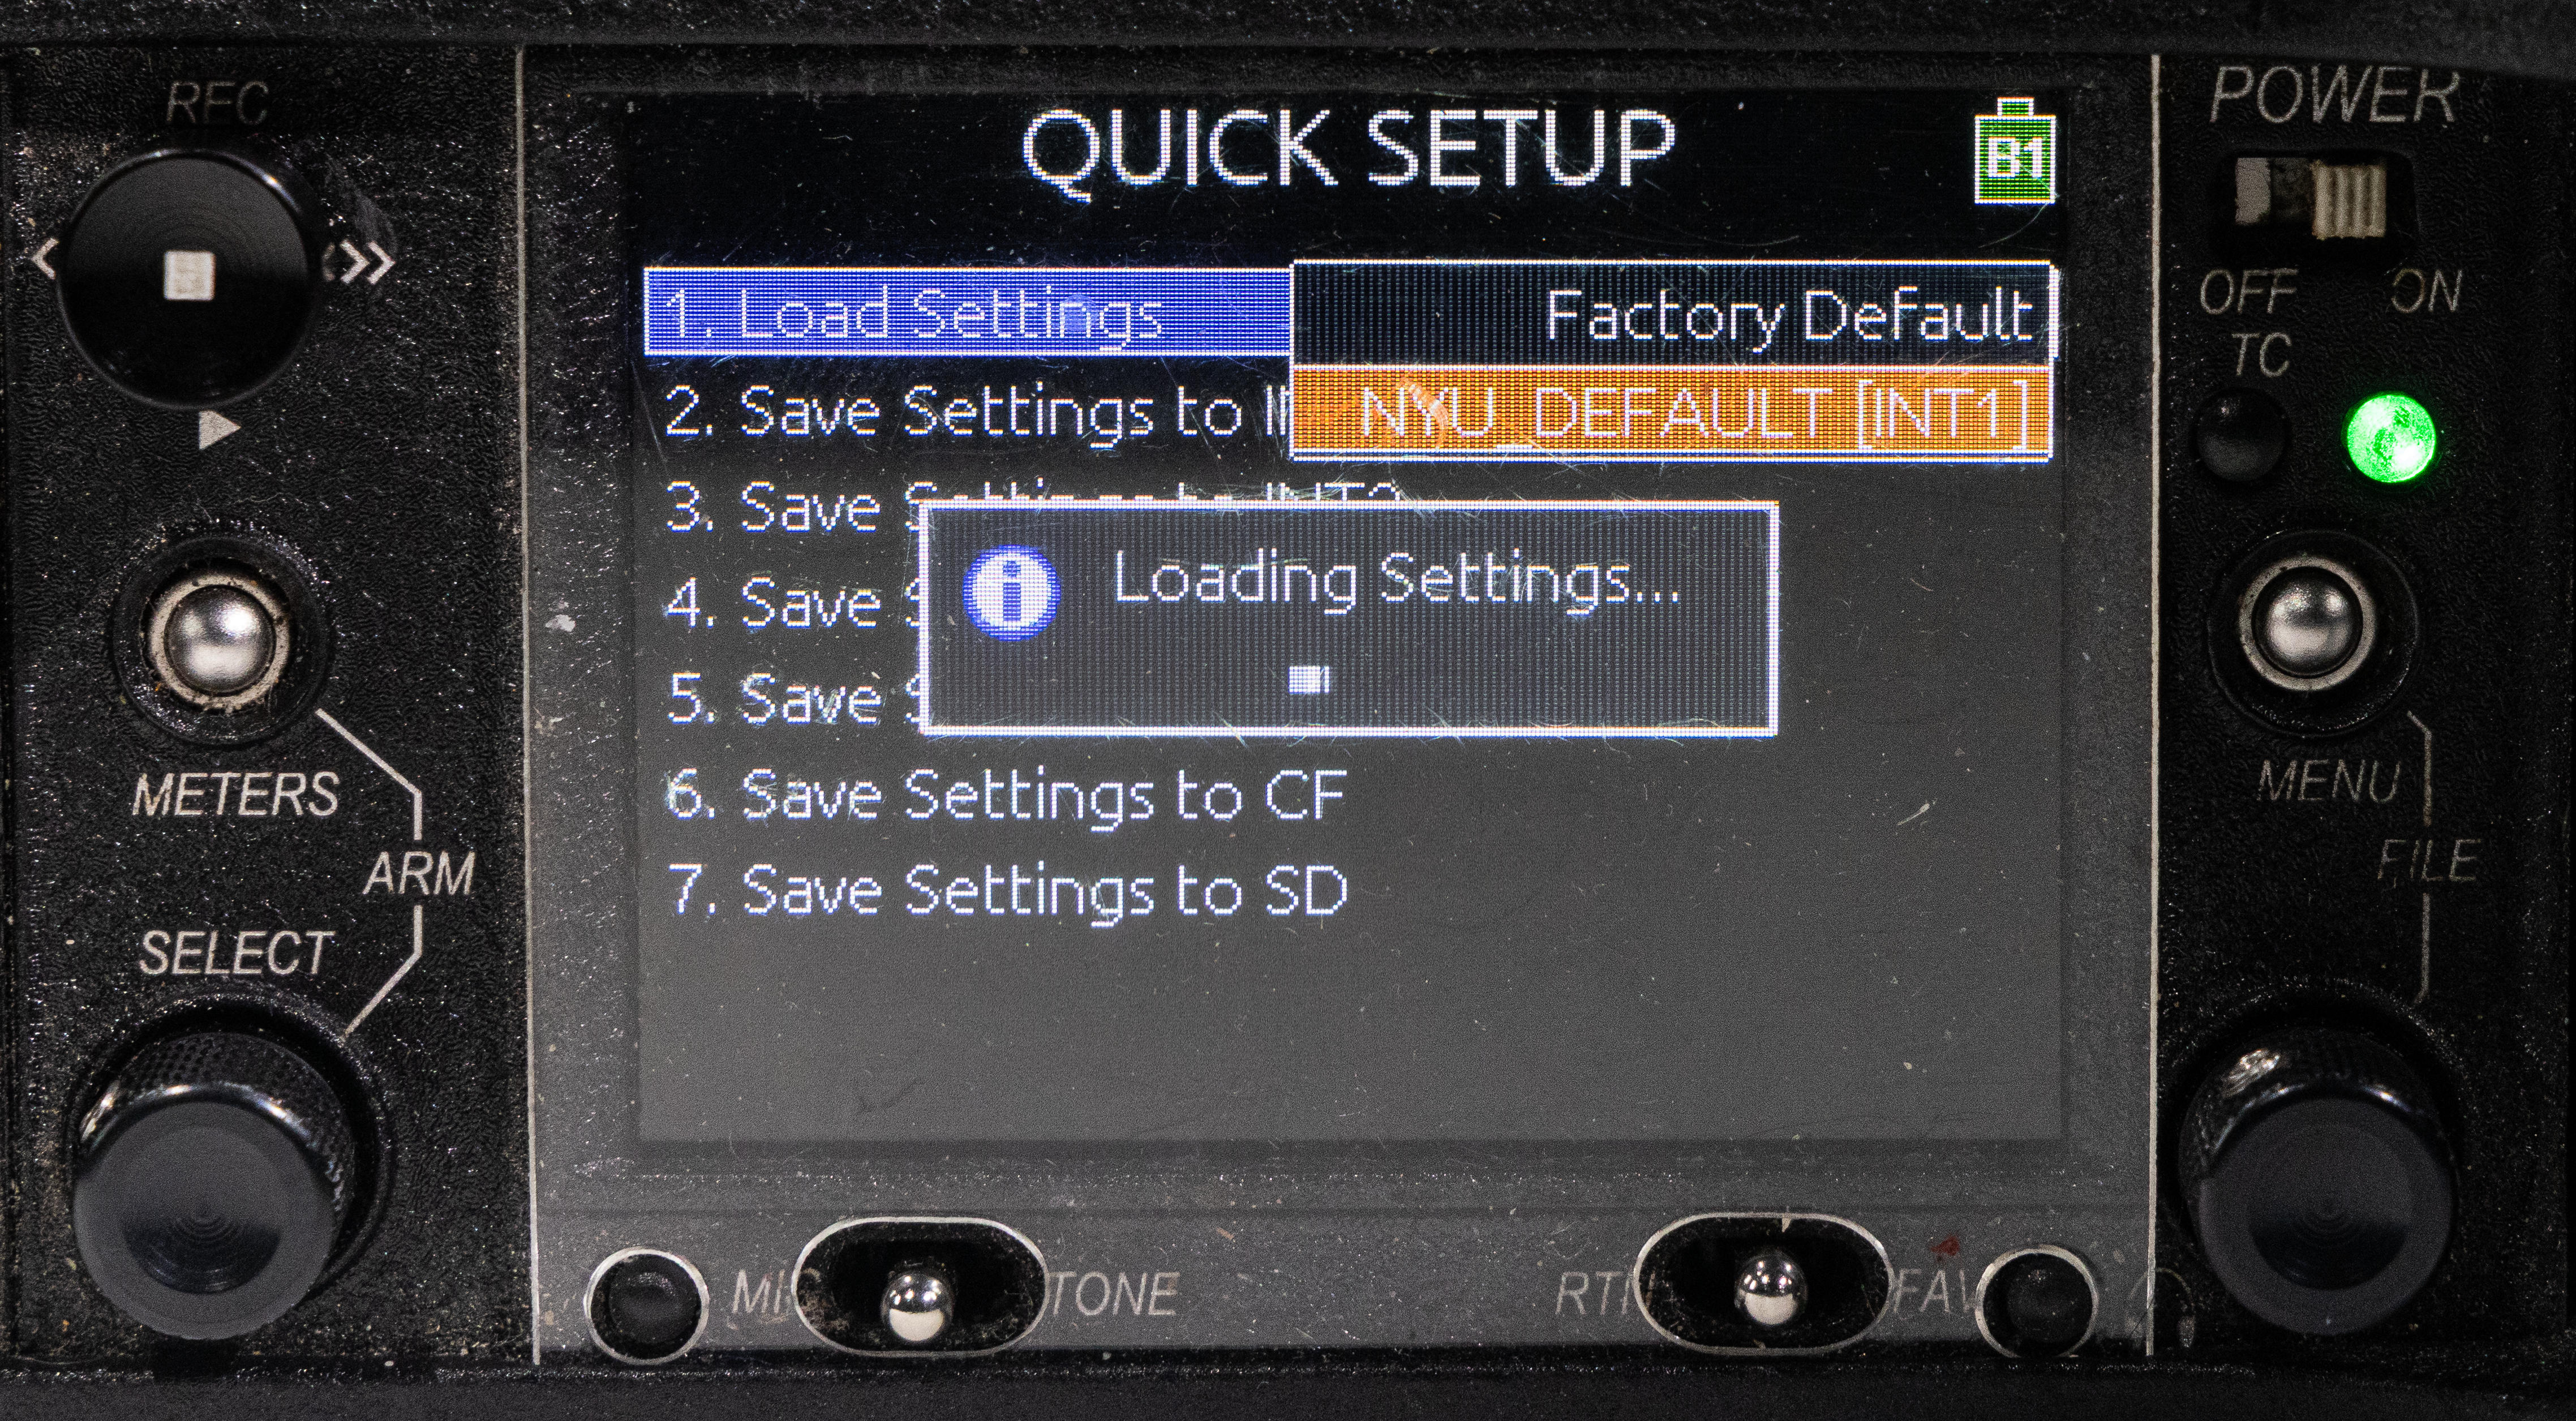
Loading NYU Recommended Settings
NYU's recommended settings can be activated by:
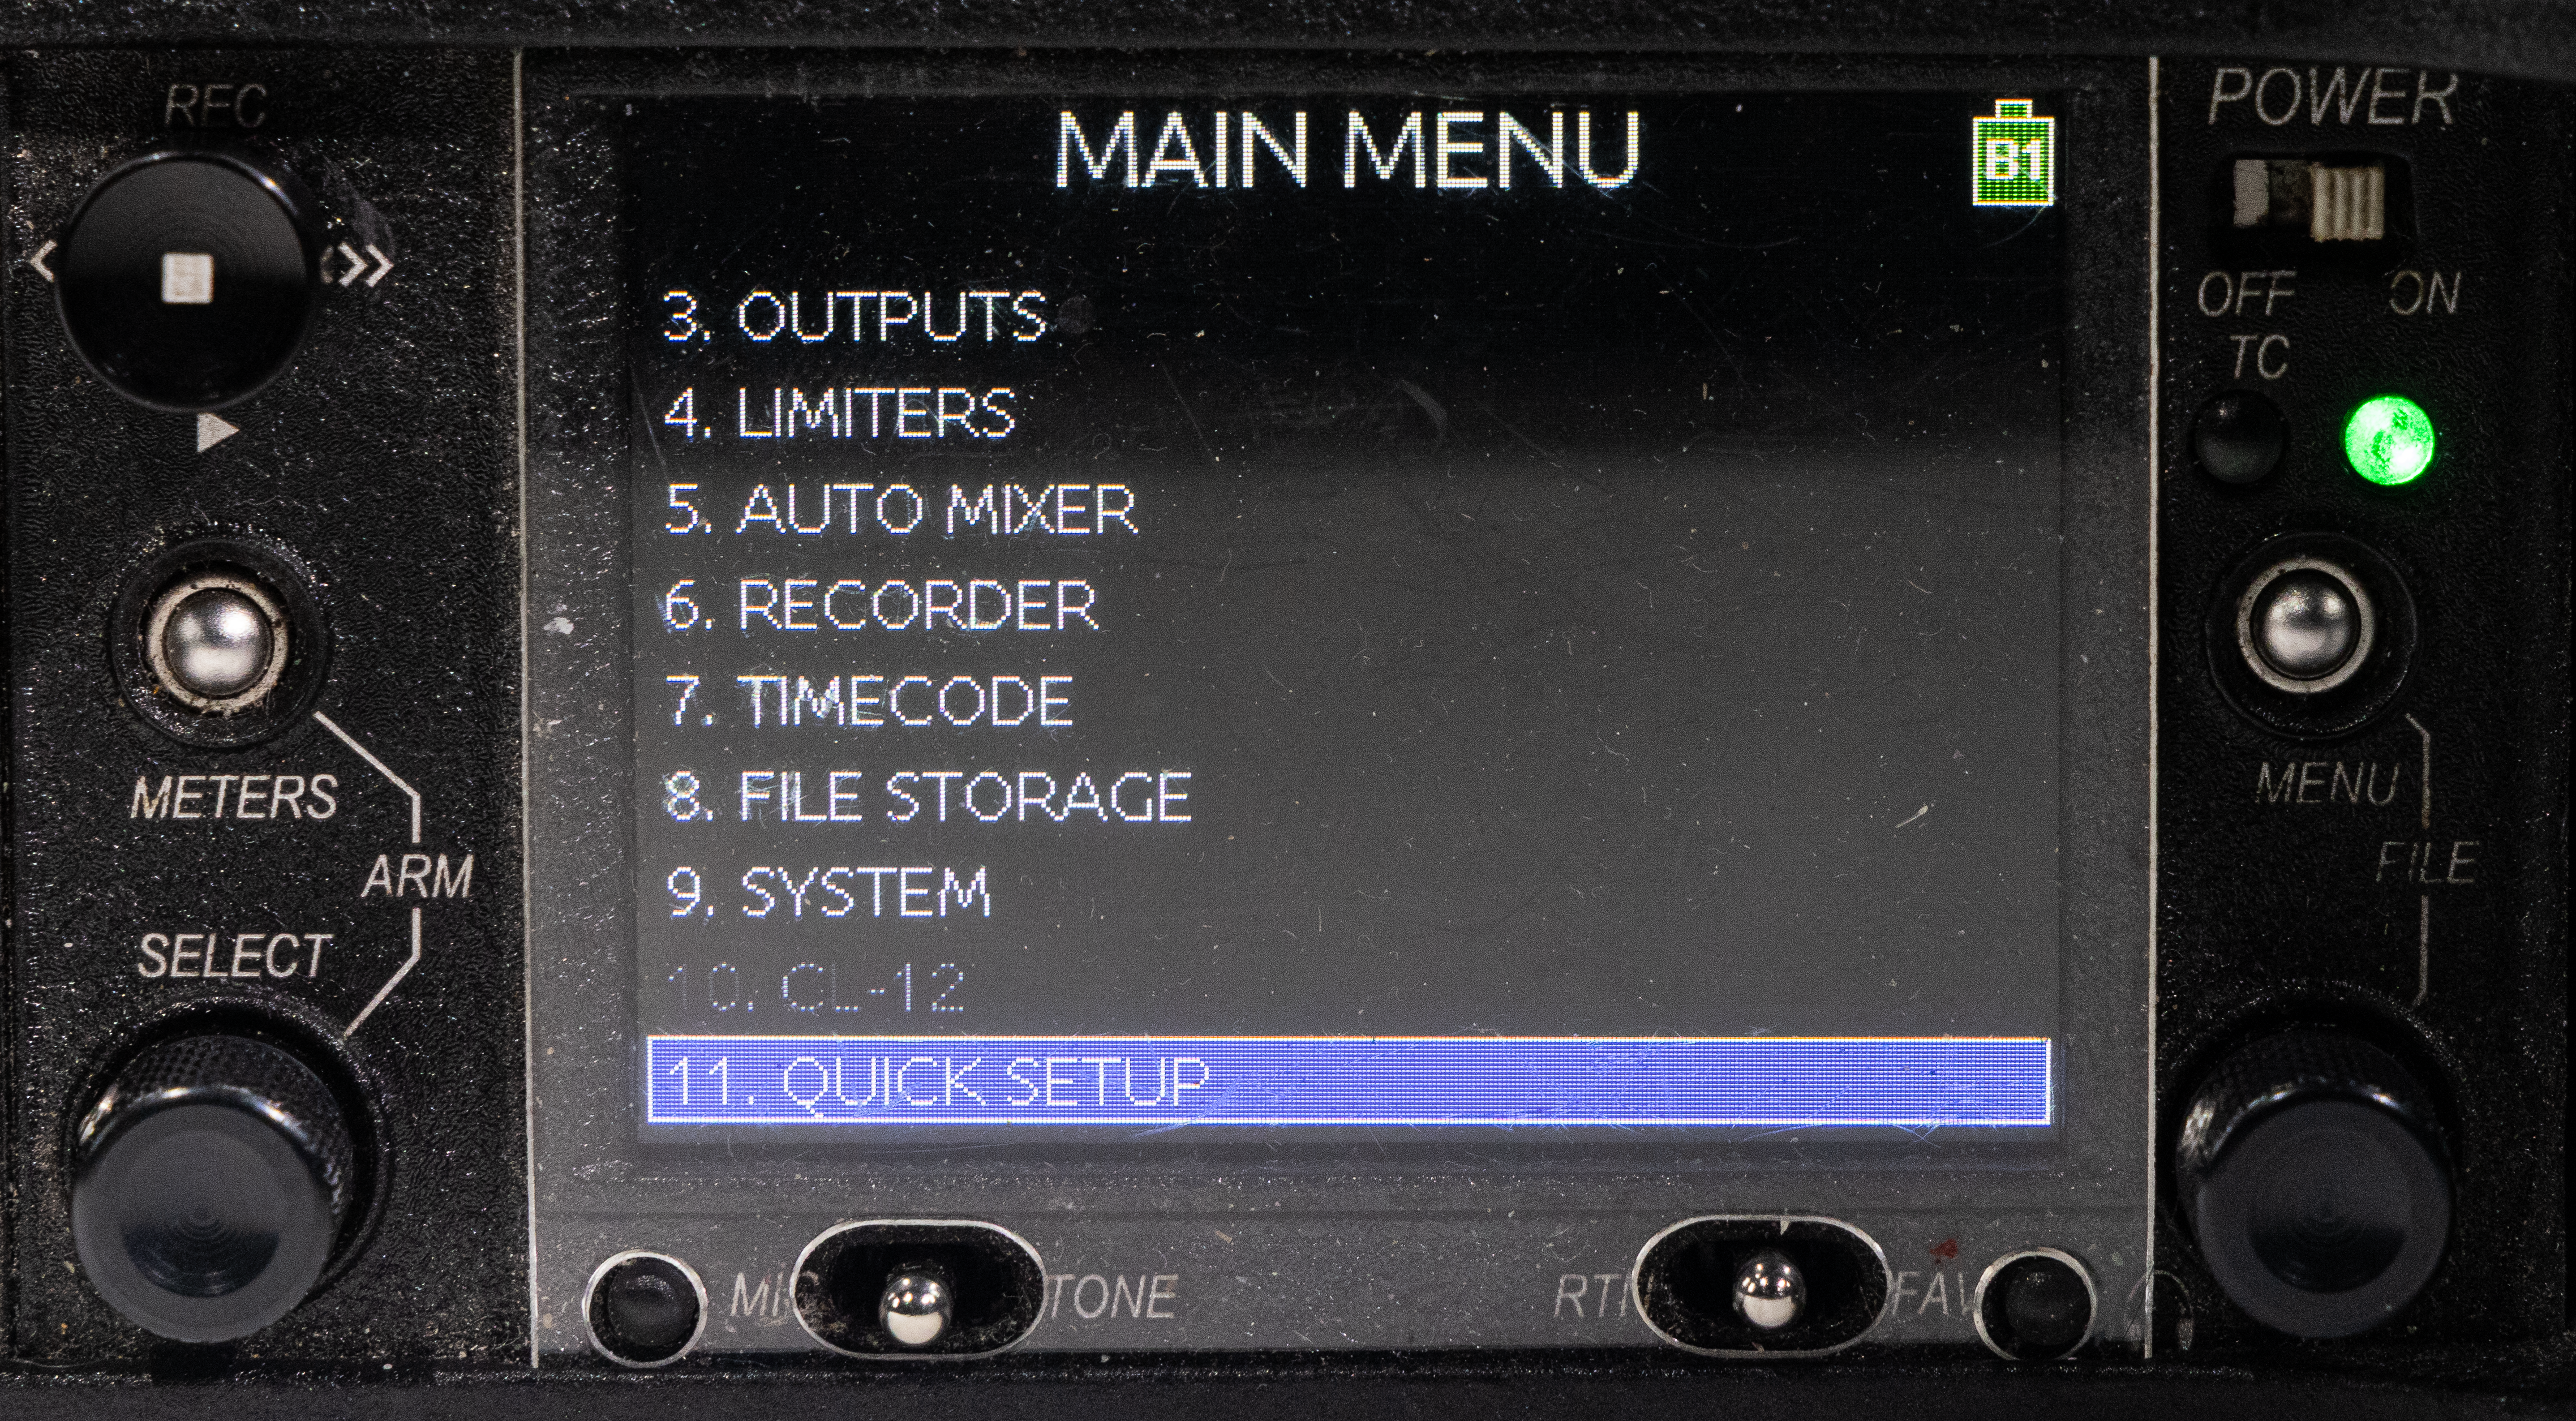
- Press the Menu button.
- Use the Select Encoder to scroll down to 11. Quick Setup. Press the Encoder to enter the Quick Setup menu.
- In the Quick Setup Menu, use the Encoder to select 1. Load Settings.
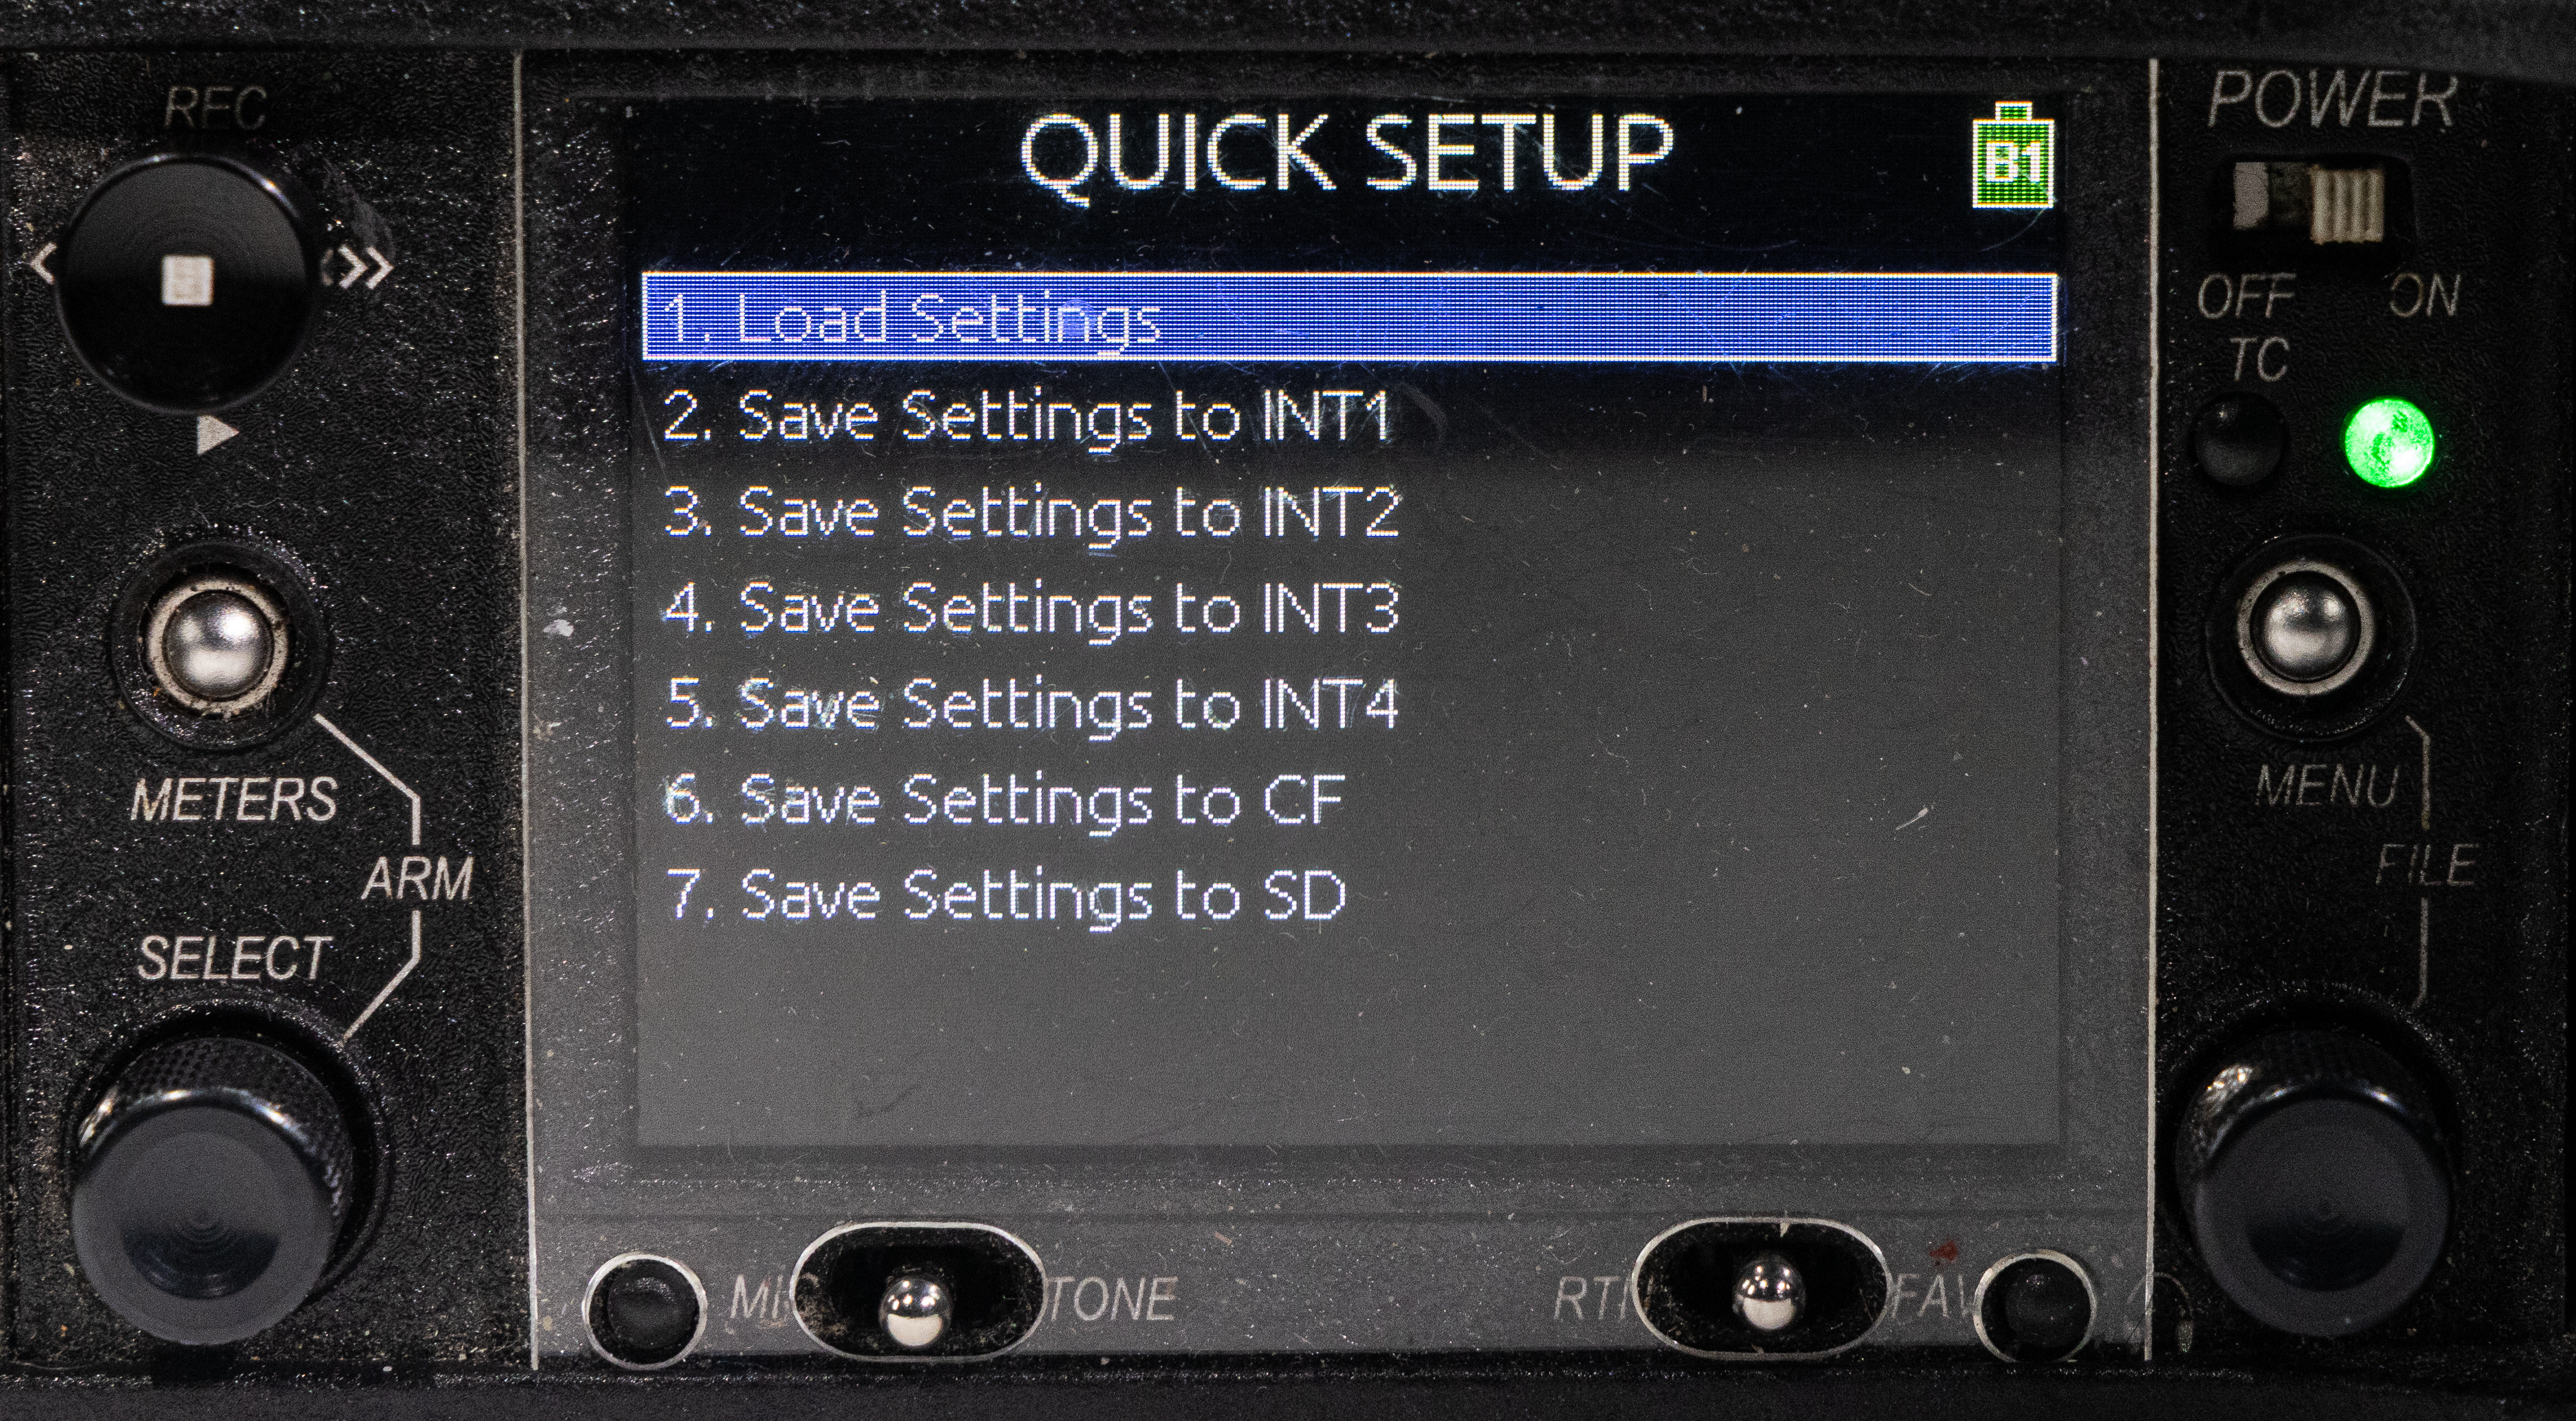
- Select INT 1 from the drop-down menu and press the Encoder to load the settings.


The recommended settings are:
- Inputs
- HPF: 80 Hz
- Source Settings
- Input 1 (boom): MIC-PH
- Inputs 2-3 (lavs): MIC
- Outputs
- X3, X4 Routing: Enable Input 1 (boom), post-fader
- Limiters
- Limiter Enable: Soft Knee
- Input 1-6 PostFade Threshold: 16 dBu
- Recorder:
- Pre-Roll Time: 6s
- Record to CF/SD: WAV poly
- Timecode
- Mode: Free Run
- Frame rate: Match the camera frame rate
- File Storage
- Folder Options
- Top Level: Project Title
- Mid-Level: <Daily>
- Bottom-Level: <Scene>
- Folder Options
- System
- Meter Peak Hold Time: 2 sec
Inserting and Formatting the Memory Card
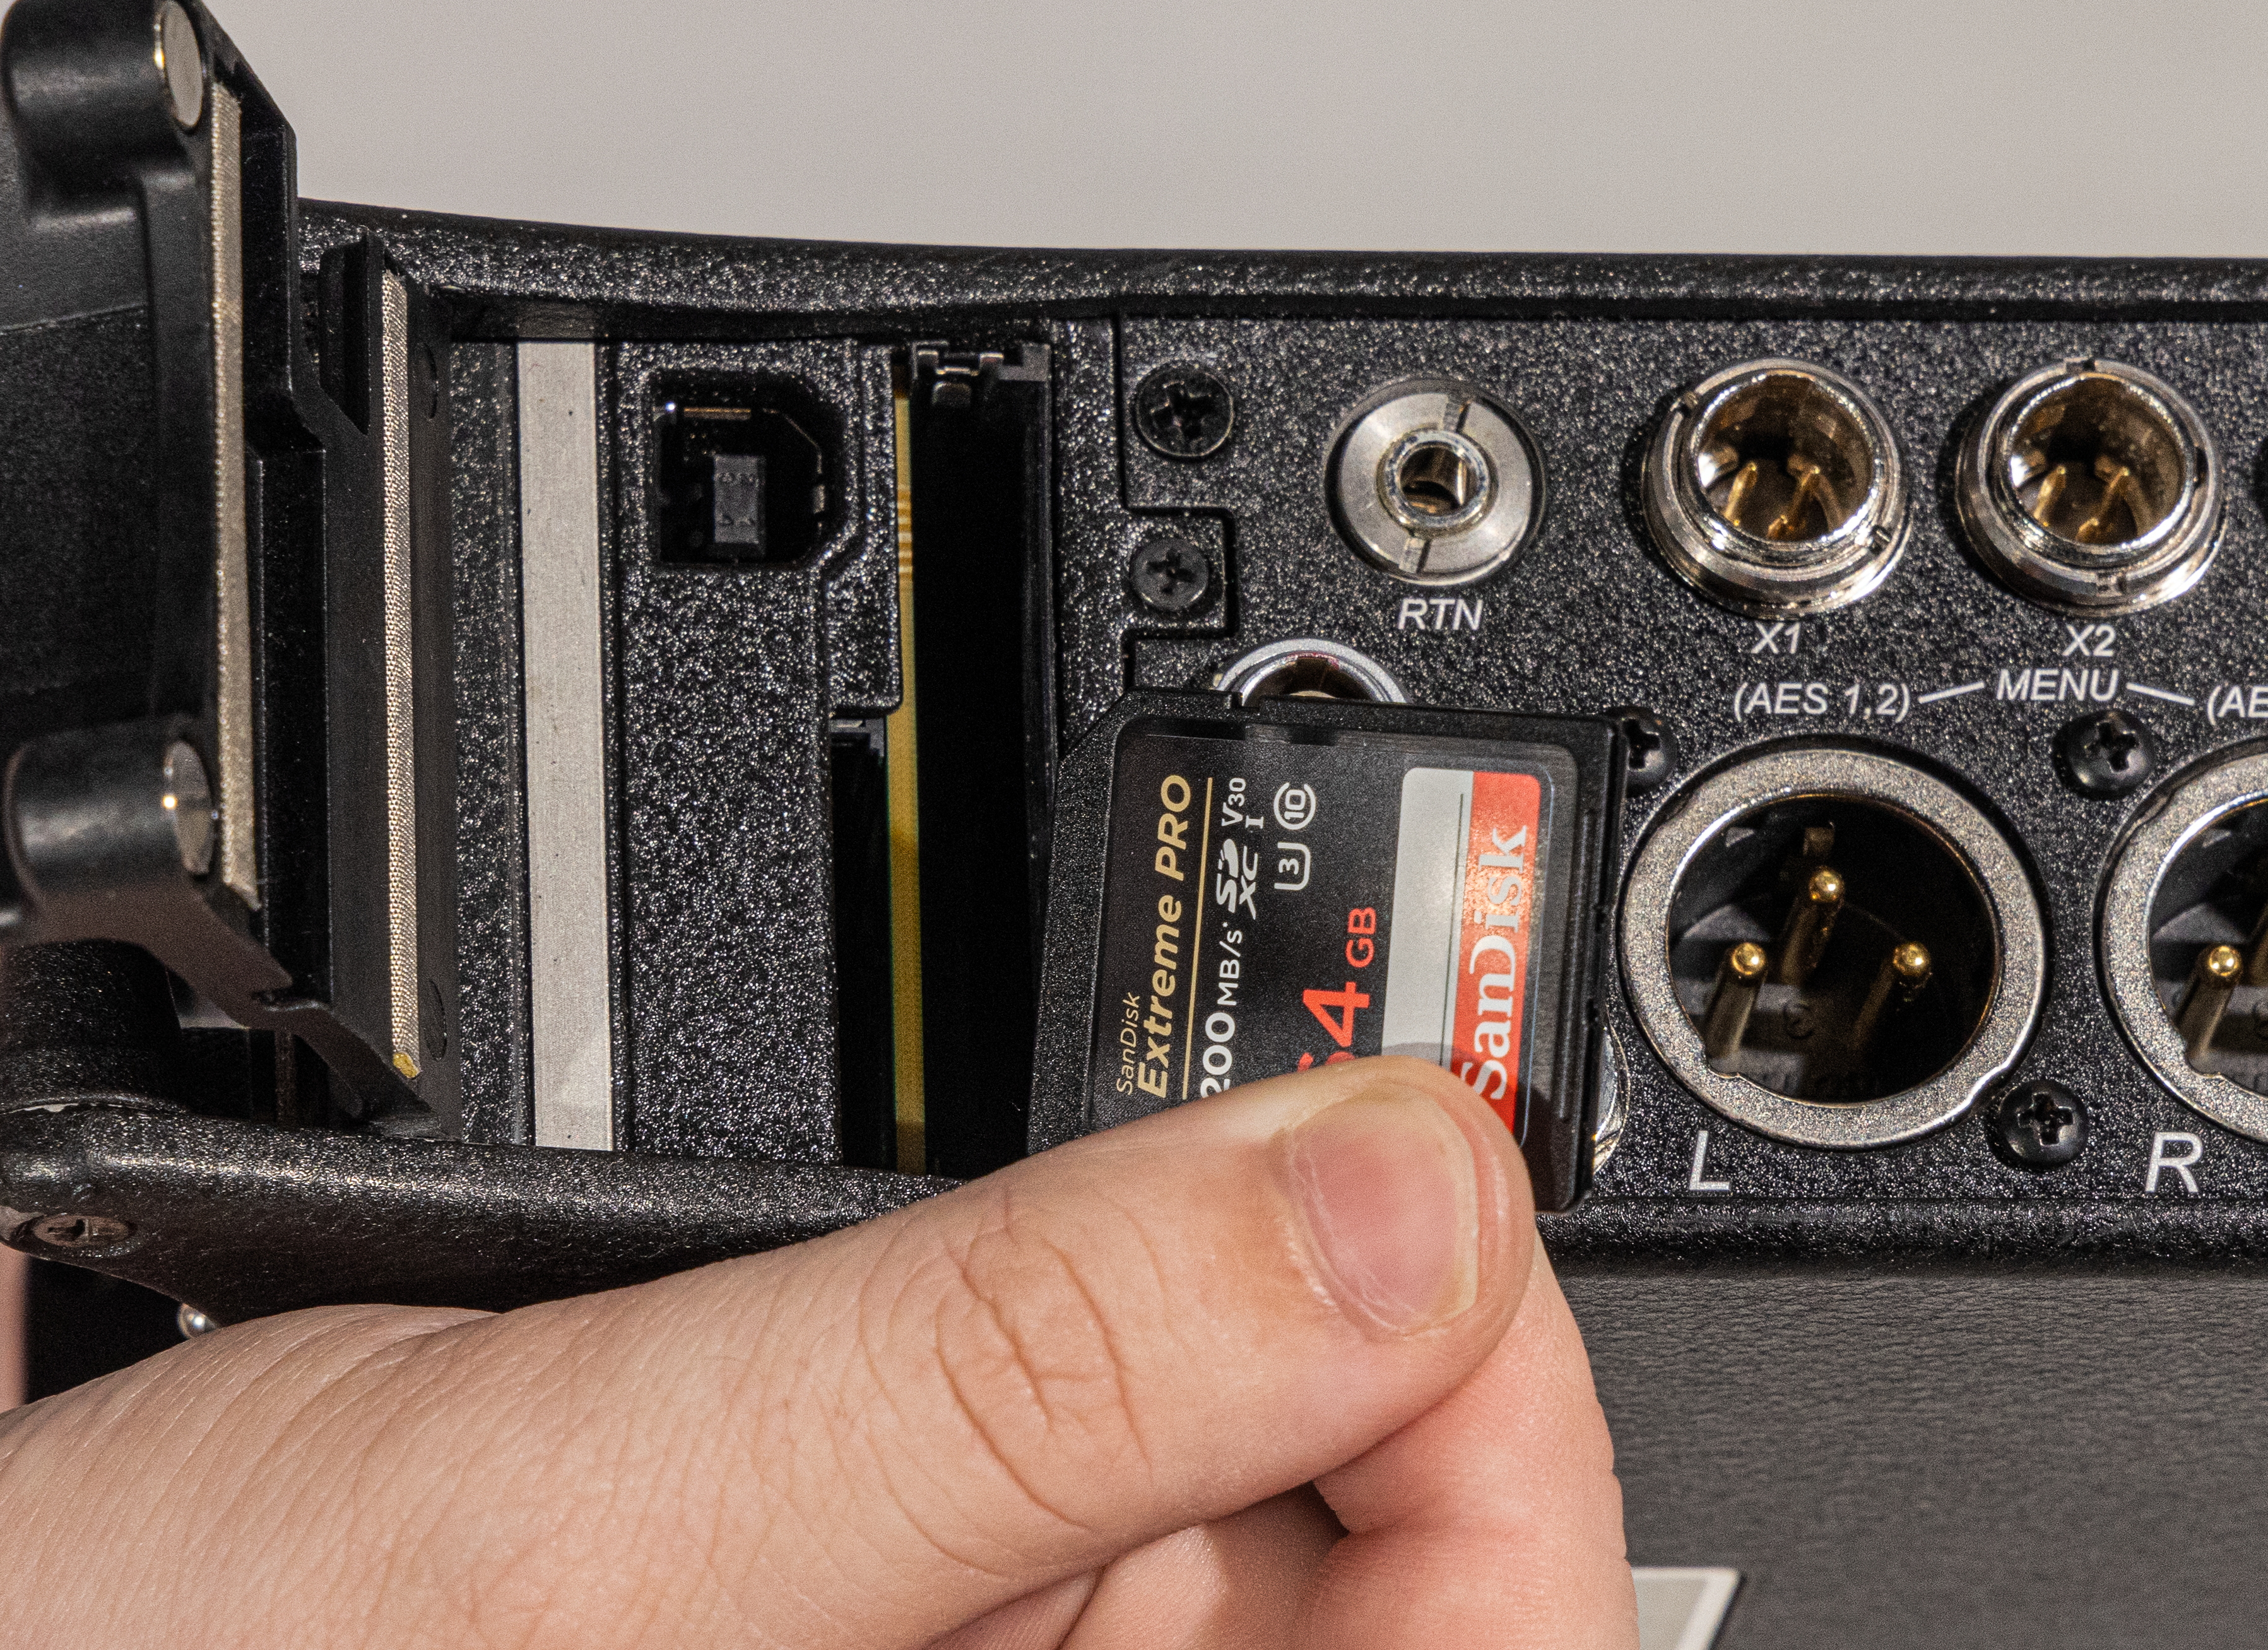
To insert a memory card:
- Open the Media Door on the right side of the 633.
- Insert the memory card into the appropriate slot.
- When inserting the SD card, ensure that the bottom of the card (the side with metal contacts visible) is facing the rear of the unit.
- When inserting a CF card, ensure the top of the card (the side with the branding label) is facing the rear of the unit.

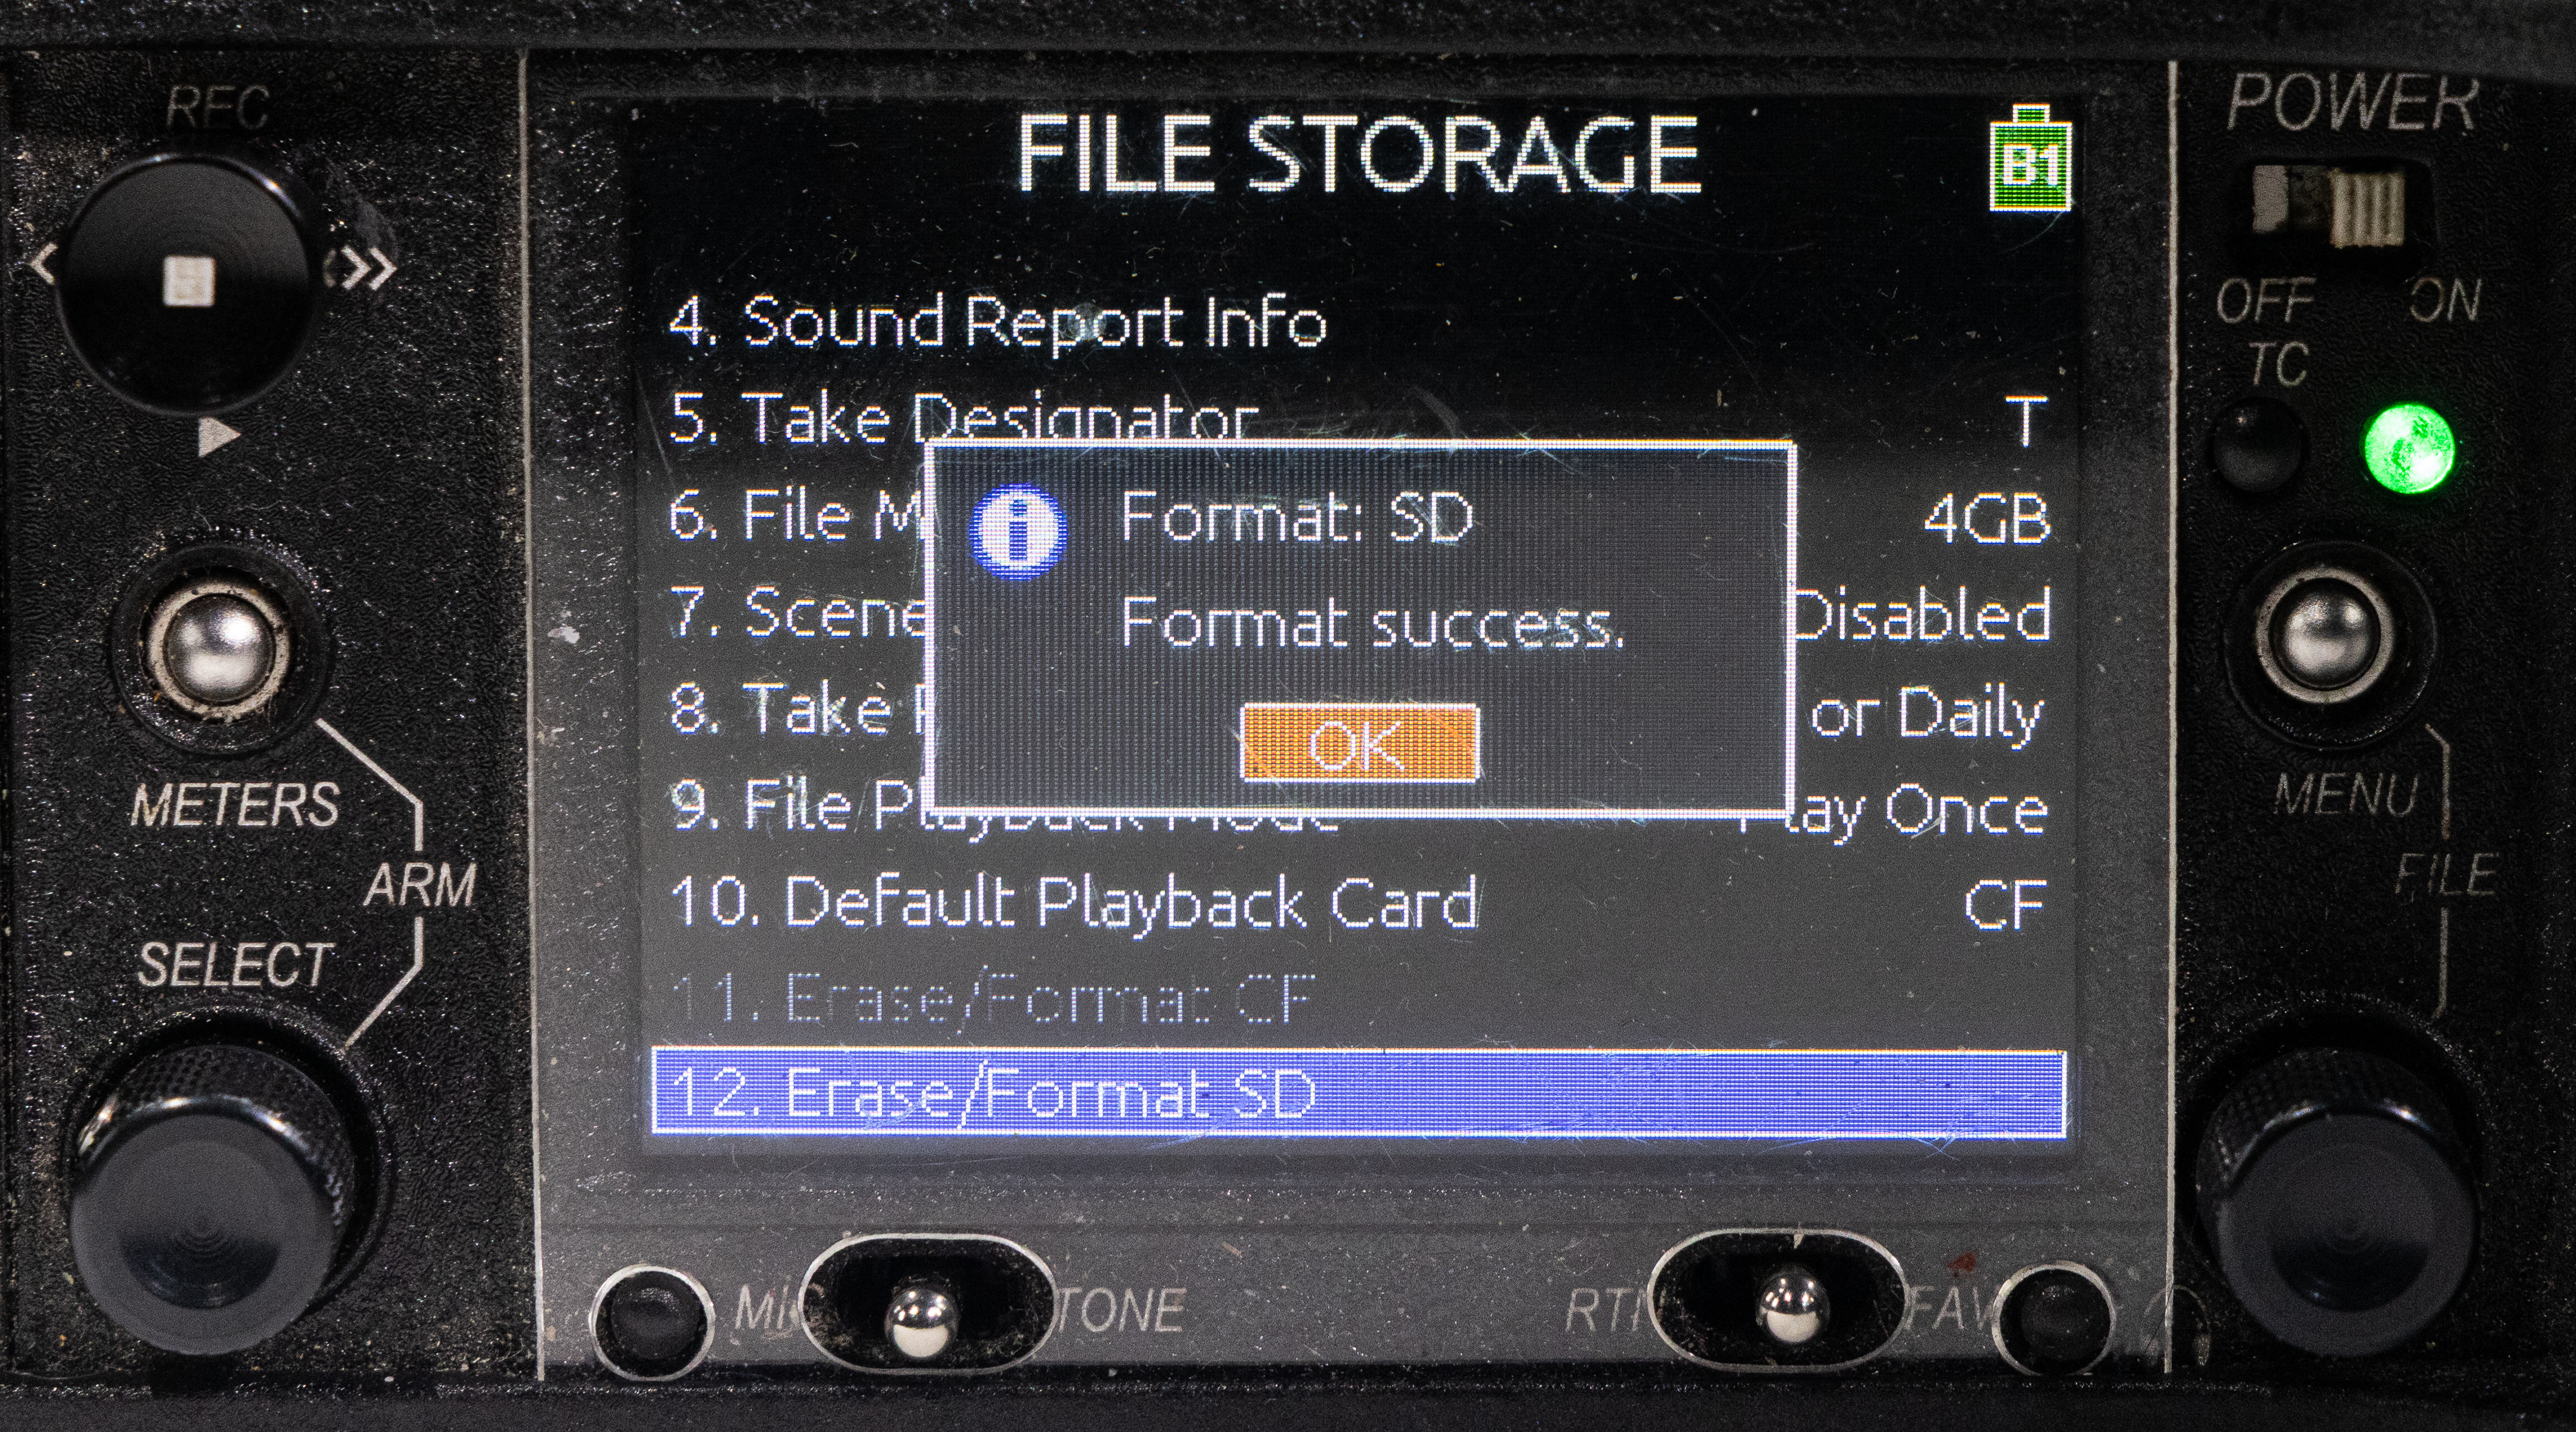
To format the memory card:
- Press the Menu button.
- Turn and press the Headphone encoder to select File Storage.
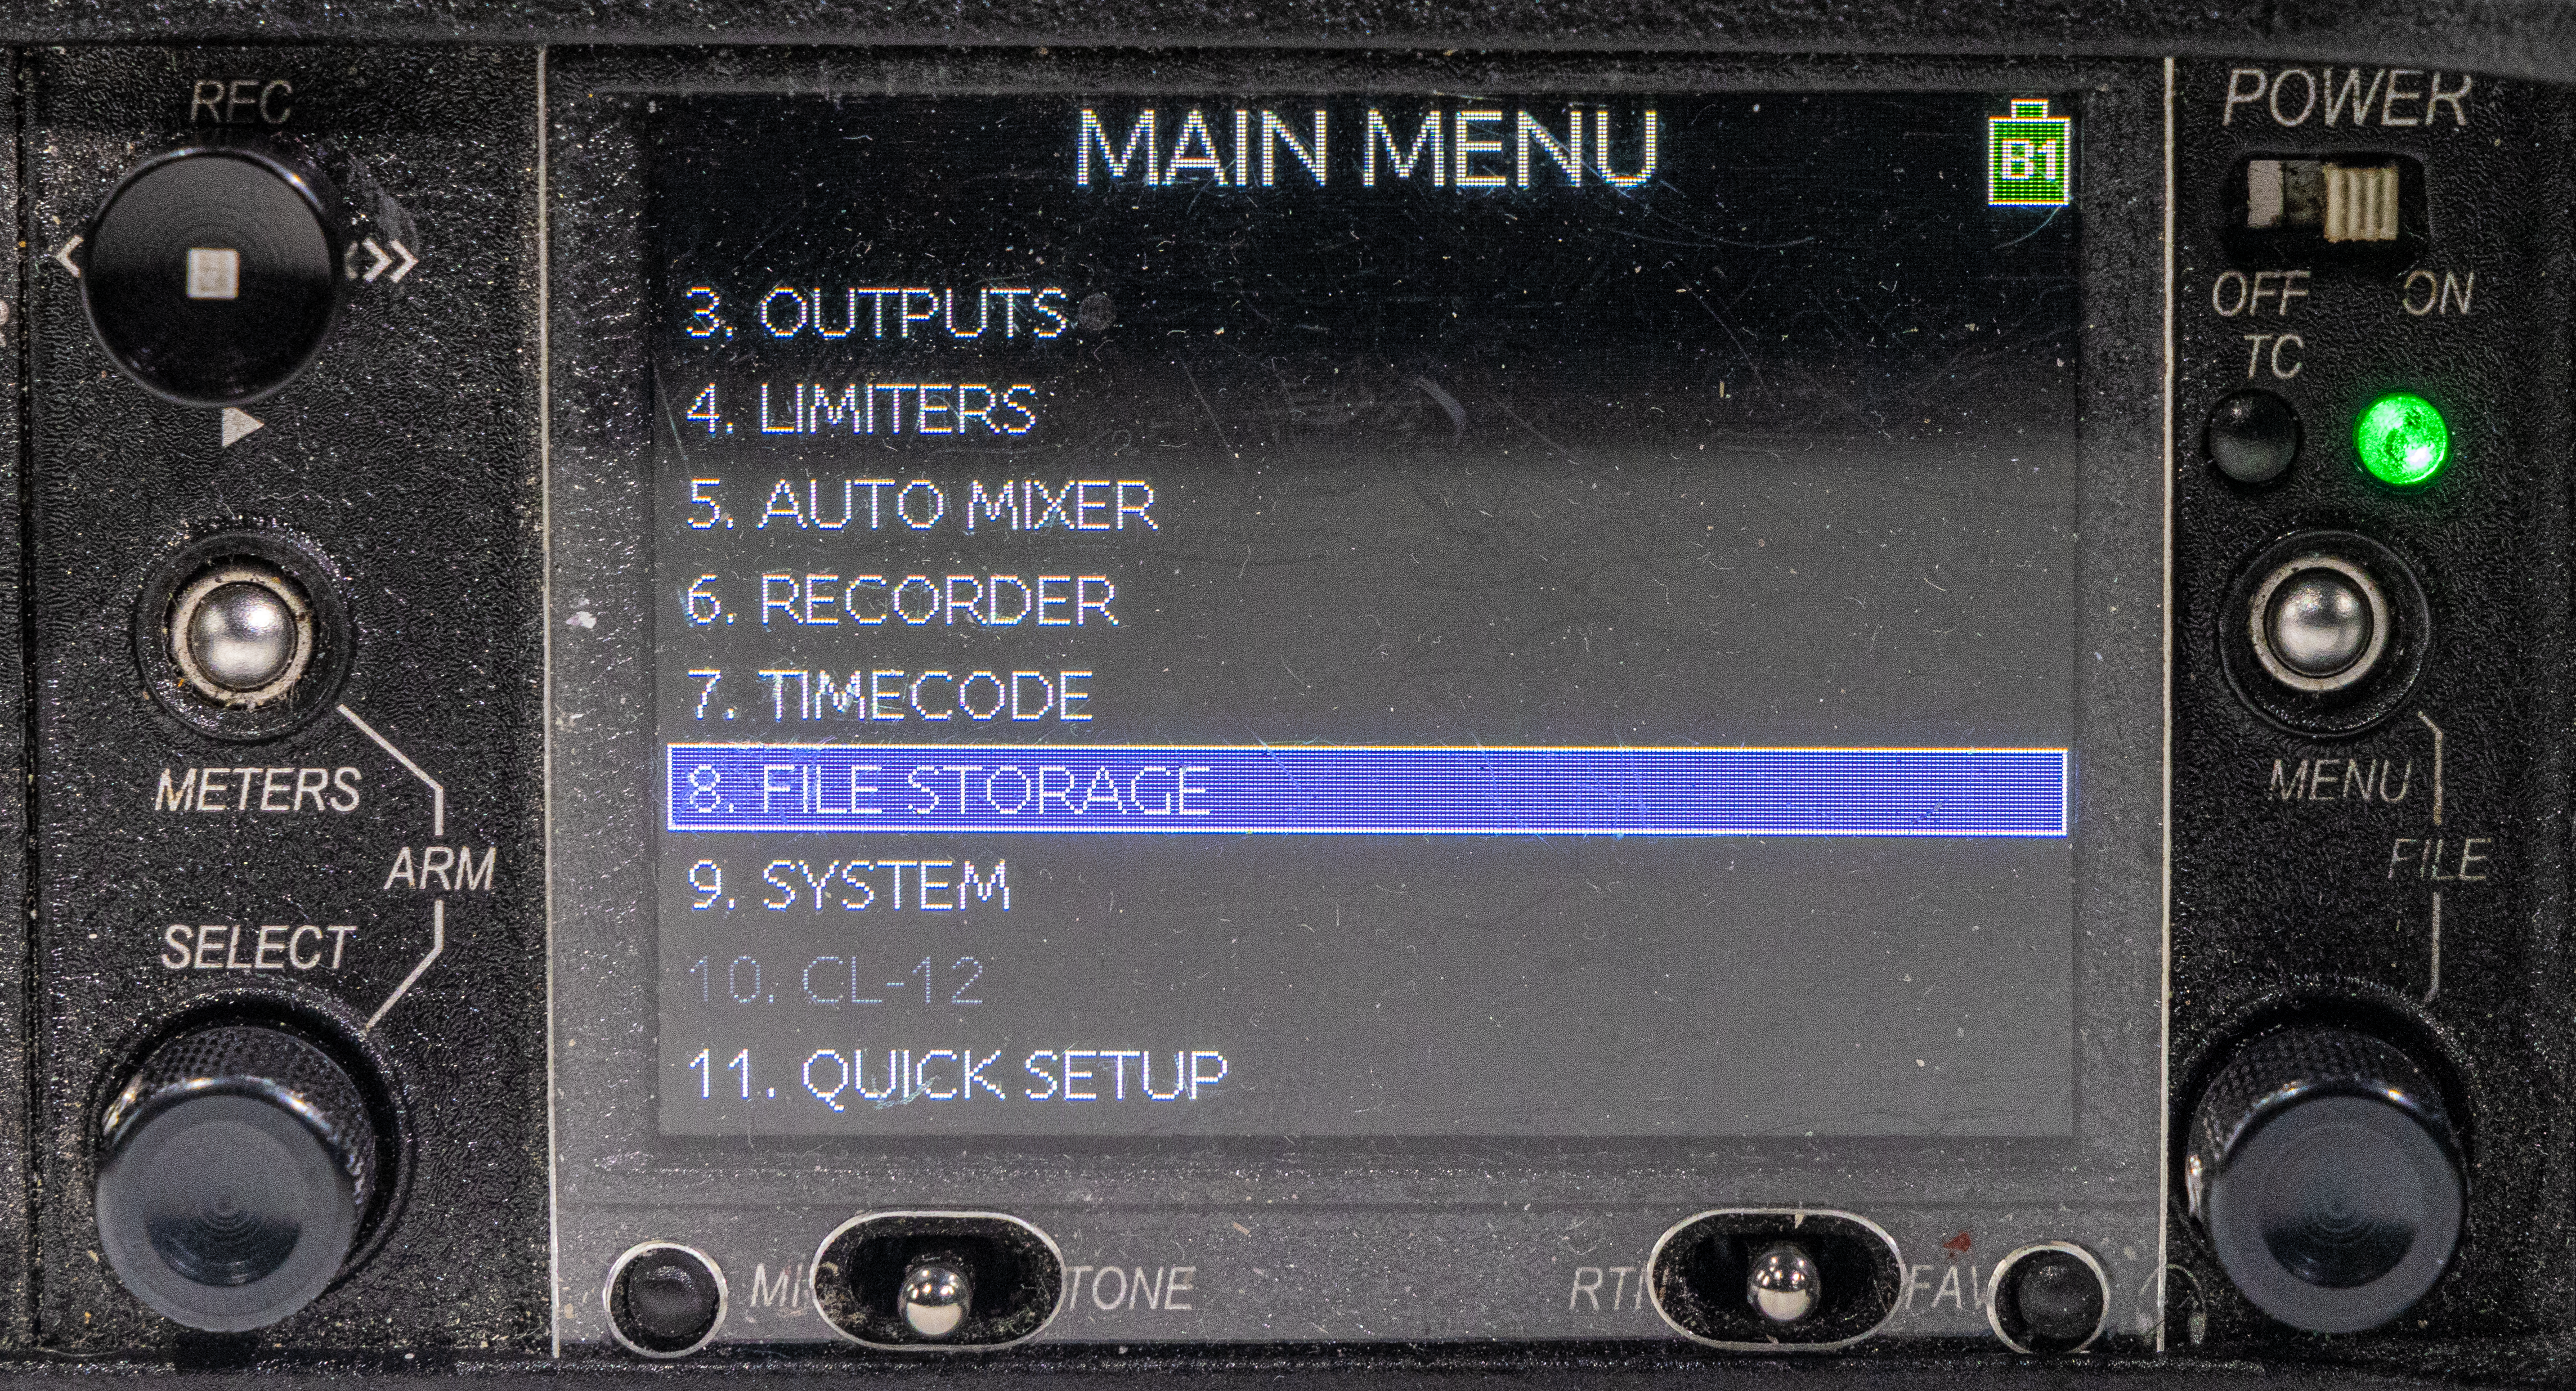
- Select either Erase/Format CF or Erase/Format SD based on the type of card you're using.
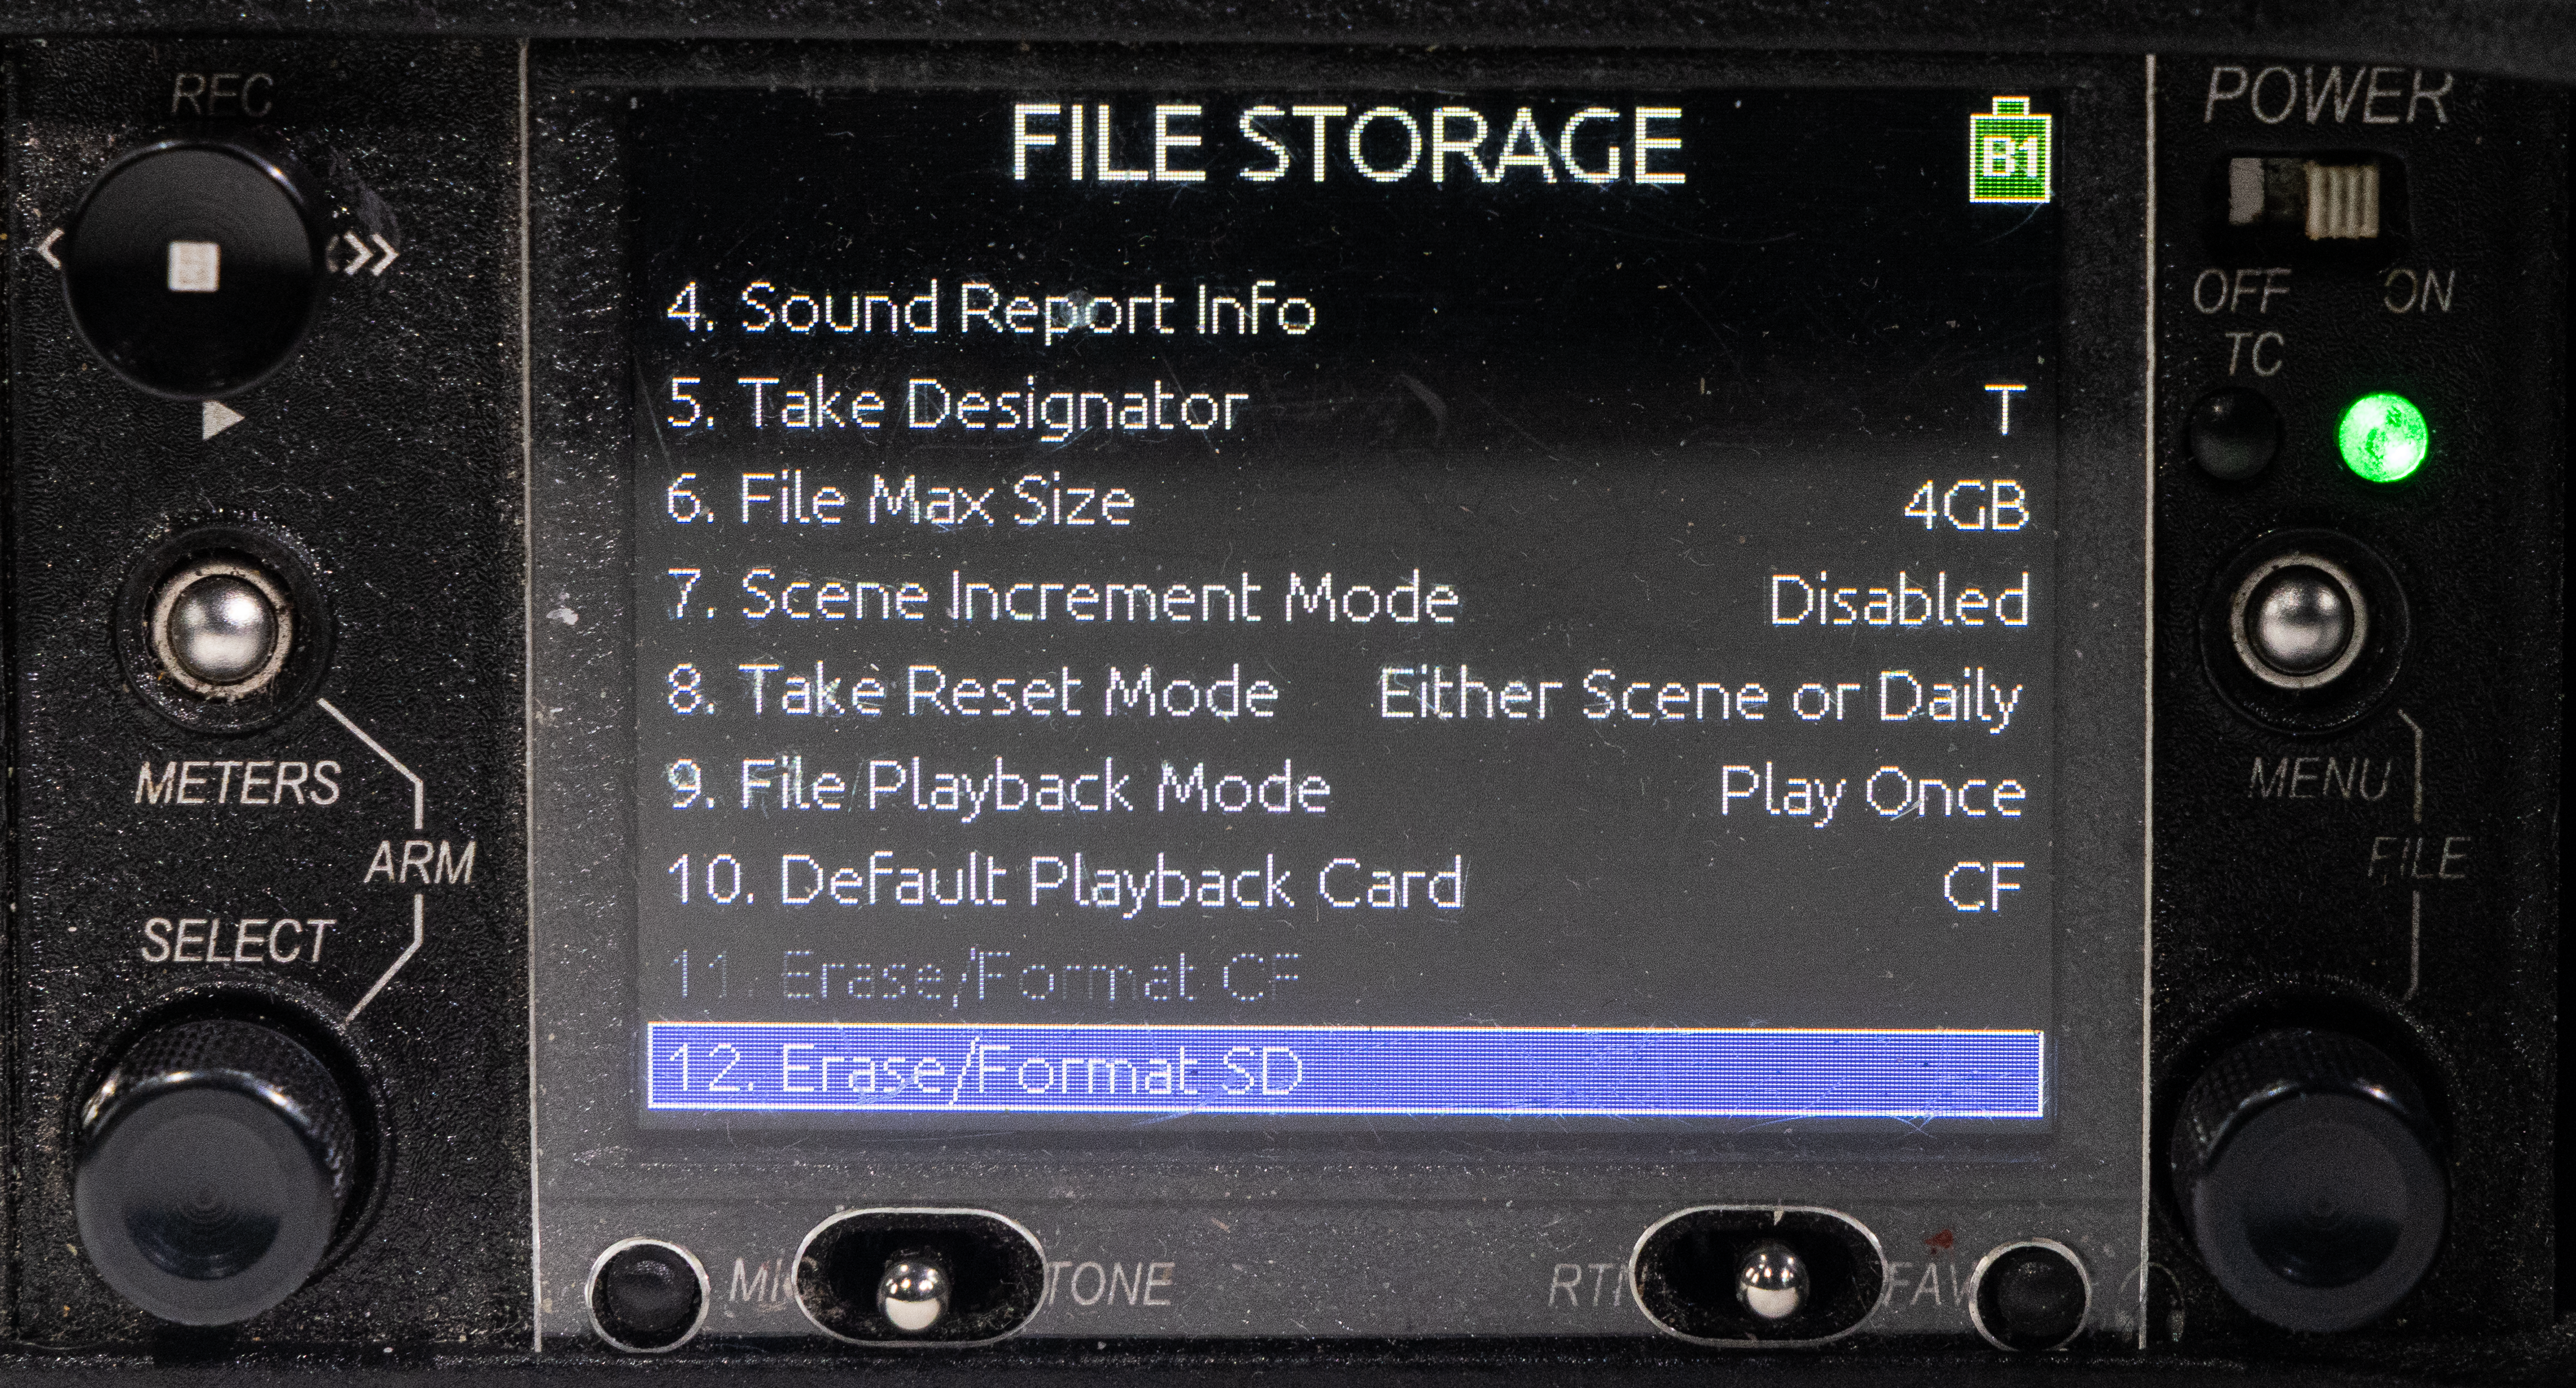
- Press the Headphone encoder to begin the formatting process.
- Read any warning message(s), select OK, and press the Headphone encoder to continue.
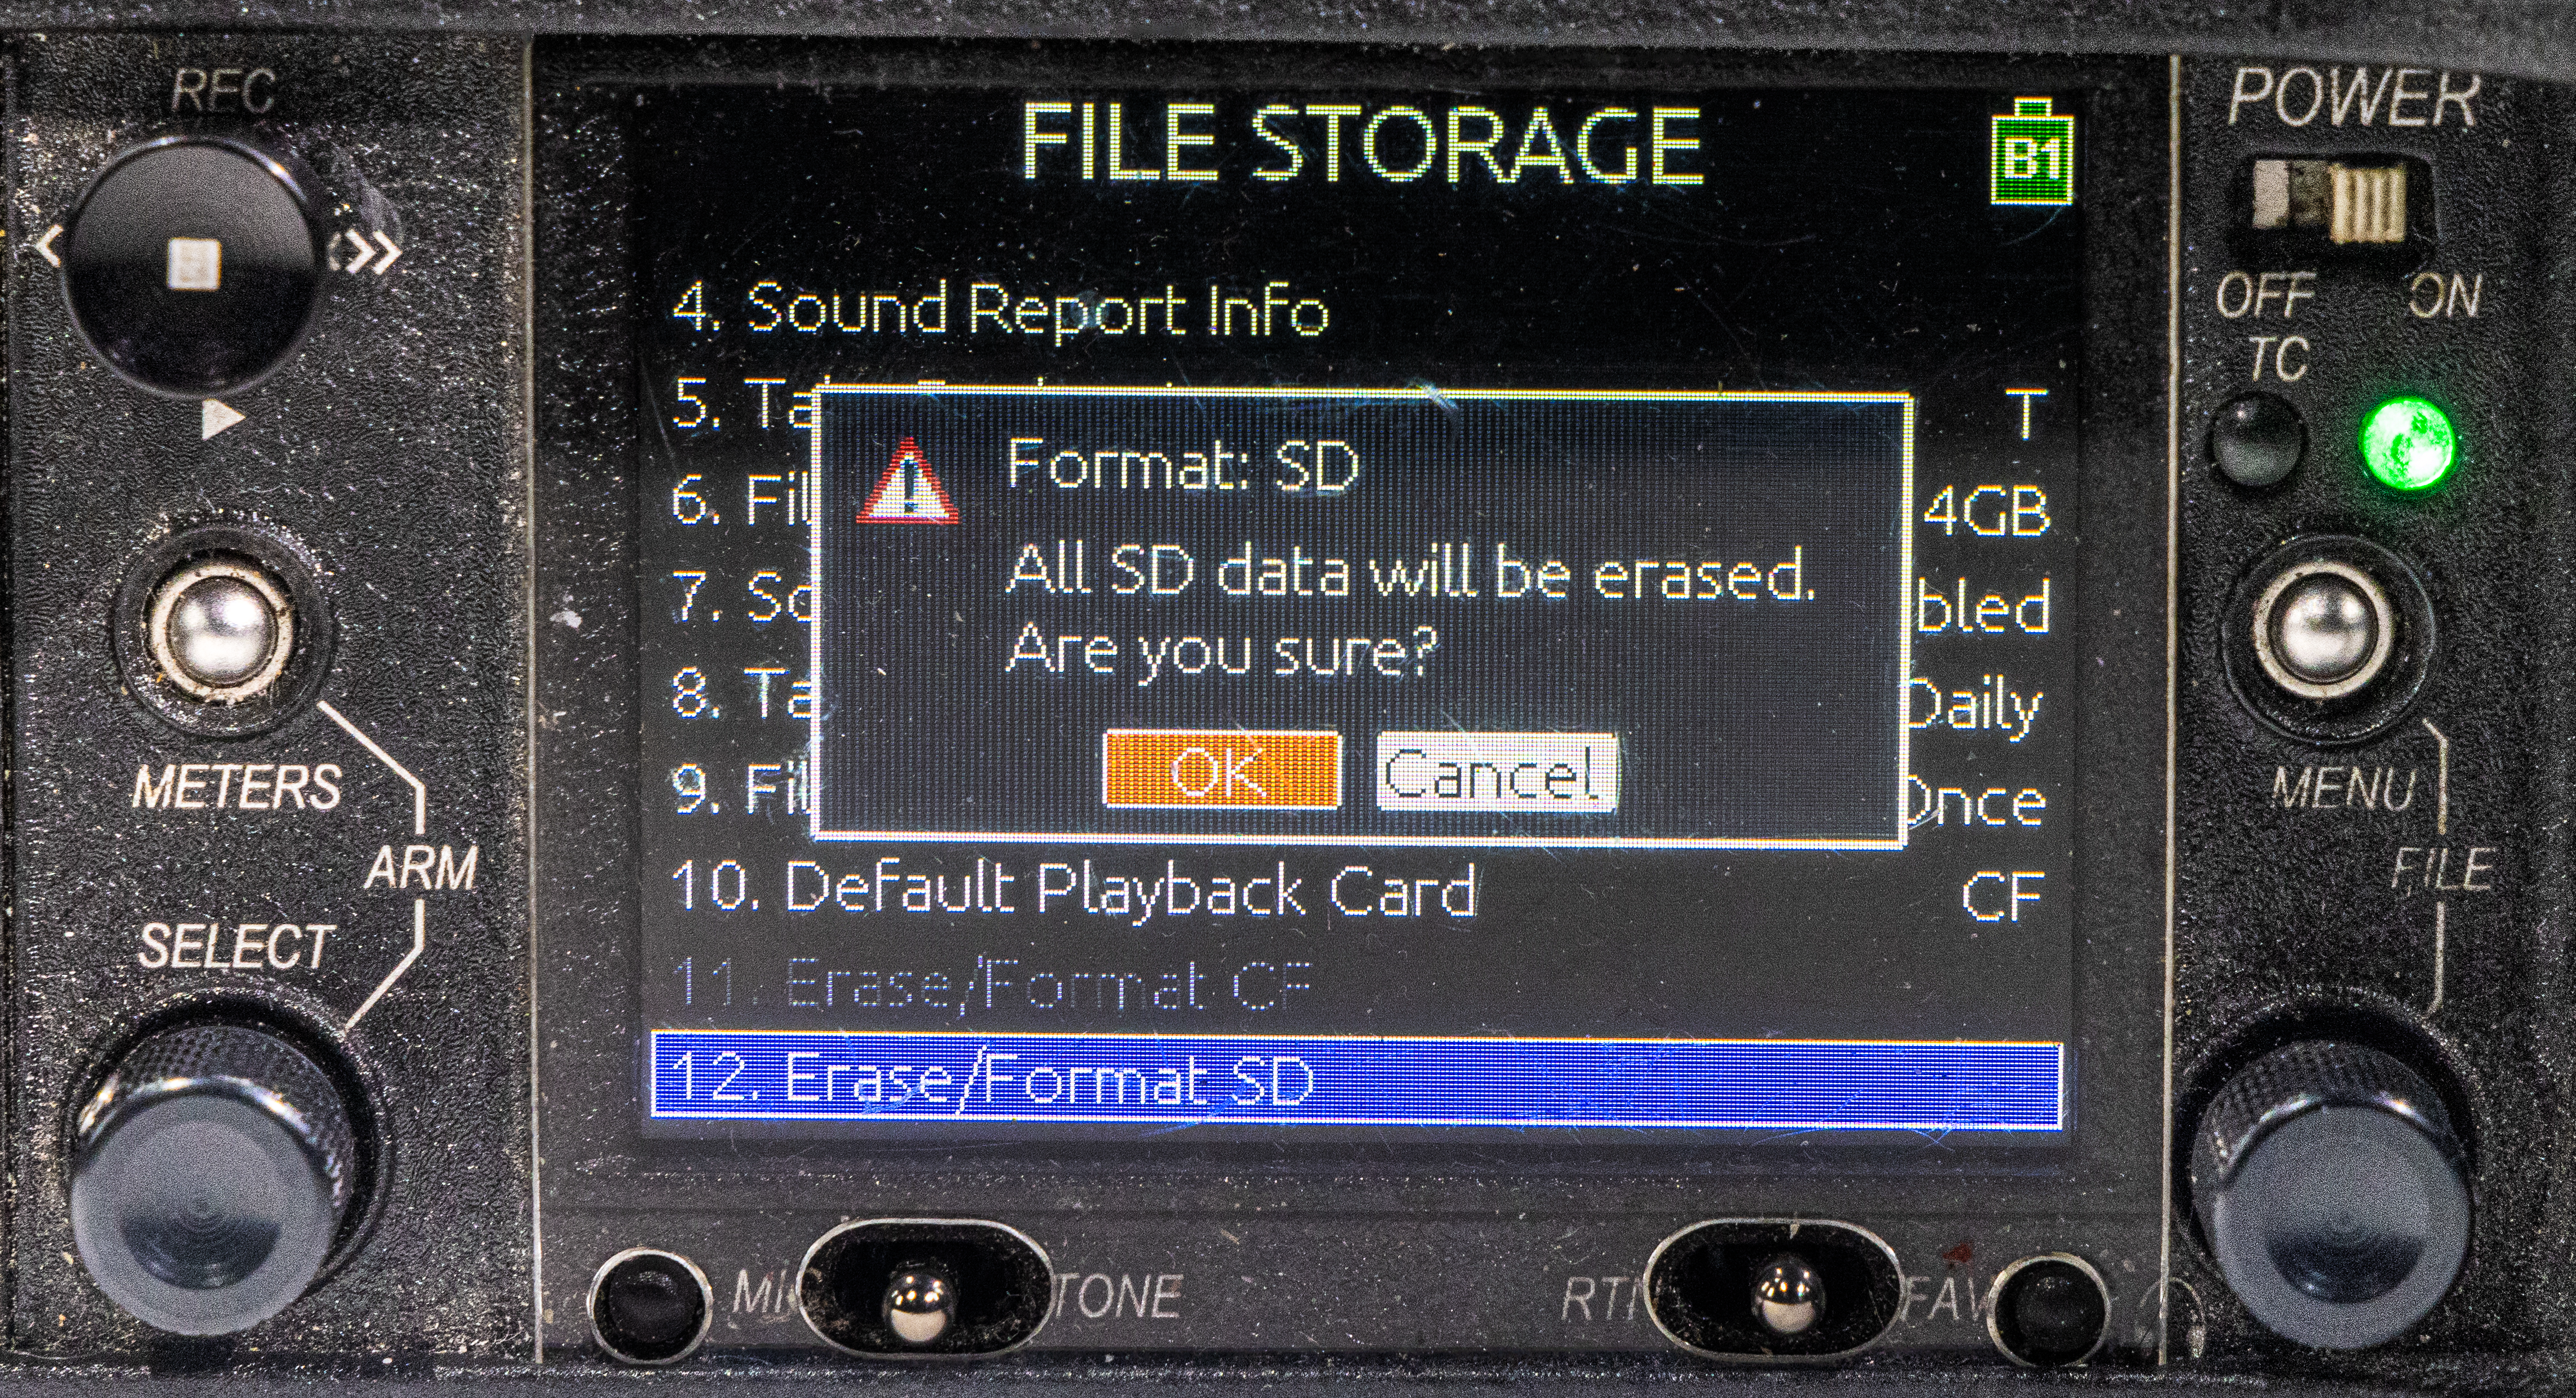
- When the Format success message appears, select OK, and press the Headphone encoder to finish the formatting process.