General Preparation and Exporting a Reference Video
Turnovers refers to the process of exporting your sequence from a non-linear editing application (NLE) for other members of your post-production team (colorist, sound editor, re-recording mixer, etc.) to work with in different applications like Pro Tools and DaVinci Resolve.
Turnovers generally involve delivering at least three elements:
- A file that translates your editing project sequence into a timeline for another application (e.g. Pro Tools for sound or DaVinci Resolve for color)
- Media to populate that translated sequence
- A reference video against which the translated sequence can be compared to ensure everything translated accurately
Because it’s often possible to create a single reference video for the entire post-production team, it’s recommended that you do so first and then generate all other deliverables.
Organizing and Simplifying Your Sequence
Begin by simplifying and organizing your editing sequence to make it easier for others to work with. It’s recommended to do this first so that all deliverables match each other. Changing the sequence between exporting deliverables can introduce errors, causing ; when changes are made to the sequence between creating deliverables, errors can sometimes be introduced that cause subsequent deliverables to be inaccurate.
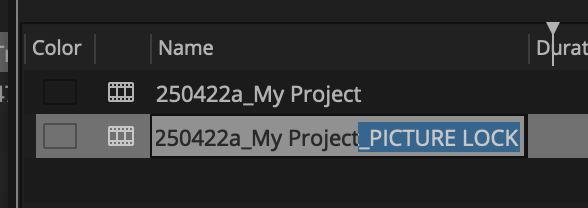
- Duplicate your final sequence in the bin and rename it, appending “_PICTURE LOCK” to the end of the existing name.
- Open the “_PICTURE LOCK” sequence in the Timeline panel.
- Organize your video clips so that each video track contains only a single category of media: either media that the colorist needs to grade (e.g., camera footage from set) or media they don’t need to (e.g., title cards).
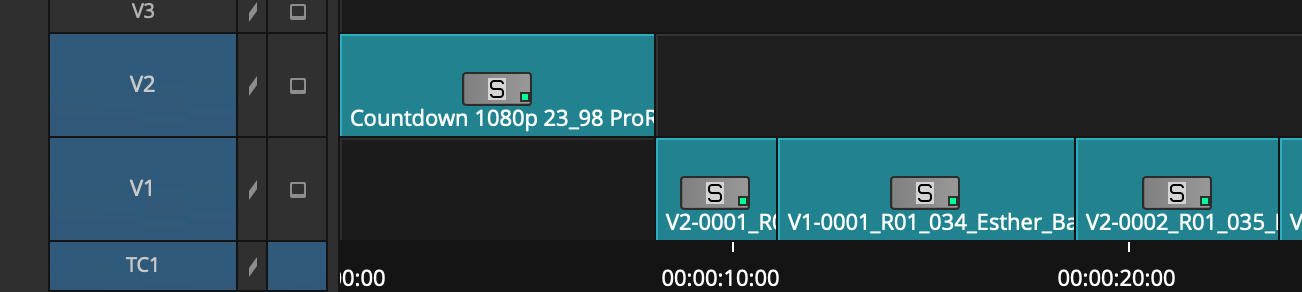
- Simplify your video tracks to as few tracks as possible, ensuring you maintain the separation between media your colorist needs to grade and media they don’t.
- Repeat this process with your audio tracks, ensuring each audio track contains only a single category of media: either production sound from the set or sound media from other sources (e.g., library sound effects or music).
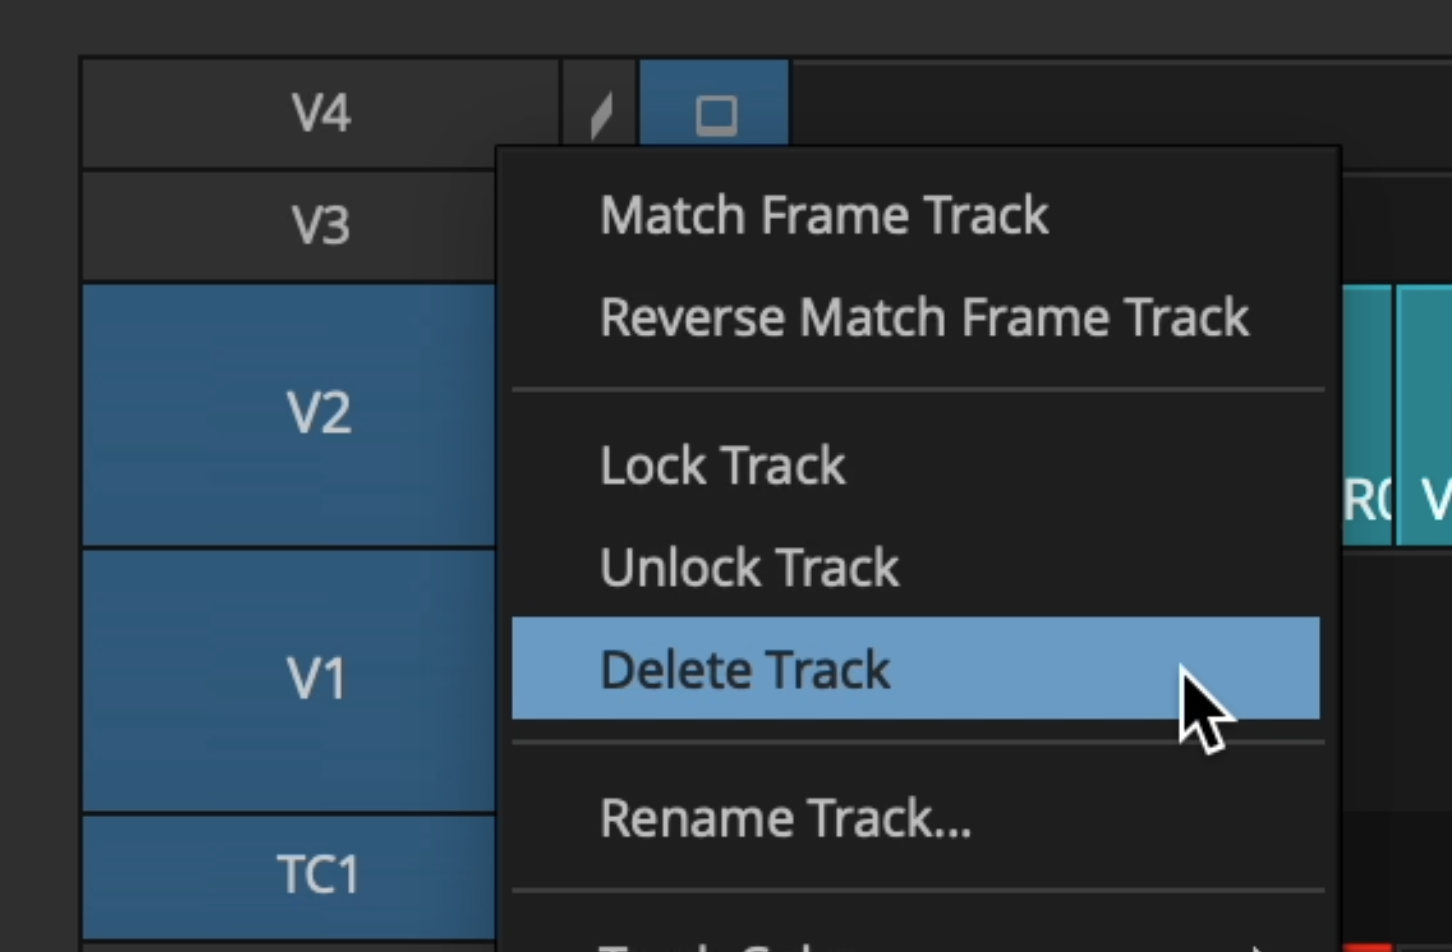
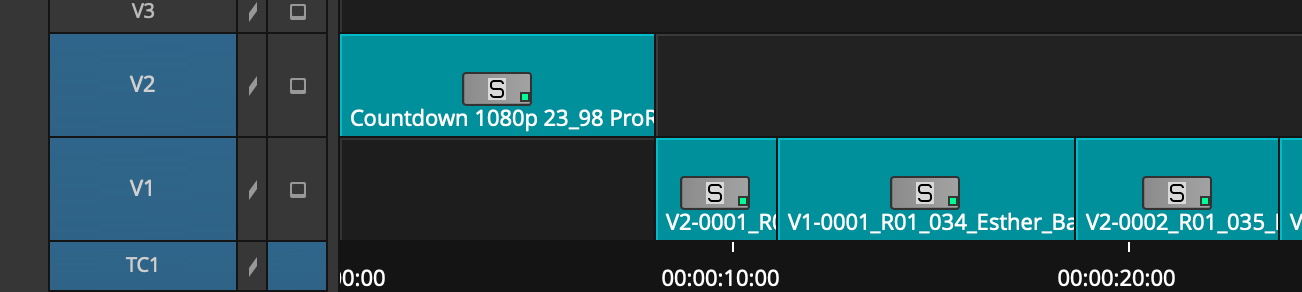
- Delete all empty video and audio tracks by right-clicking on the track you wish to delete and choosing Delete Track from the popup. Repeat for each track you wish to delete.


If you have questions about which track a specific clip should be placed on, ask your post-production team for their preference.
Adding a Leader, 2-Pop, and Tail Pop
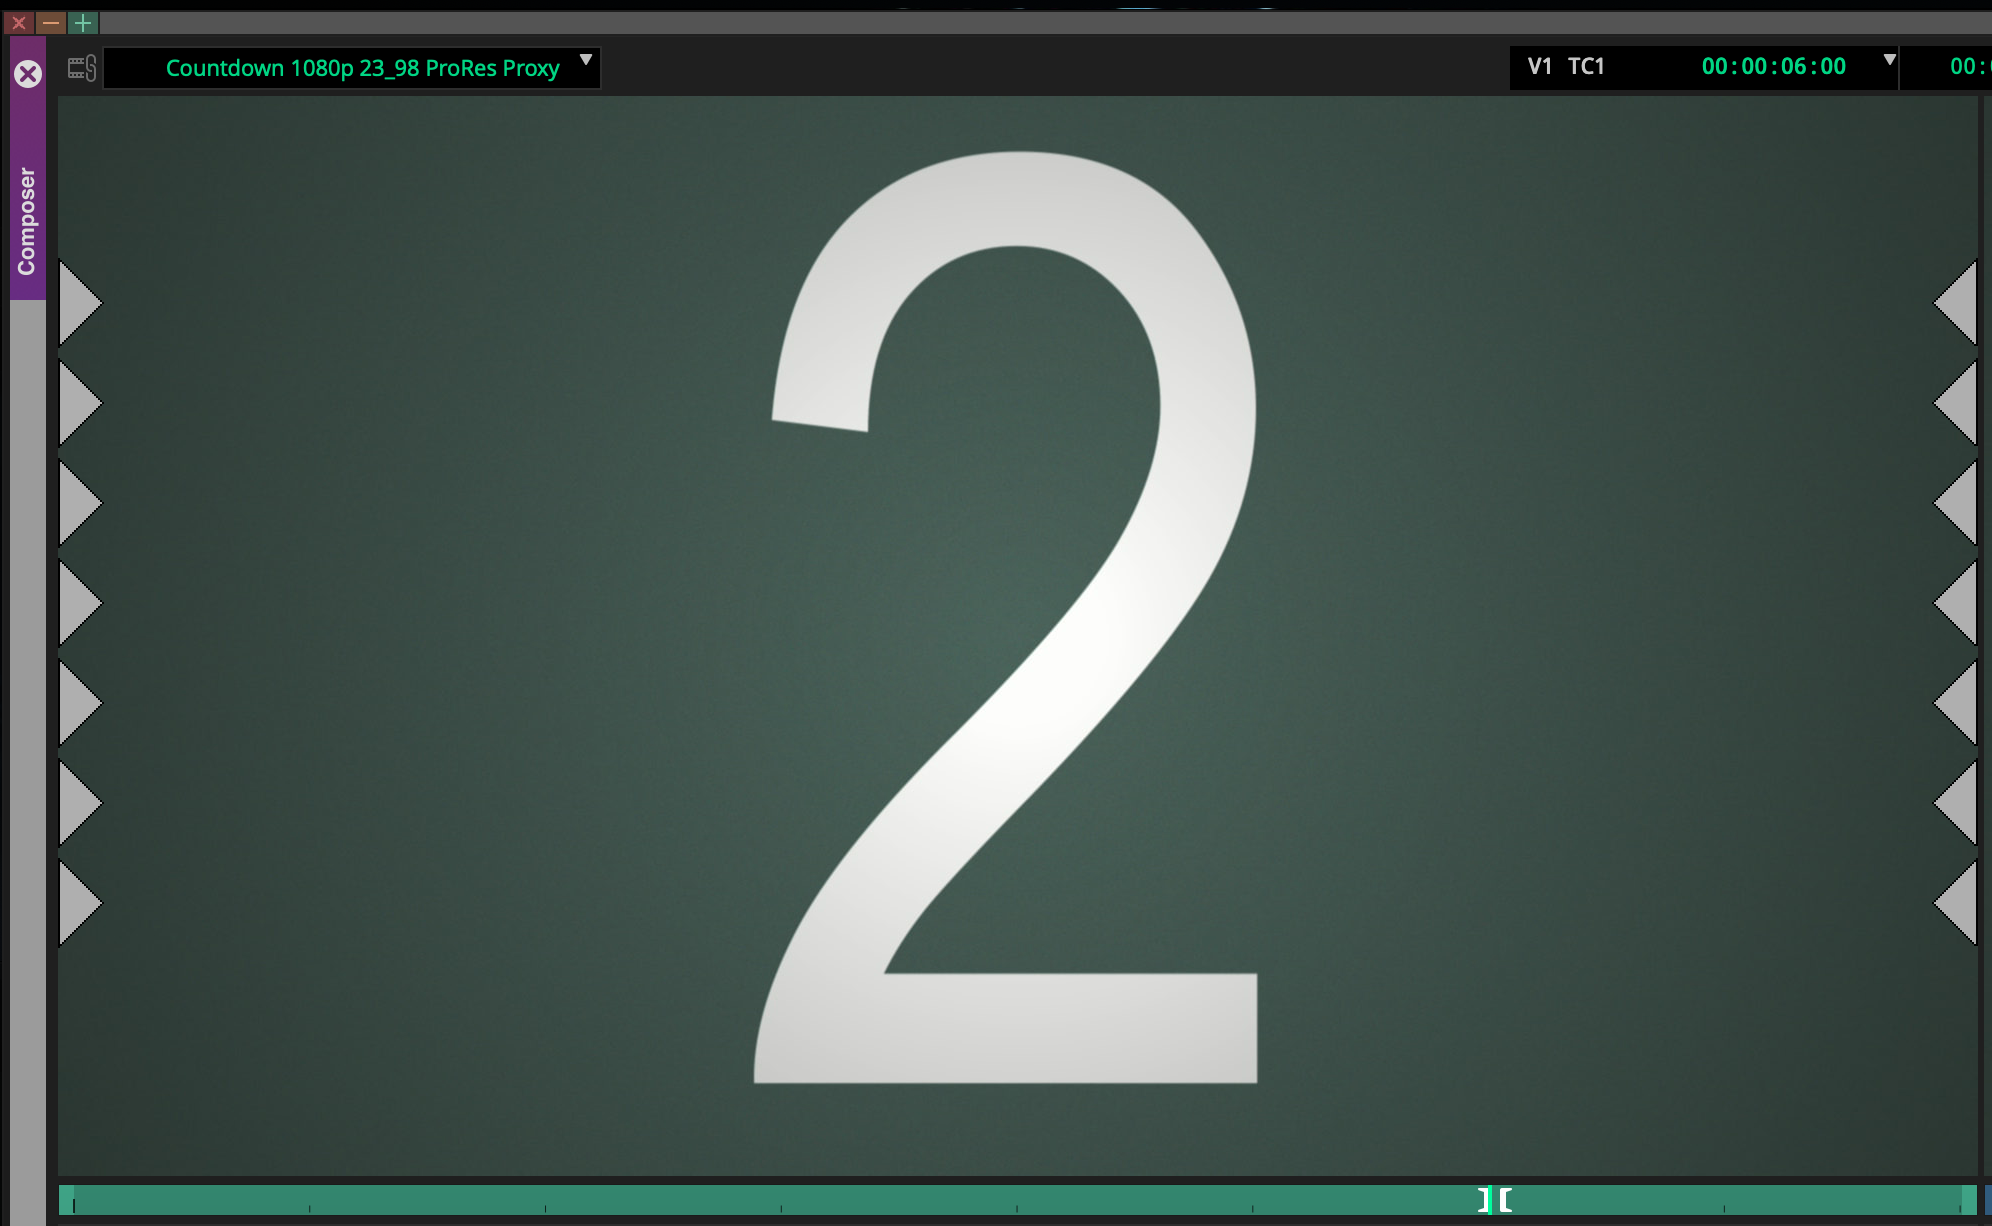
Once your sequence is simplified and organized, add a countdown leader and synchronization points to the beginning (a 2-pop) and end (tail pop) of your sequence:
- Download the appropriate countdown leader based on your sequence's frame rate. Save it to your external drive.
- Link to the leader using the Source Browser.
- Edit the entire leader into the beginning of your sequence. The leader should send at the first frame of action (FFOA) of your sequence.
- Note: The FFOA should be the first frame on which you want your sequence to begin playing back when watched. If you want your film to start over a black screen, be sure to leave an appropriate gap between the end of the leader and the first clip of media.
- Note: The FFOA should be the first frame on which you want your sequence to begin playing back when watched. If you want your film to start over a black screen, be sure to leave an appropriate gap between the end of the leader and the first clip of media.

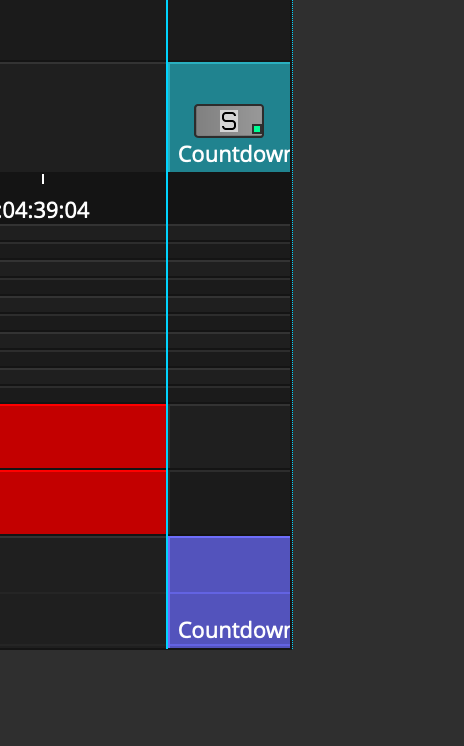
To add a tail pop at the end of the sequence:
- Mark an In and Out point around just the pop in the leader.
- Edit just the pop (not the whole leader) into the end of your sequence following the last frame of action (LFOA).
- Note: Similarly to the FFOA, the LFOA should be the frame on which you want your sequence to stop playing back when watched.
- Note: Similarly to the FFOA, the LFOA should be the frame on which you want your sequence to stop playing back when watched.
- Load exactly 1 second and 23 frames of filler into the source monitor.
- Perform an insert edit with the filler to place it between the LFOA and the tail pop.
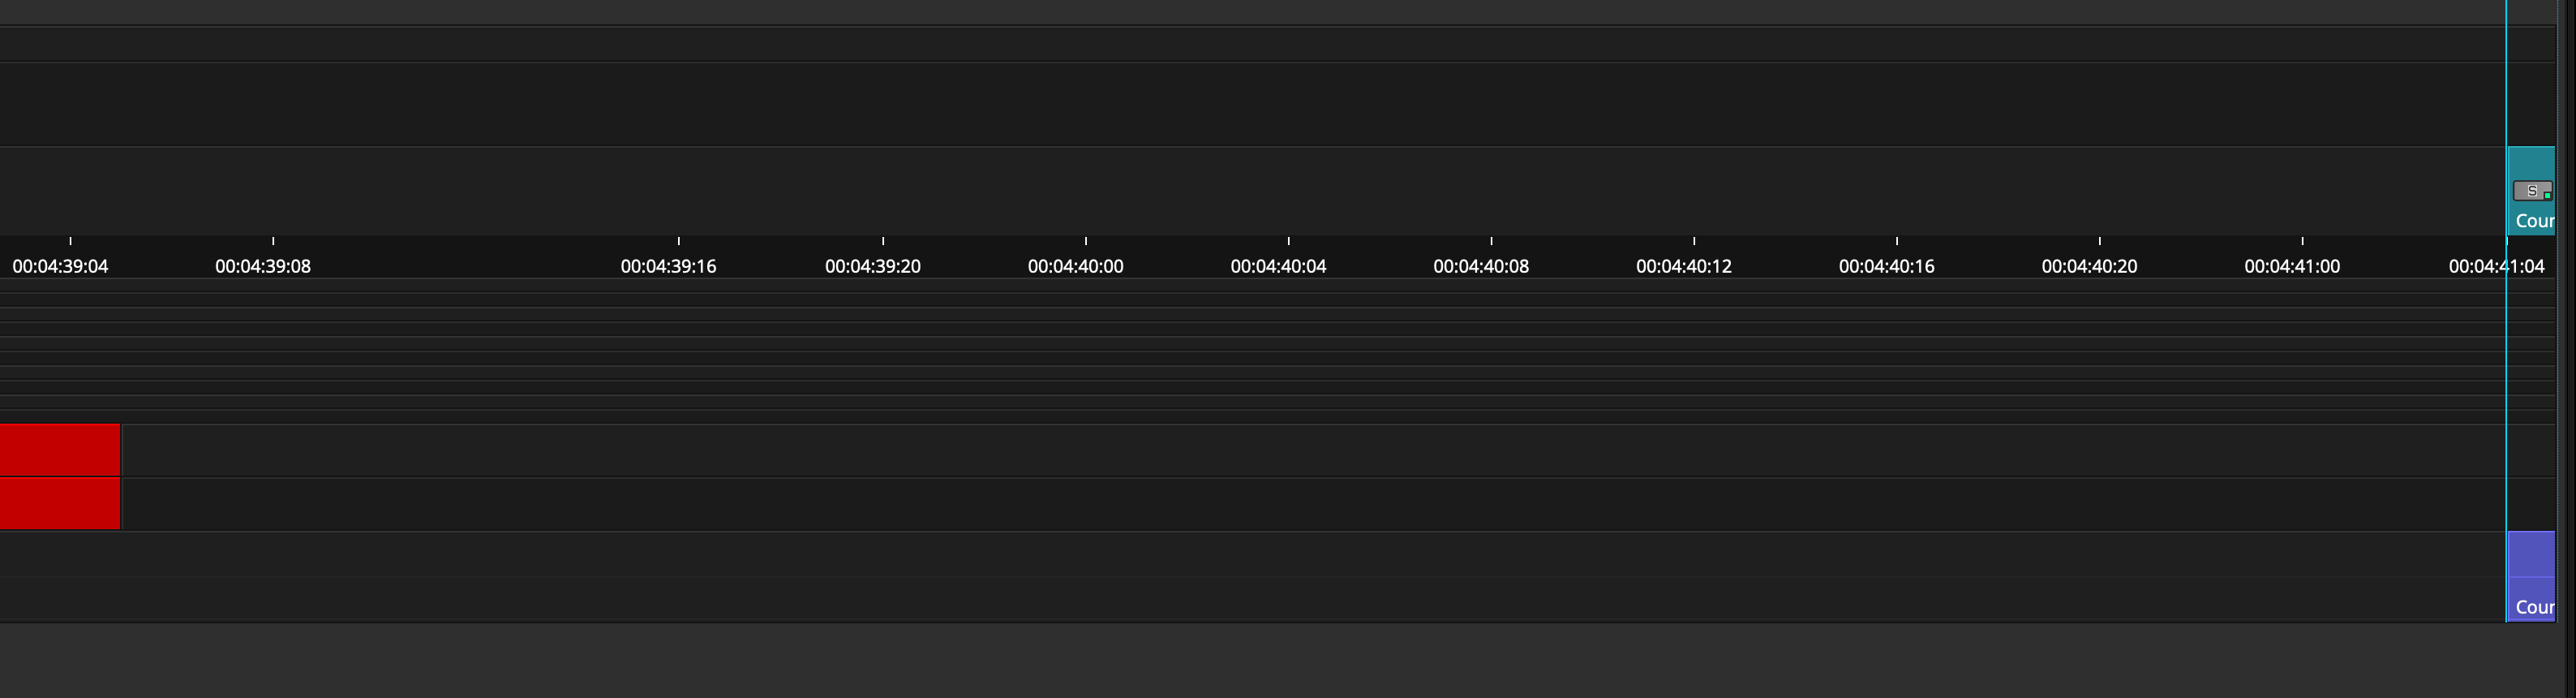
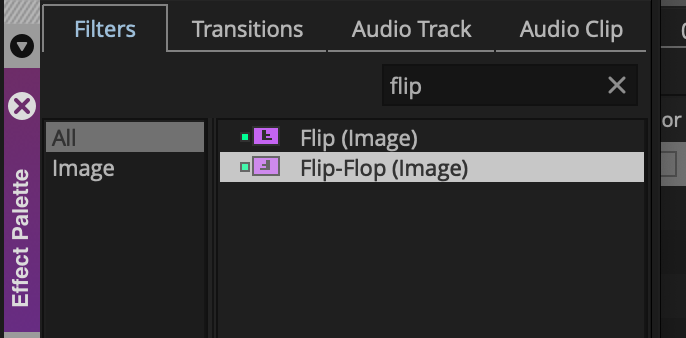
- Add a Flip-Flop effect to the tail pop.


Setting the Start Timecode
The next step is to set your sequence timecode:
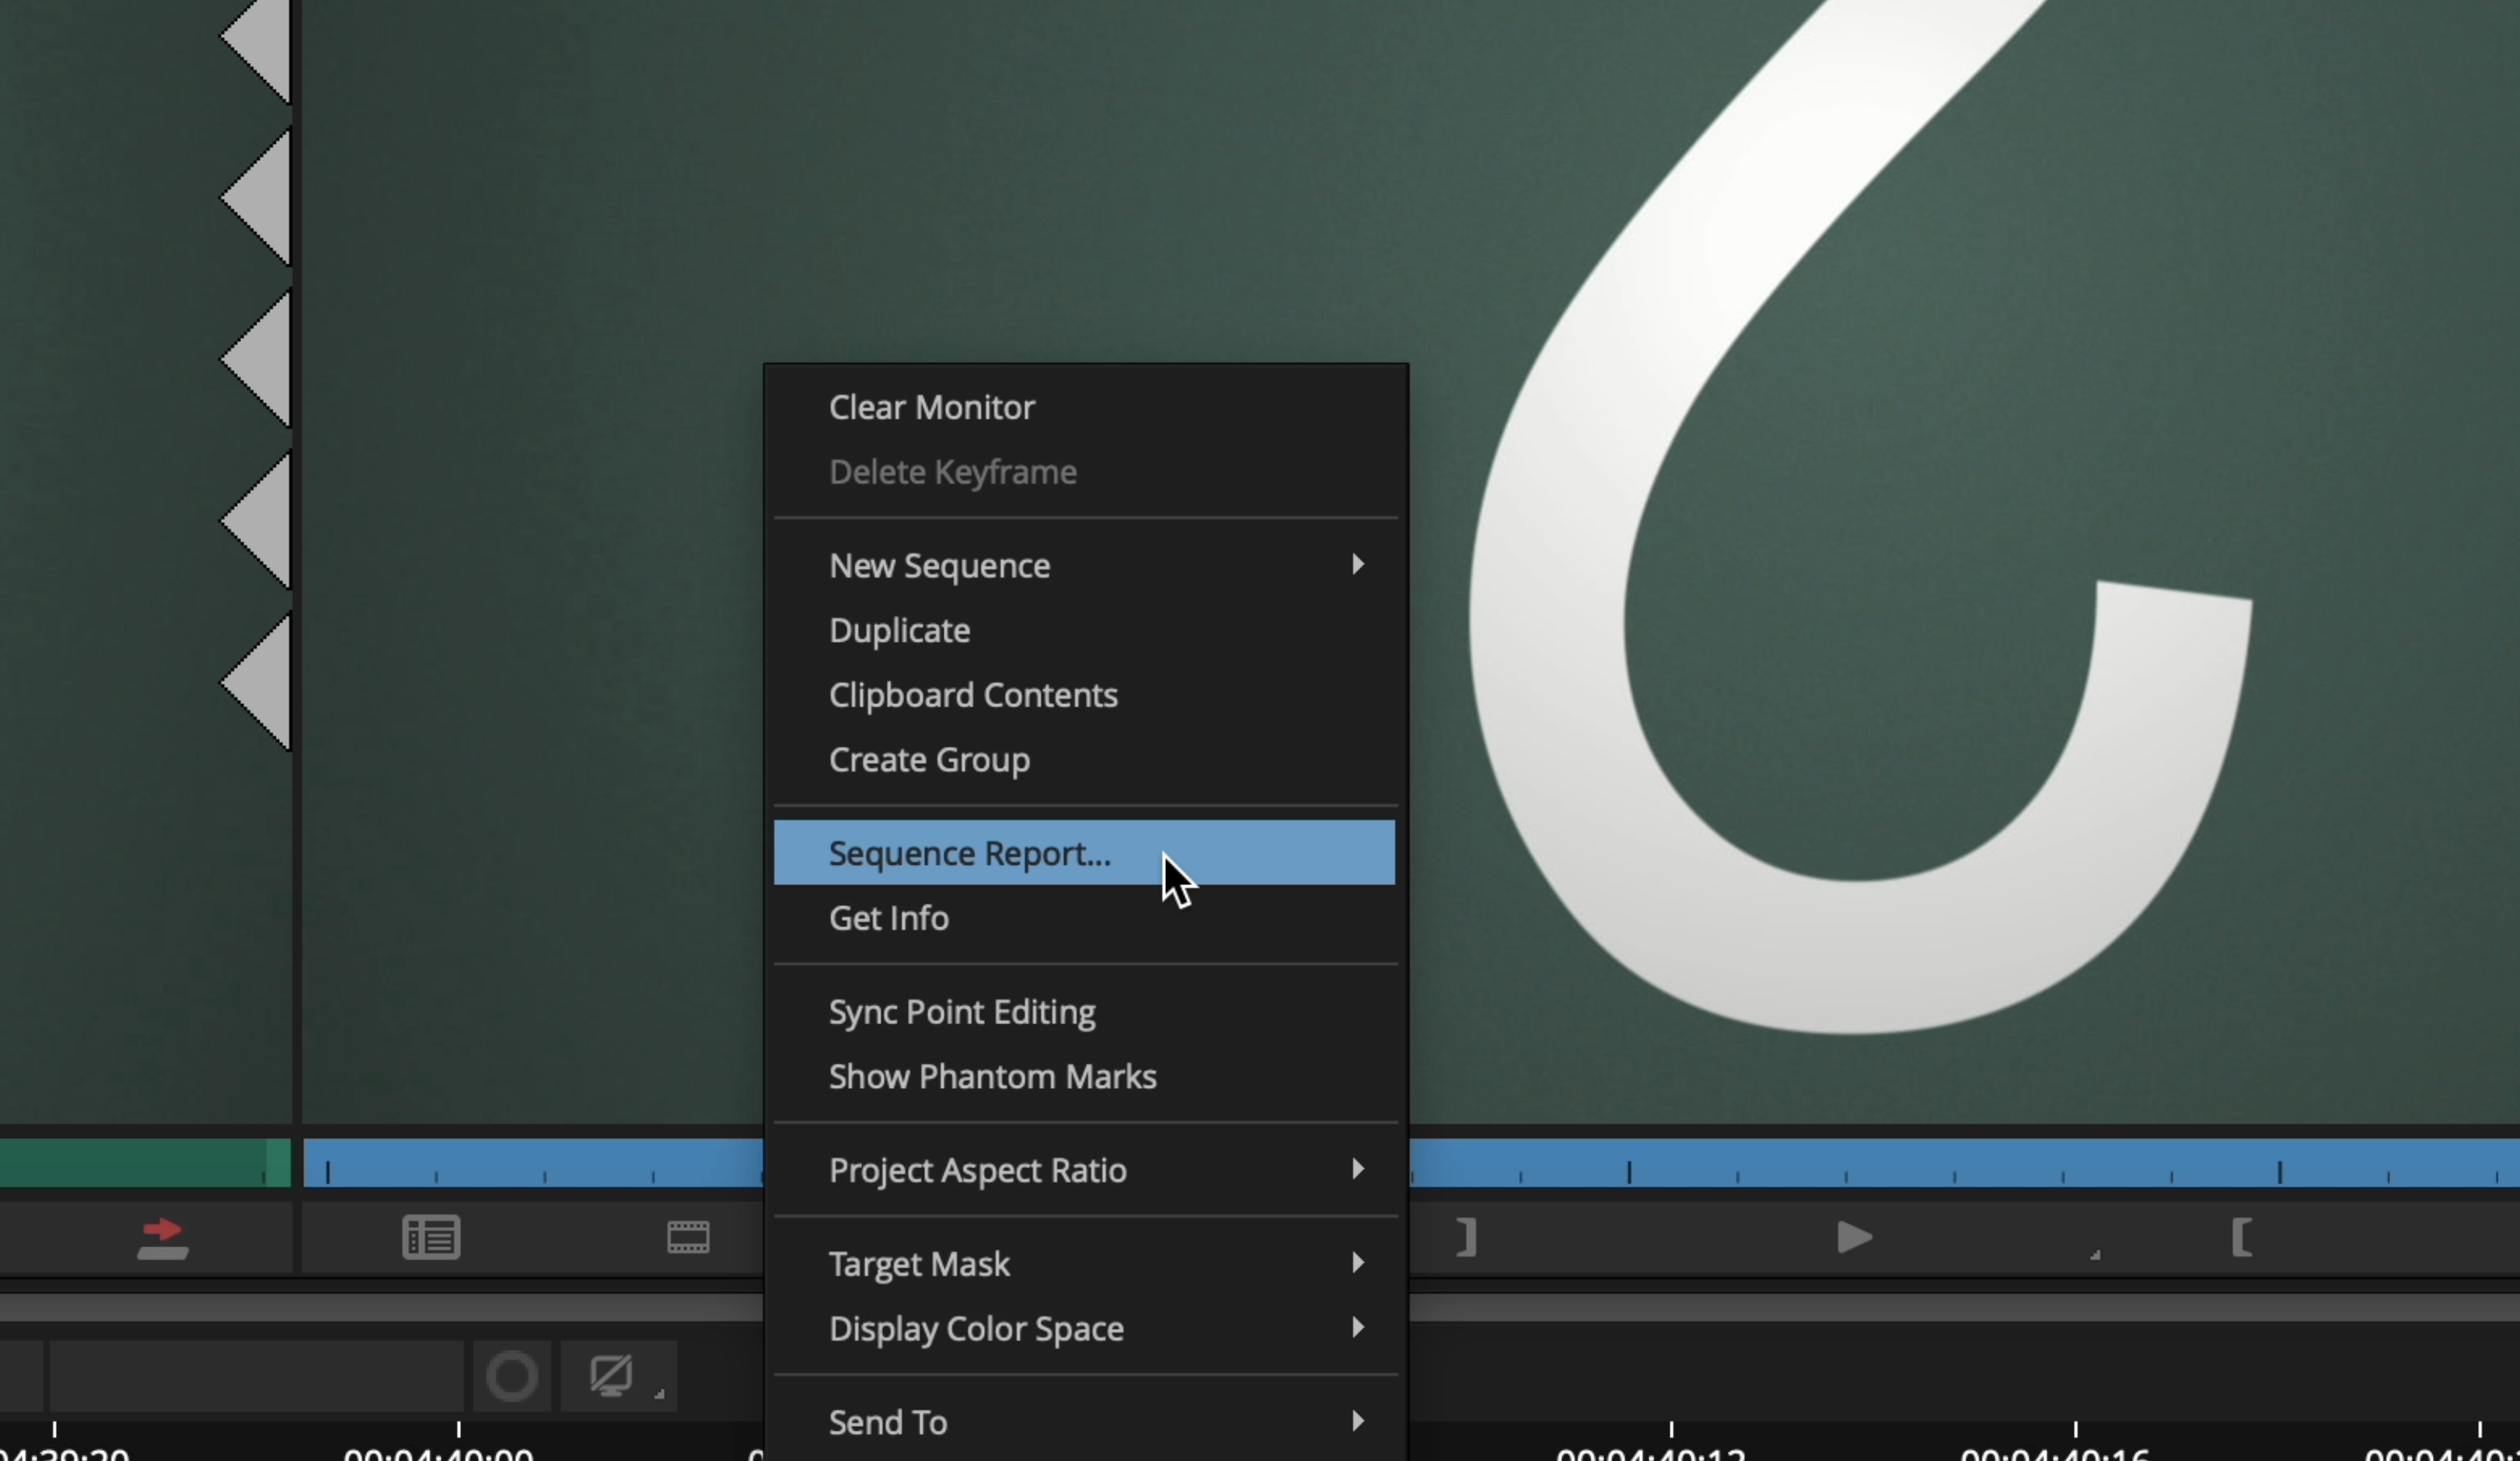
- With the Timeline panel active, right-click on the Record Monitor and select Sequence Report from the popup.
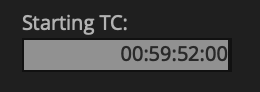
- In the Sequence report window, enter your desired Starting Timecode (TC)
- If your post-production team requests that the first frame of action (FFOA) be at 01:00:00:00, use 00:59:52:00 for your sequence start time.
- If your post-production team requests that the FFOA be at 01:00:08:00, use 01:00:00:00 for your sequence start time.
- If you used a different countdown leader other than the ones provided by the PPC, you will need to manually calculate the appropriate sequence start time based on the duration of your countdown leader.
- Click the Apply Changes button to set the sequence start time.
- Click the Cancel button to close the Sequence Report window.


Creating Burn-Ins
The final step in preparing your sequence before exporting a reference video is to set up burn-ins:
- Create a new video track.
- Add a Timecode Burn-in effect to the new video track you just created.

- Open the Effect Editor and choose the following settings:
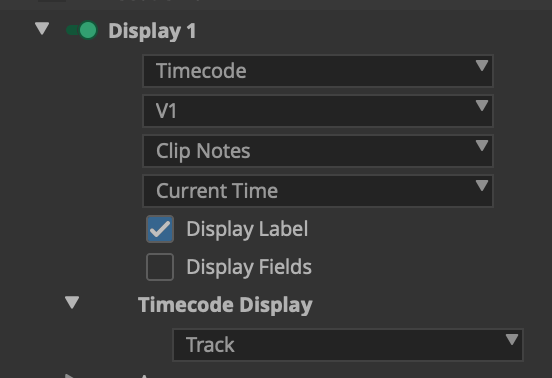
- Display 1
- Reader: Timecode
- Source Track: V1
- Type: Current Time
- Display Label: Checked
- Timecode Display: Track
- Position: Upper Right Corner
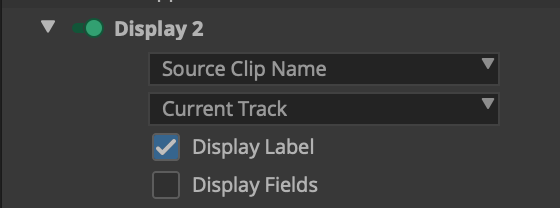
- Display 2
- Reader: Source Clip Name
- Source Track: Current Track
- Display Label: Checked
- Position: Lower Left Corner
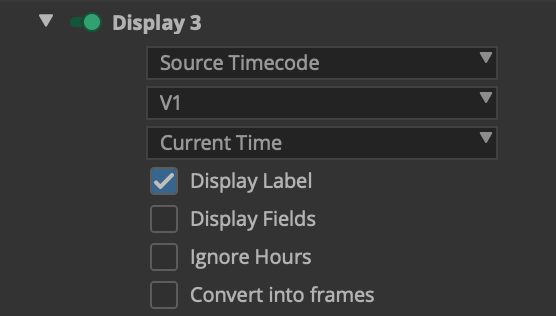
- Display 3
- Reader: Source Timecode
- Source Track: V1
- Type: Current Time
- Display Label: Checked
- Position: Lower Right Corner
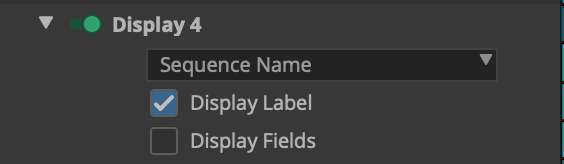
- Display 4
- Reader: Sequence Name
- Display Label: Checked
- Position: Upper Left Corner
- Display 1


Exporting a Reference Video
With your sequence prepared, you need to export a reference video against which your post-production team can compare the timelines they receive to ensure everything has translated correctly.
- With your finalized sequence open in the Timeline panel and the Timeline panel active, go to File, Output, Export to File.
- Click the Options button.
- In the UME File Export Window, select the following settings:
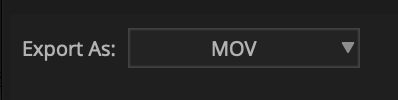
- Export As: MOV
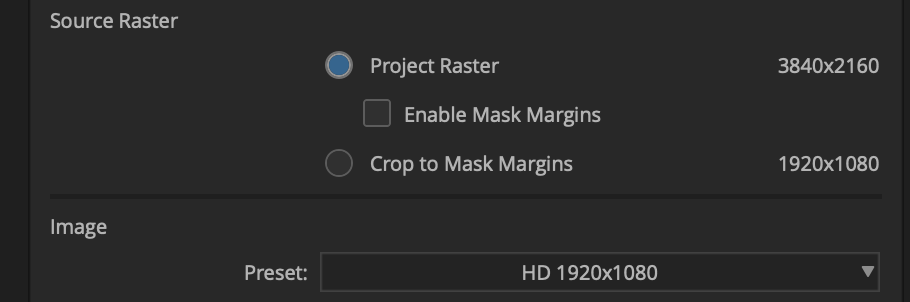
- Source Raster: Project Raster
- Preset: HD 1920x1080
- Output Frame Rate: Match Project Frame Rate
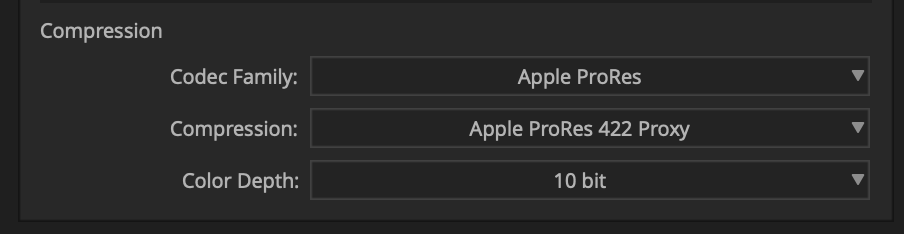
- Codec Family: Apple ProRes
- Compression: Apple ProRes 422 Proxy
- Color Depth: 10 bit
- Audio Format: PCM
- Mix: Stereo
- Sampling Rate: 48000 Hz
- Bits per Sample: 24

- Export As: MOV
- Click the Save As button and save these settings as a new export preset.
- In the Export As window, choose the export preset you just created. Then, enter your file name using the following format: ProjectTitle_ReferenceVideo_Date
- Note: Replace “ProjectTitle” with the actual title of your project and “Date” with the date on which you’re exporting.
- Click the Save button.


