Delivery Specifications
Before uploading your file, it is vital that you ensure it meets the delivery specifications of the festival. If it doesn’t, your file may be rejected and you may have to resubmit.
Using Quick Upload
Quick Upload uploads your file using a standard file transfer method, similar to Google Drive. This method is less reliable and will take longer, but can be workable for smaller file sizes. With larger files, you may need to upload using Aspera Connect.
To upload your screener:
Follow the unique upload link in the email you received from the NYU Festivals group.
Click on the Select button.

Click on Upload file or Upload DCP, depending on which type of export you want to upload.
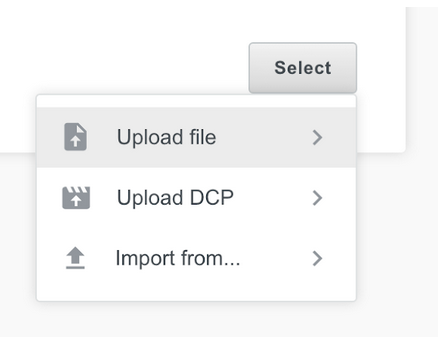
Choose Upload file or Upload DCP, depending on the type of file you're uploading.
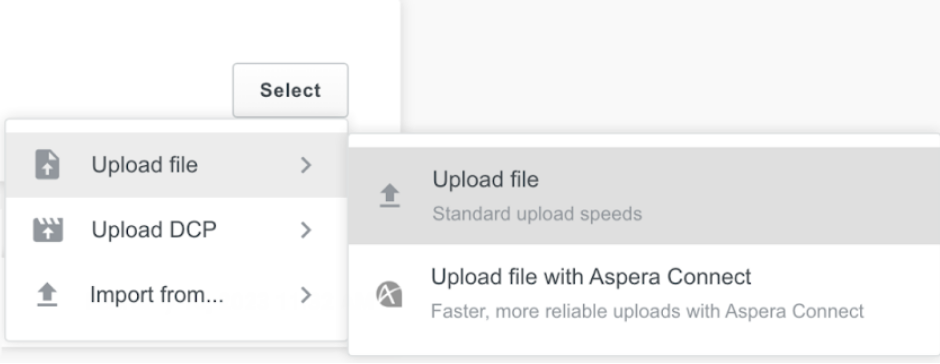
A Finder window will pop up. Select your file and click the Open button.

The upload will begin. You can view the upload progress in the Active uploads bar.

Once your upload is completed, a checkmark will appear next to the file name.

If your file fails to upload, you may need to upload via Aspera Connect. For additional assistance, contact [the PPC? NYU Festivals?]