Delivery Specifications
Before uploading your file, it is vital that you ensure it meets the delivery specifications of the festival. If it doesn’t, your file may be rejected and you may have to resubmit.
Upload Using Aspera Connect
Aspera Connect is the preferred upload method within CineSend, as it provides faster speeds and more reliable file transfers.
To upload your screener using Aspera Connect:
- Follow the unique upload link in the email you received from the NYU Festivals group.
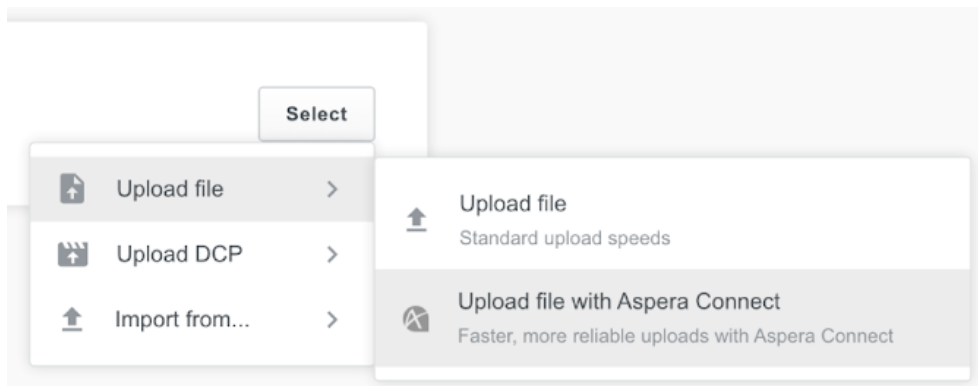
- Click on the Select button.

- Click on Upload file or Upload DCP, depending on which type of export you want to upload.

- Choose Upload with Aspera Connect.
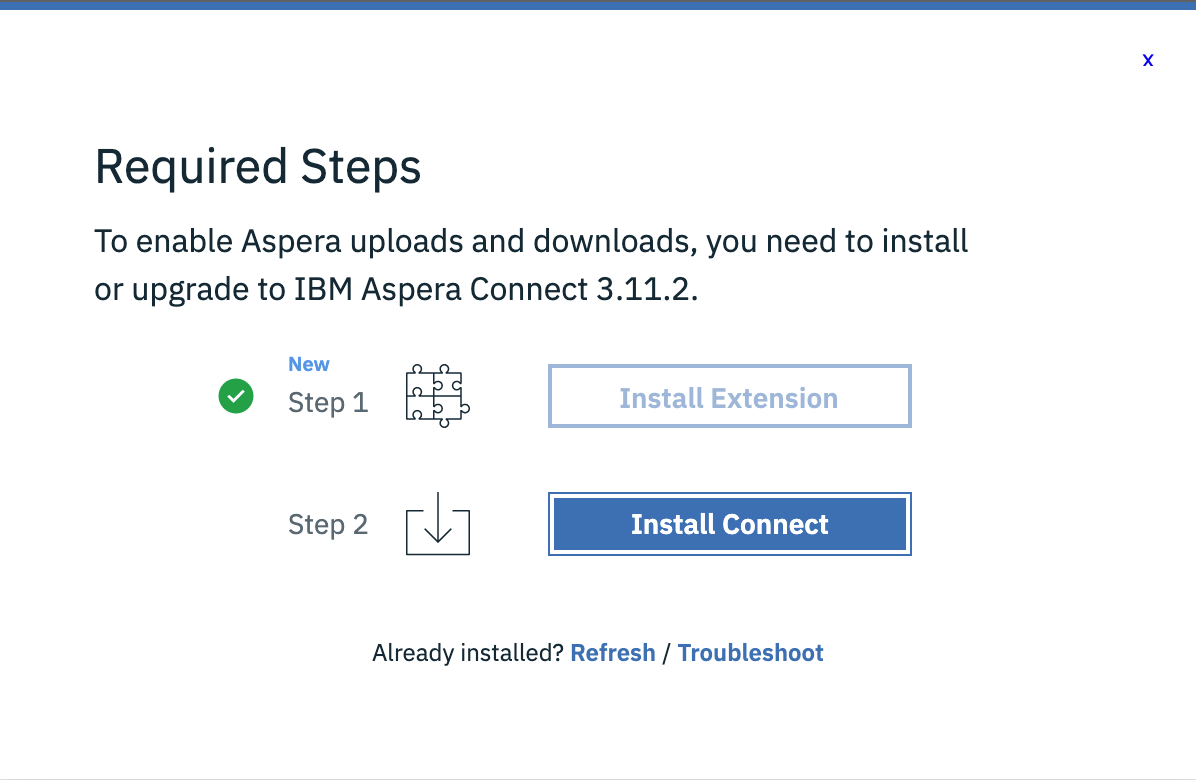
- If you aren't working on a computer that already has Aspera Connect, you'll see a Required Steps pop-up prompting you to install the Aspera Connect browser extension and desktop application.
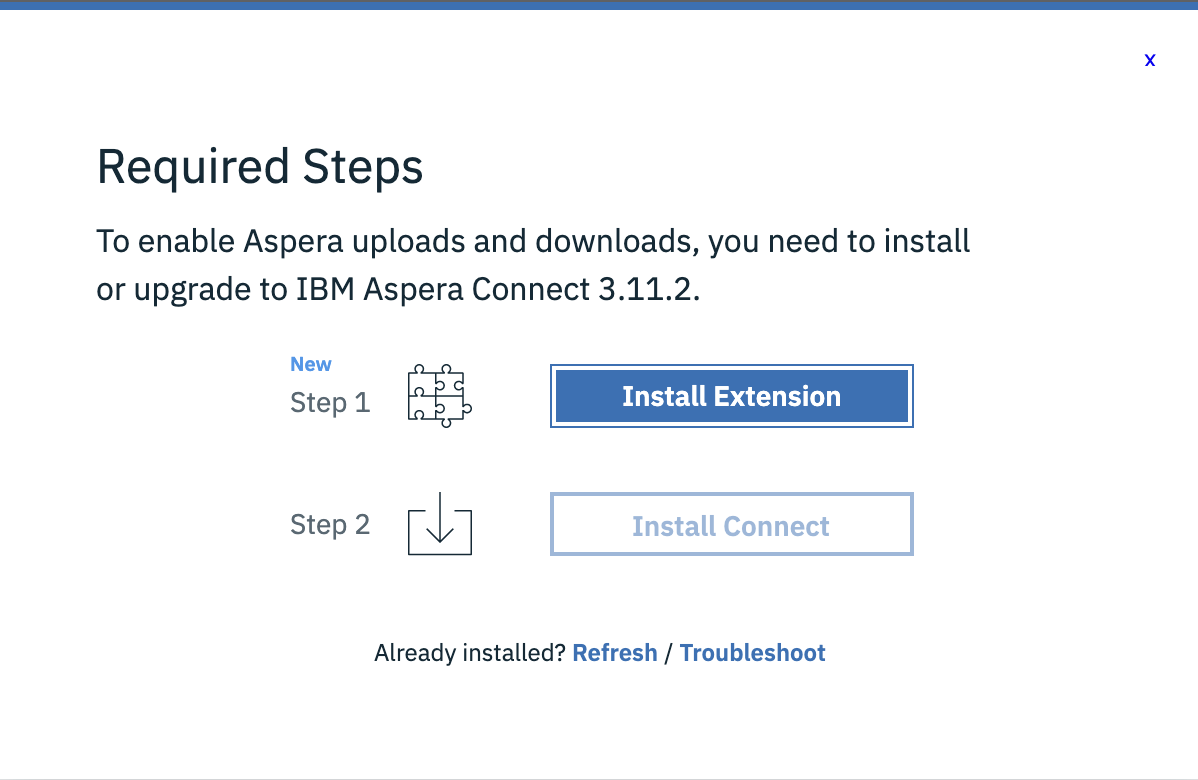
- Click on the Install Extension button to install the browser plugin.
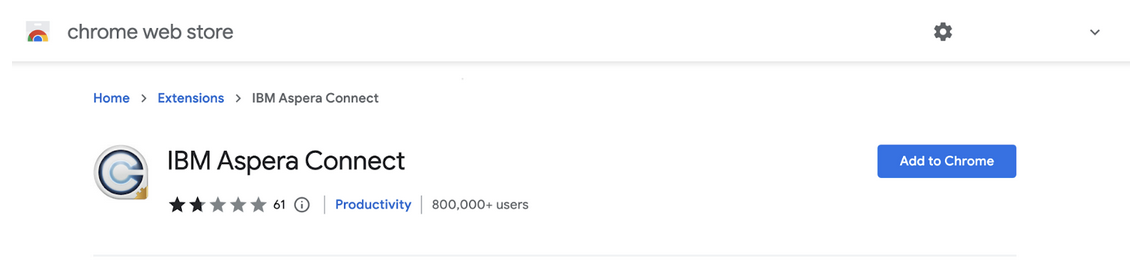
- You will be directed to your browser's web store for the extension IBM Aspera Connect. Follow the steps there to install the extension (will vary from browser to browser).
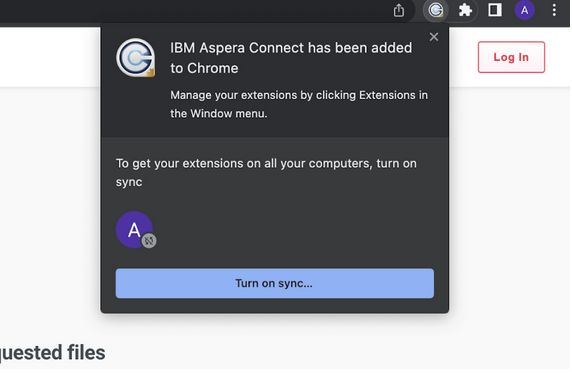
- Once you have installed Aspera Connect, you will be directed back to the CineSend page with a confirmation of the installation.
- Repeat steps 2-4 to relaunch the Required Steps pop-up. You should now see a checkmark next to Step 1 if the extension is successfully installed. Click on the Install Connect button to proceed with installing the desktop application.
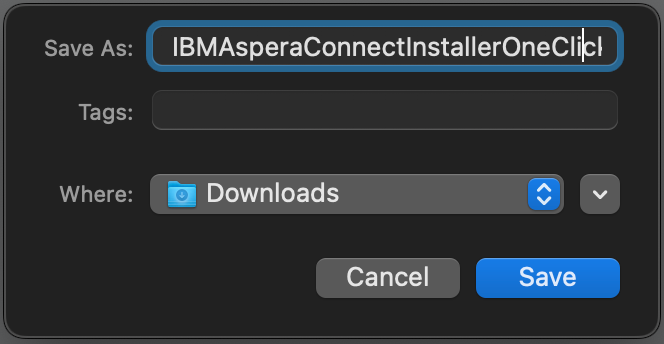
- Save the installer to your desired location on your computer.
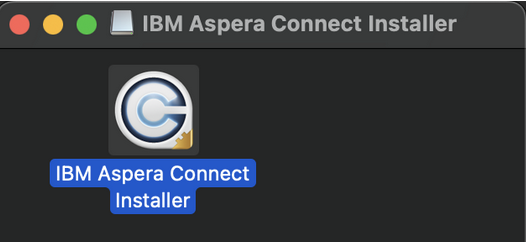
- Double click on the downloaded installer.

- In the pop-up, double click on the installer application.
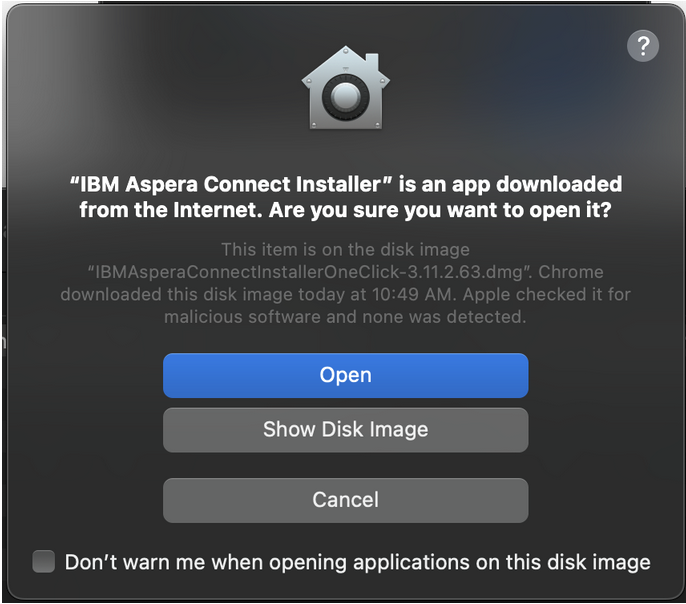
- Click on the Open button if your device requests permission.
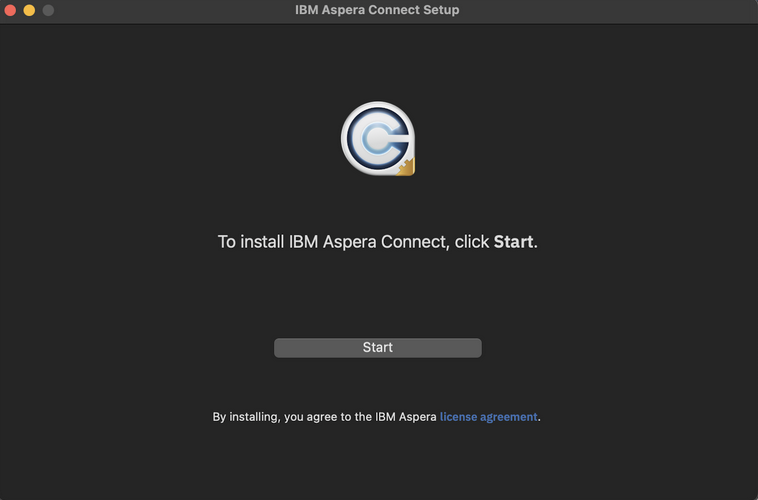
- You will see a setup window. Click on the Start button.
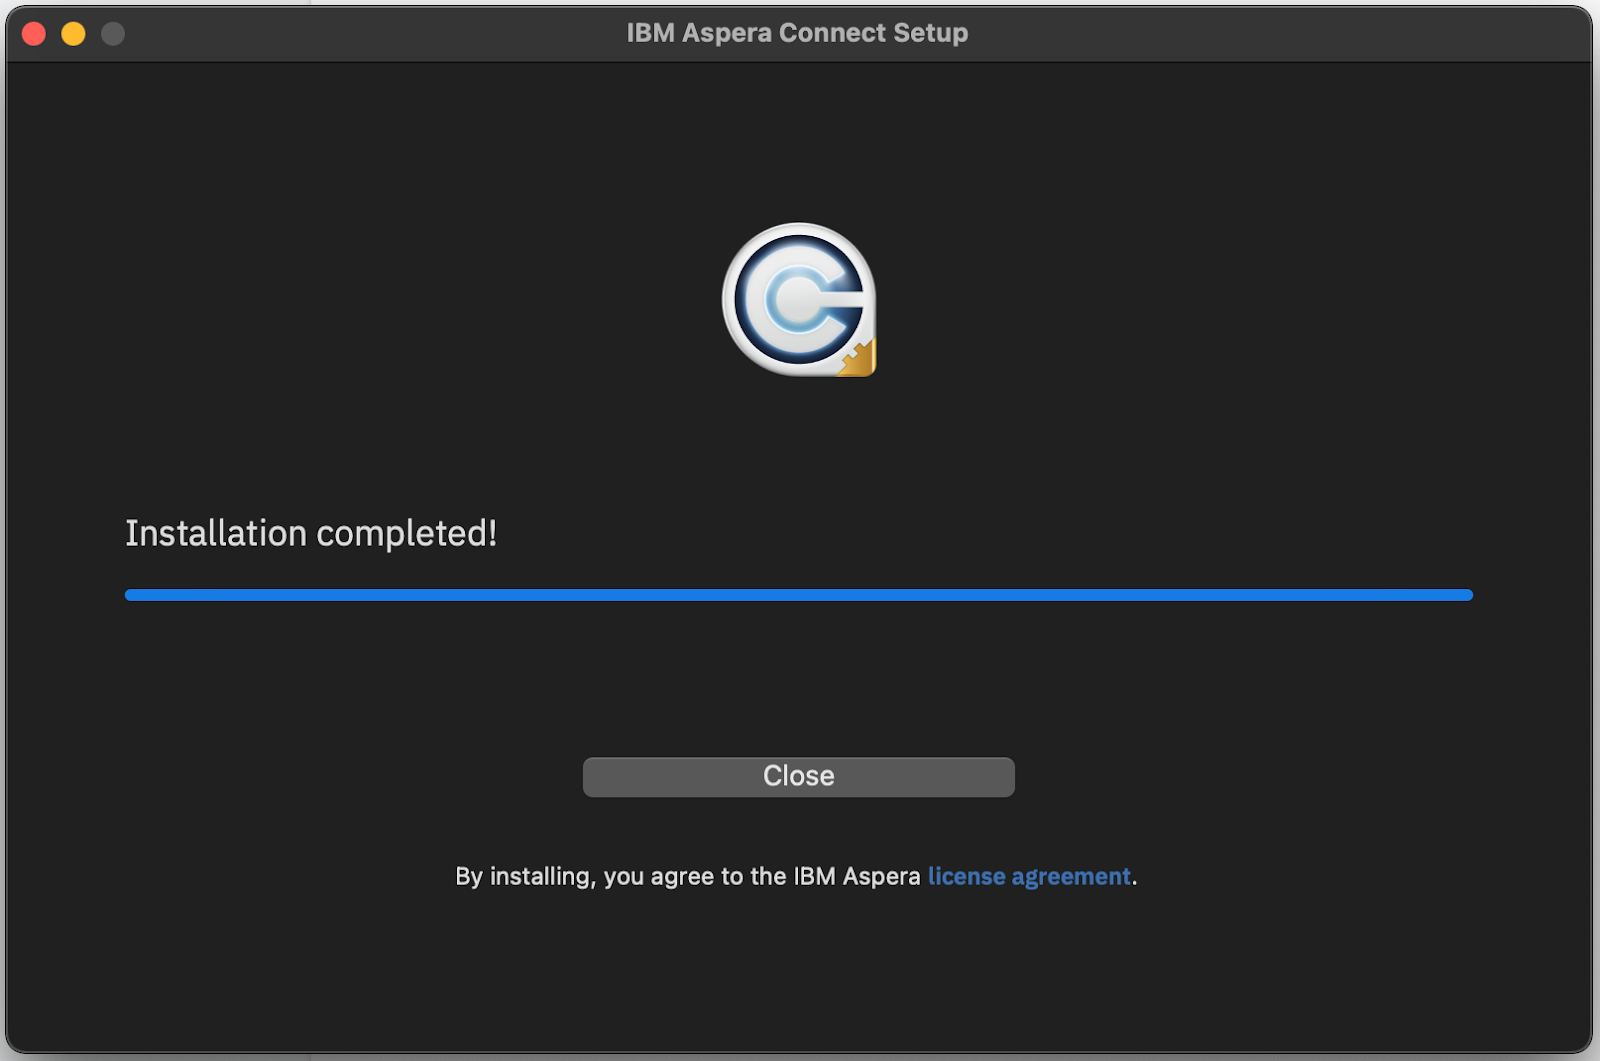
- Once installation is completed, you may click on the Close button.
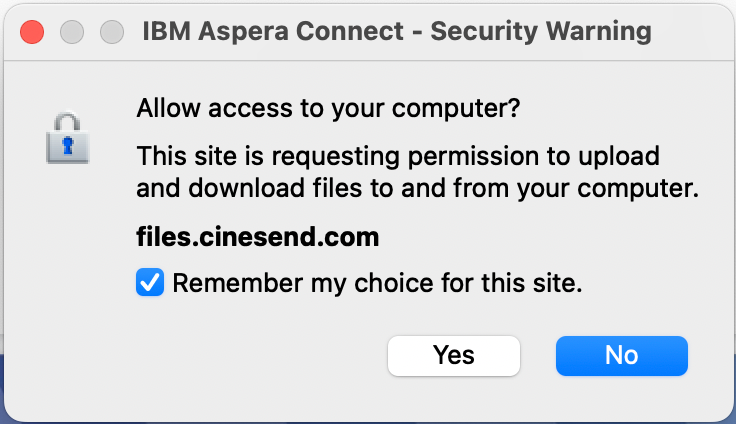
- If you see a security warning, click on the Yes button to allow Aspera Connect access to your files.
- Save the installer to your desired location on your computer.
- Return to the CineSend page in your browser.
- Repeat steps 2-4. Instead of the Required Steps pop-up, you should now be prompted to select your file from a Finder window. Select your file and click the Open button.

- The upload will begin. You can view the upload progress in the Active Upload bar.

- Once your upload is completed, a checkmark will appear next to the file name.